|
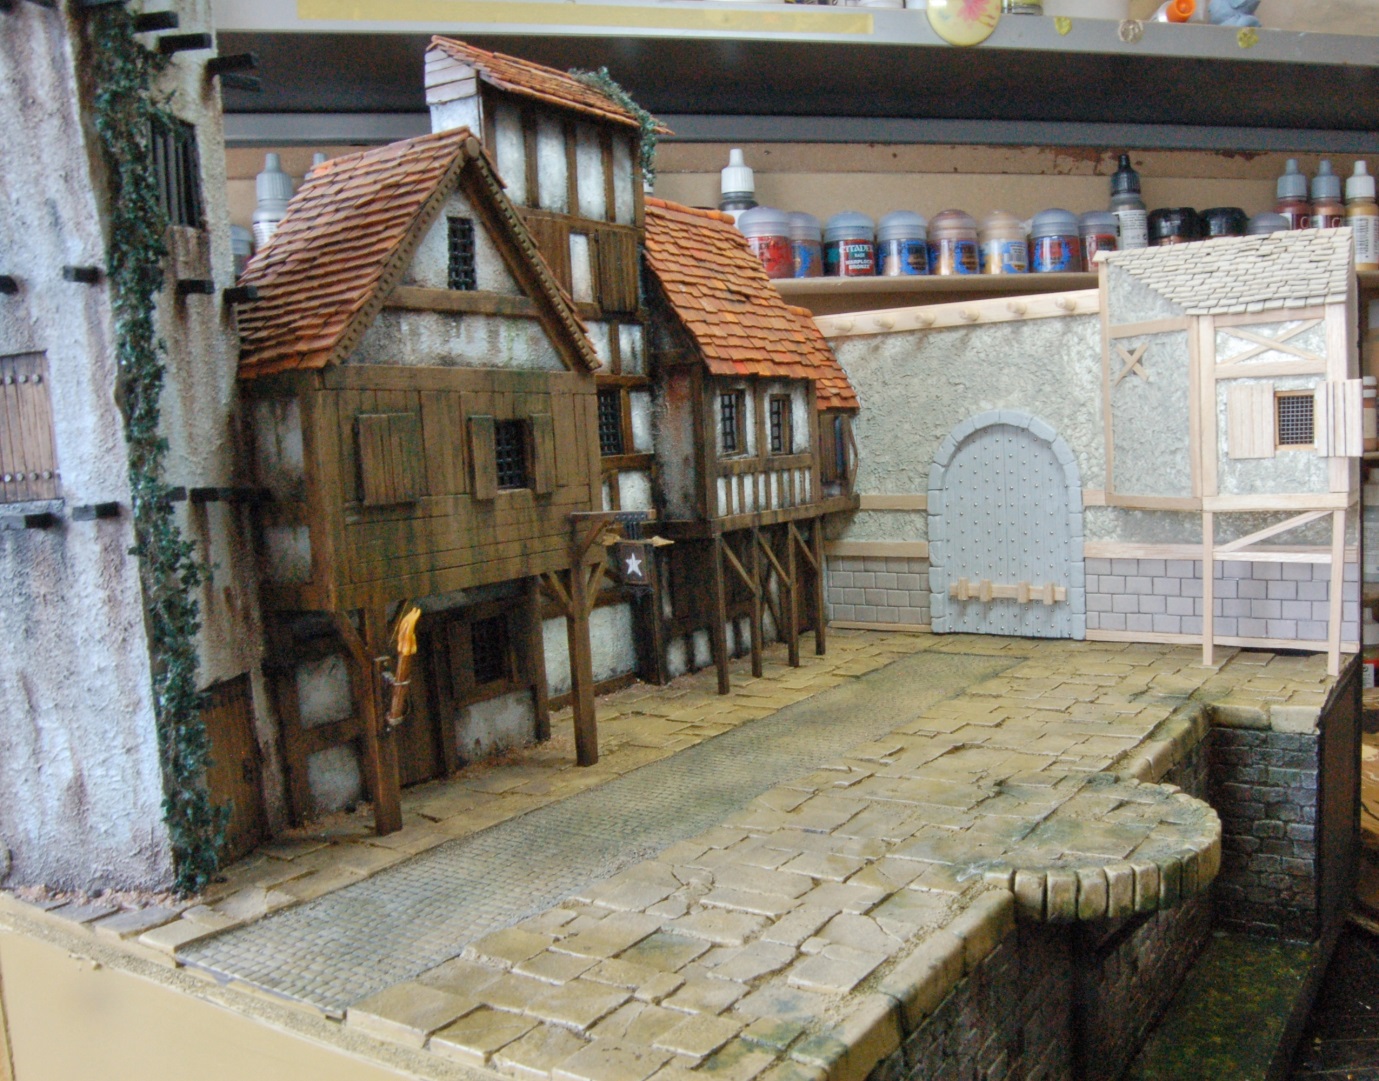
With the brand new Dungeons & Dragons ‘The Tyranny of Dragons’ module out now, we have made two exciting box sets to coincide with this release: four Dragon Cultists; and Sandesyl Morgia, a half elf vampire and Pharblex Spattergoo, a Bullywug priest. Thinking of what backdrop to use, the city was the obvious choice, which has given me an opportunity to finish off the backdrop.
|
|
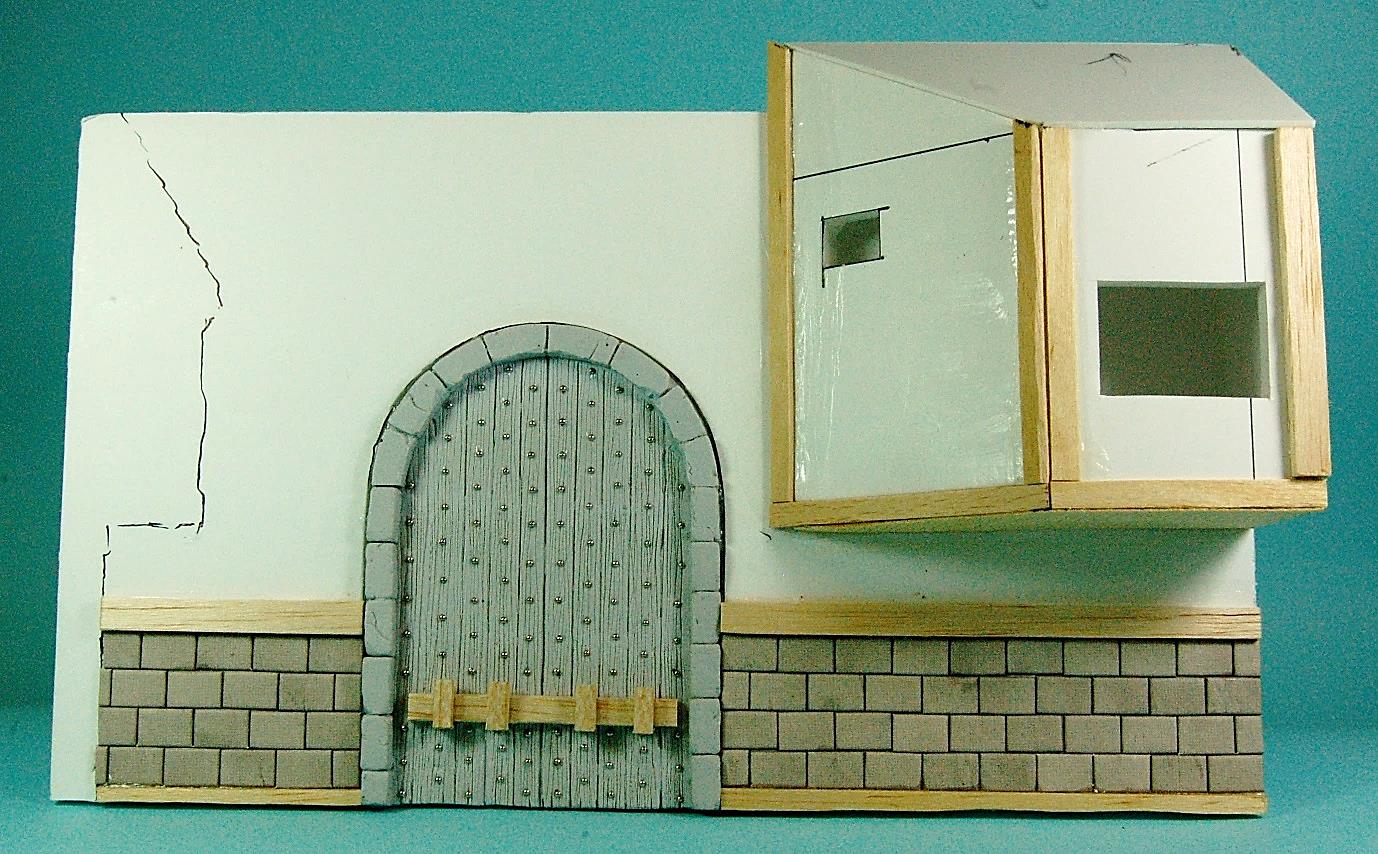
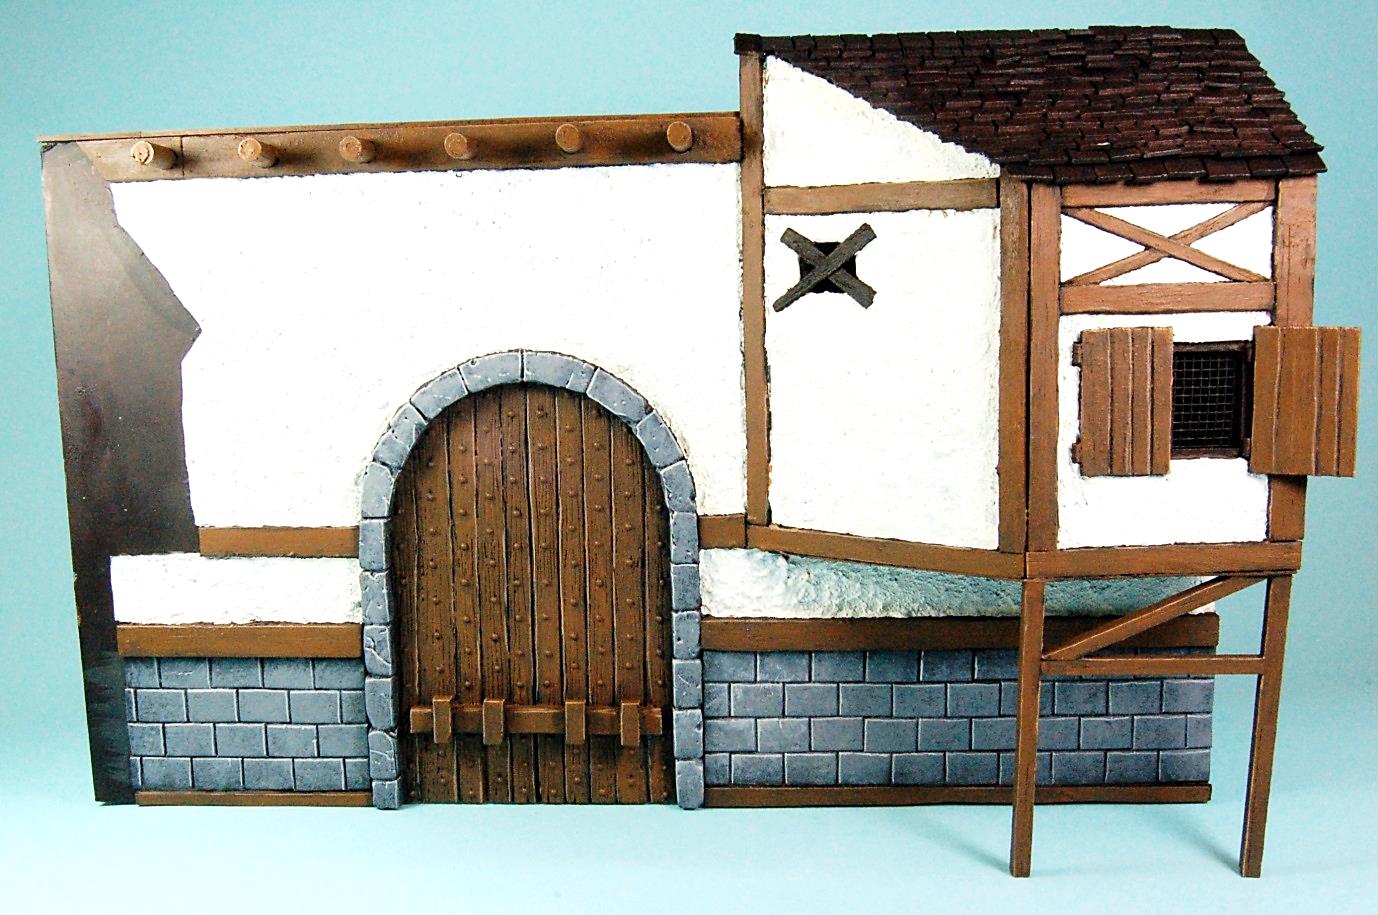
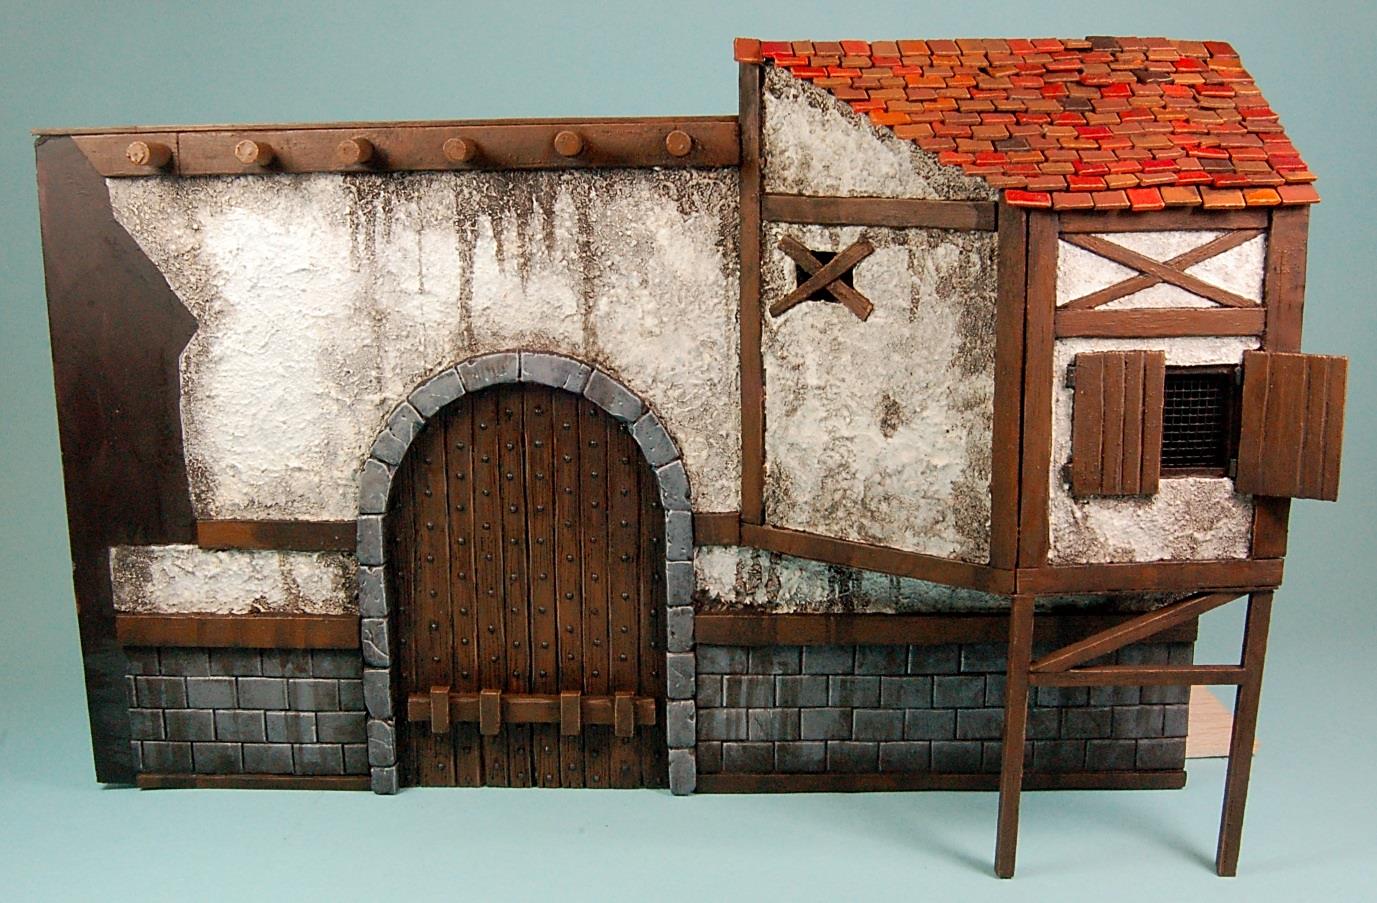
This is how the backdrop looked. It’s okay, but limited to only a couple of positions the miniatures could be placed in. Using the existing foam-board model from the earlier build, I went to work.
|
|
This door was originally used for the Dungeon backdrop, which I had cast in resin at the time. I am going to make a few cosmetic changes. For this conversion I have used a few specialist tools:
Scriber
|
|
A useful tool for scraping grooves, good for textured woodgrain and panel-lines. The blades can be purchased and used in an X-acto Knife handle.

A small chisel is useful for scraping away surface details and reaching areas where a scalpel cannot reach.
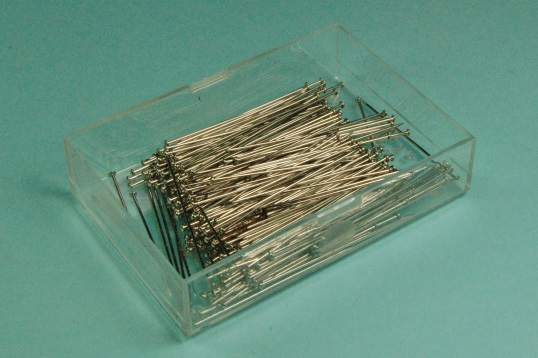
My wife’s pins Sssshhh, don’t tell her!
|
|
The City Door construction
|
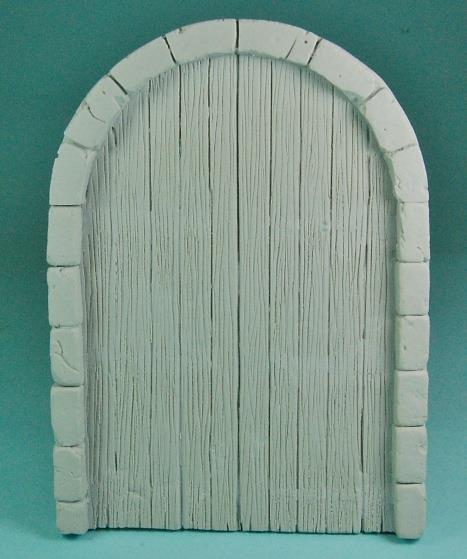
The finished stripped down door, with the woodgrain scribed back in, ready for details. To keep things simple, I have kept the door closed, it saves making any details behind.
|
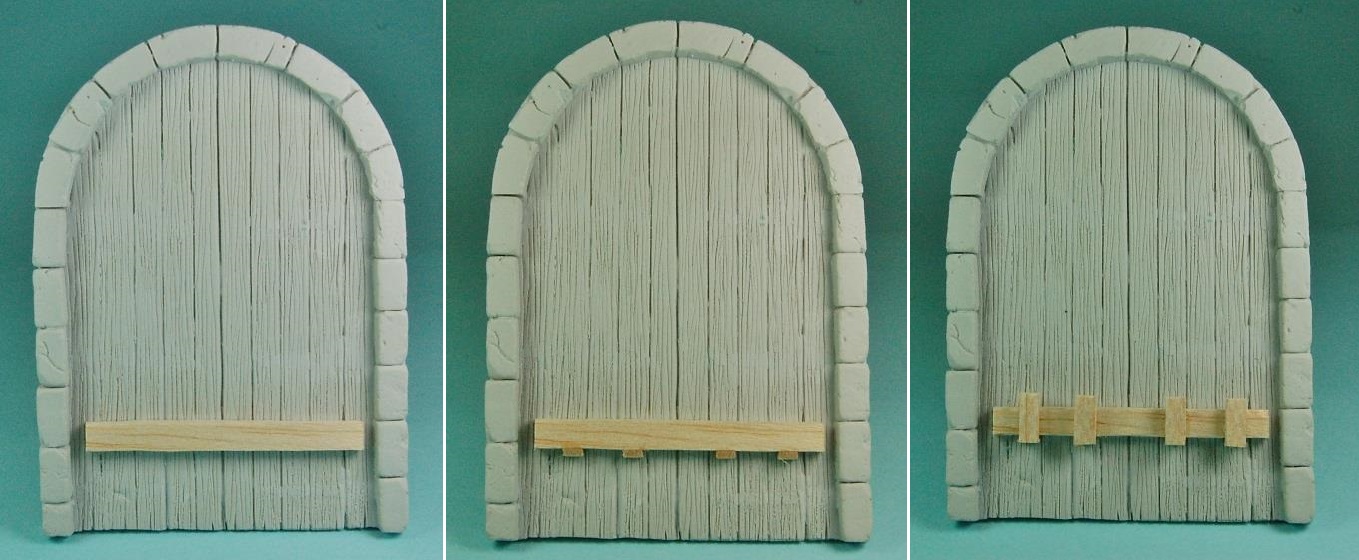
The locking bar is made from scrap balsa wood, glued directly onto the door.
|
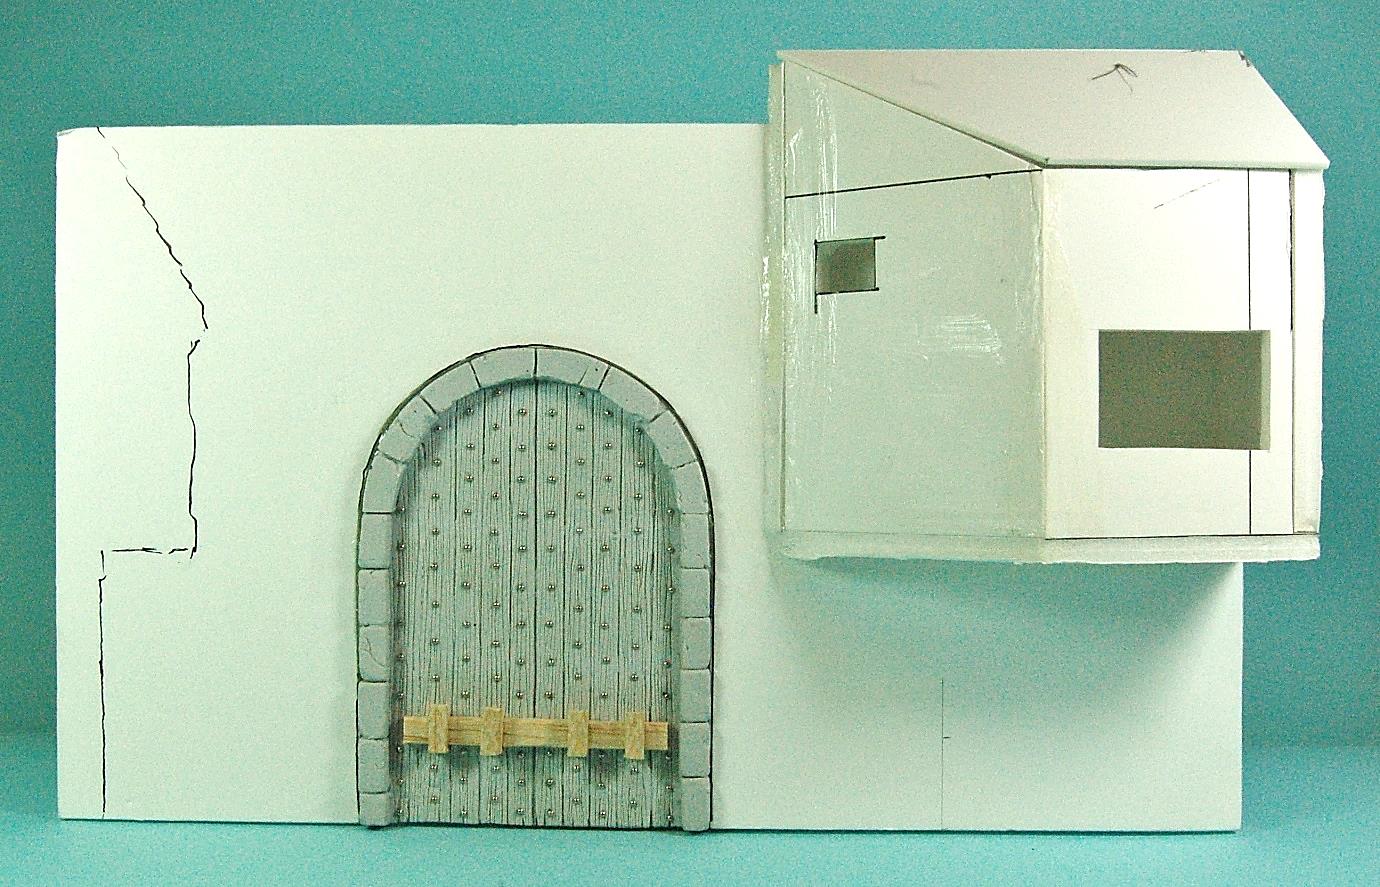
With the door fixed into place, work can begin on detailing the façade.
|
The basic wood supporting frame is roughly cut balsa, with cardboard rectangles providing a quick method of representing neatly carved stone blocks. Everything was measured by eye and not with a ruler, to give a slightly uneven, characterful look to this corner of the city.
|
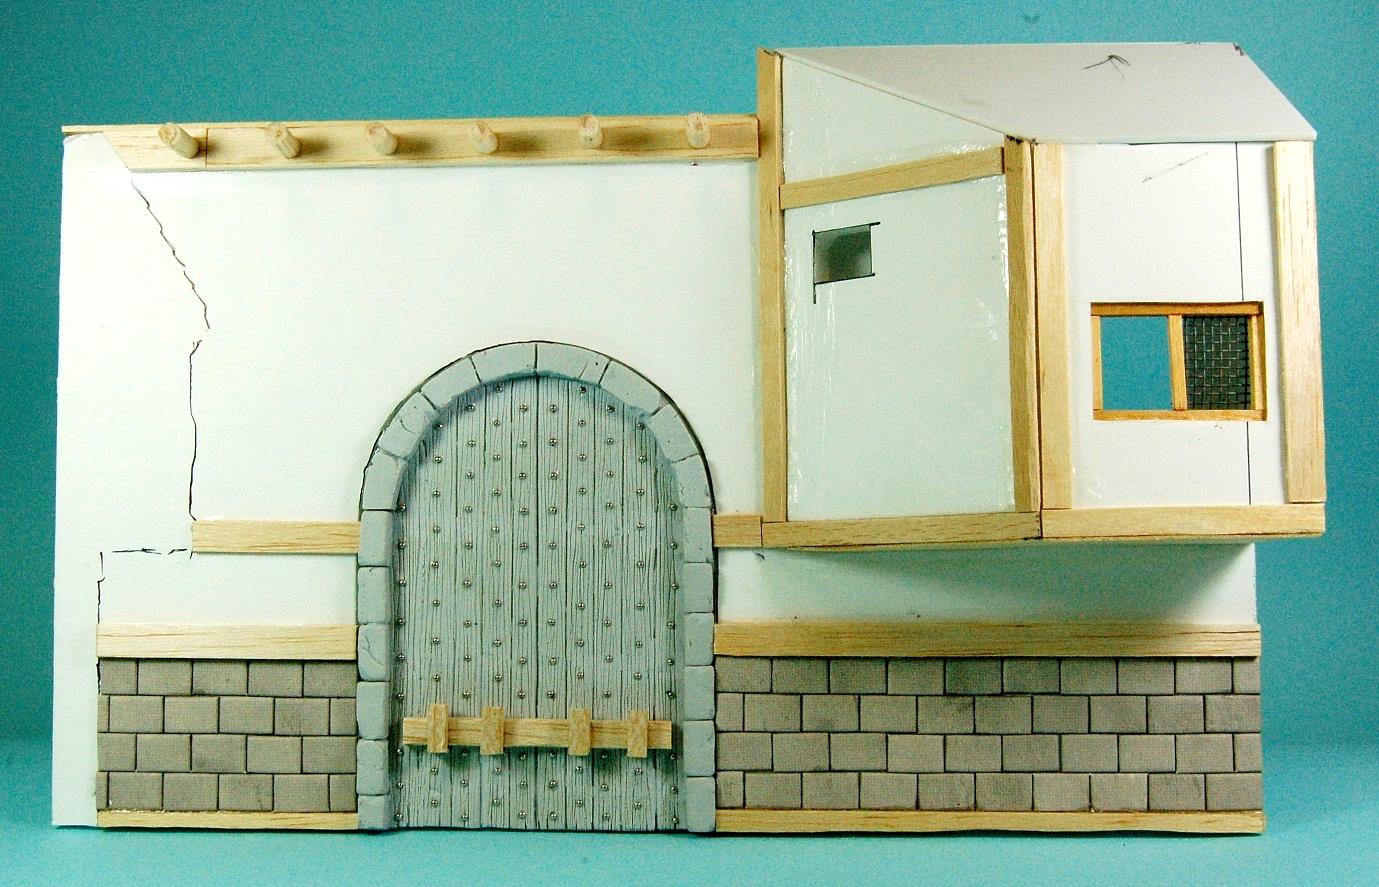
The large window cavity was lined with matchsticks and a square mesh attached behind. A large balsa beam is glued to the top of the wall, with supporting dowels paced evenly along. This compliments the same style as the tall tower at the other end of the diorama (and is a little nod to the Assassin’s Creed games).
|
The window shutters are added from balsa with lines drawn down them with a biro to represent the planks of wood. Having one shutter closed saves making the details for another window. There is always a balance to find with a large model, between adding too many details and spending a lot of time on the build, rather than making the architecture look sparse.
|
|
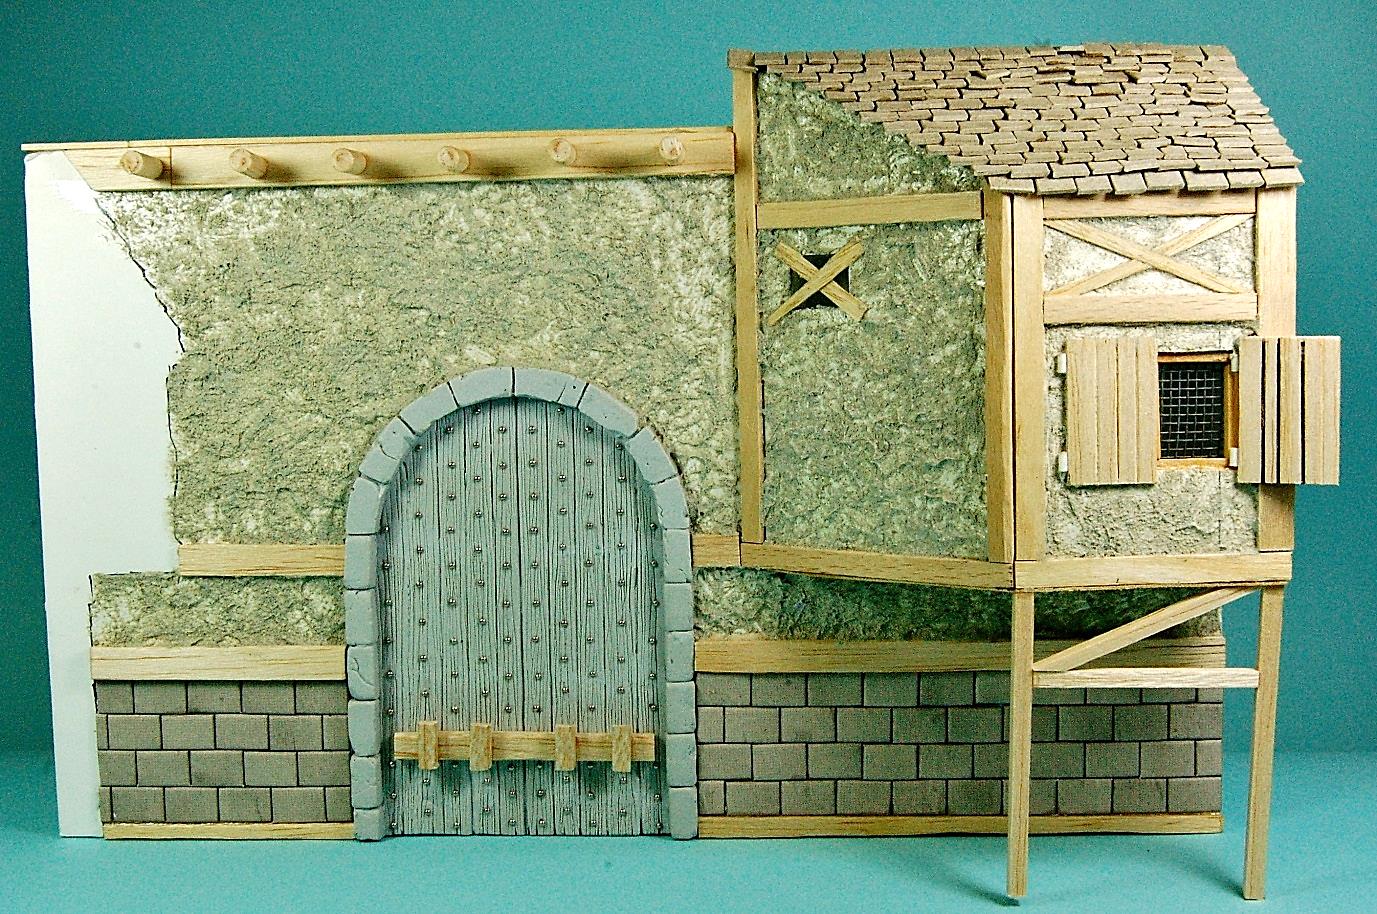
With all the woodwork finished, the remaining visible foam board was stippled with Vallejo Sandy Paste.
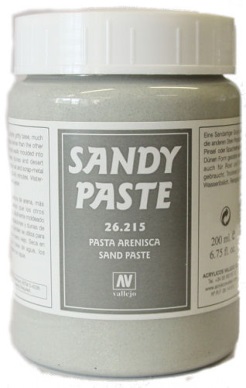
This product is very sticky and dries quickly to a rough texture, perfect for building render.
|
A final check with the façade fitting correctly, and the overhanging building’s supporting legs glued in place, before painting begins.
|
|
Painting the City Gate Wall
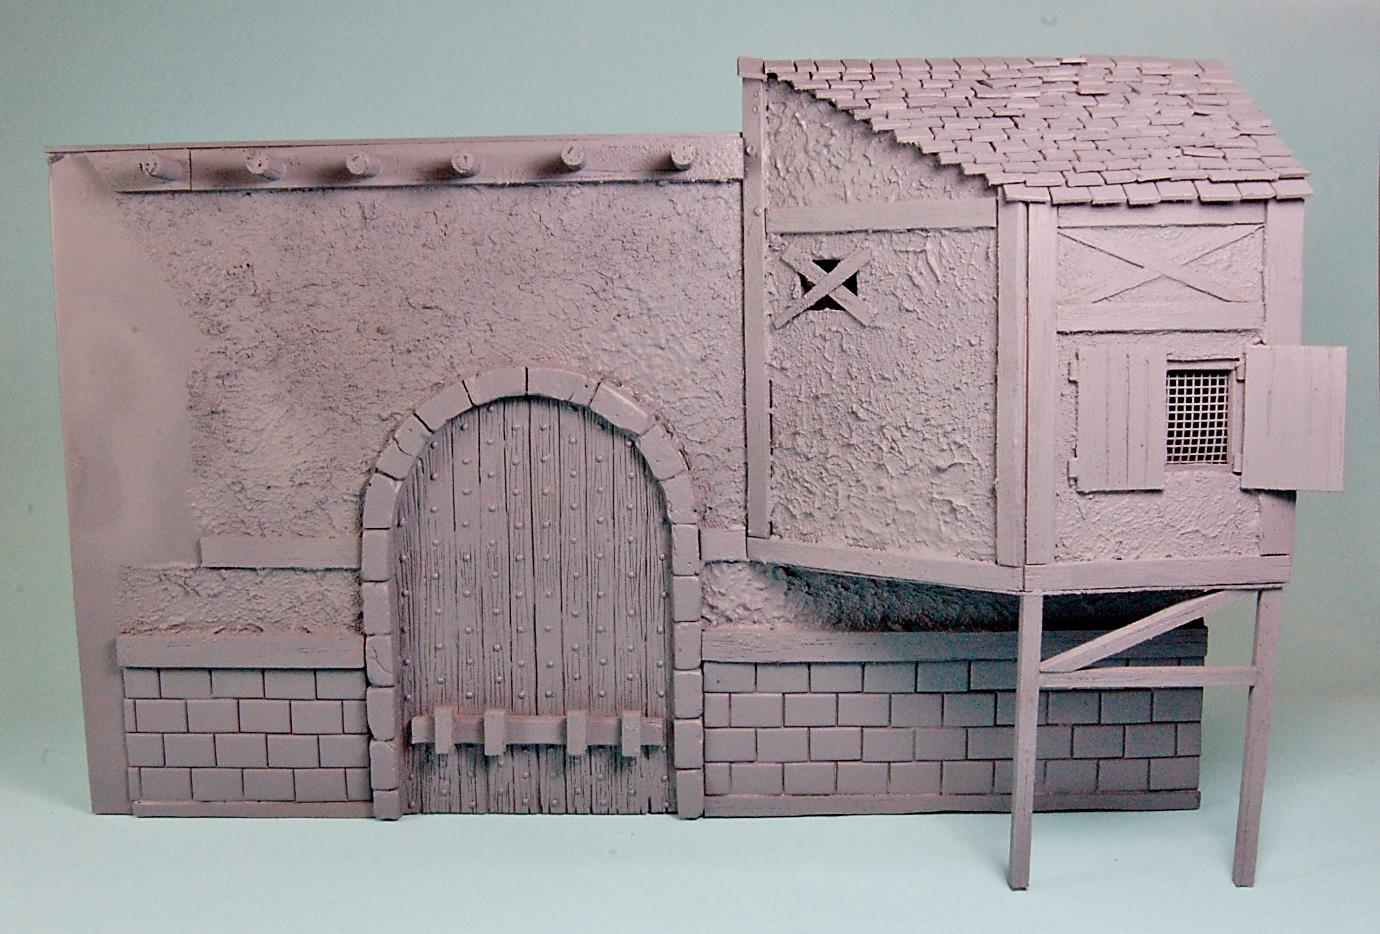
The wall is given a coat of mid-grey primer to seal everything in. With large areas like this, I use oil paints over an acrylic basecoat for fast weathering results and shading.
|
|
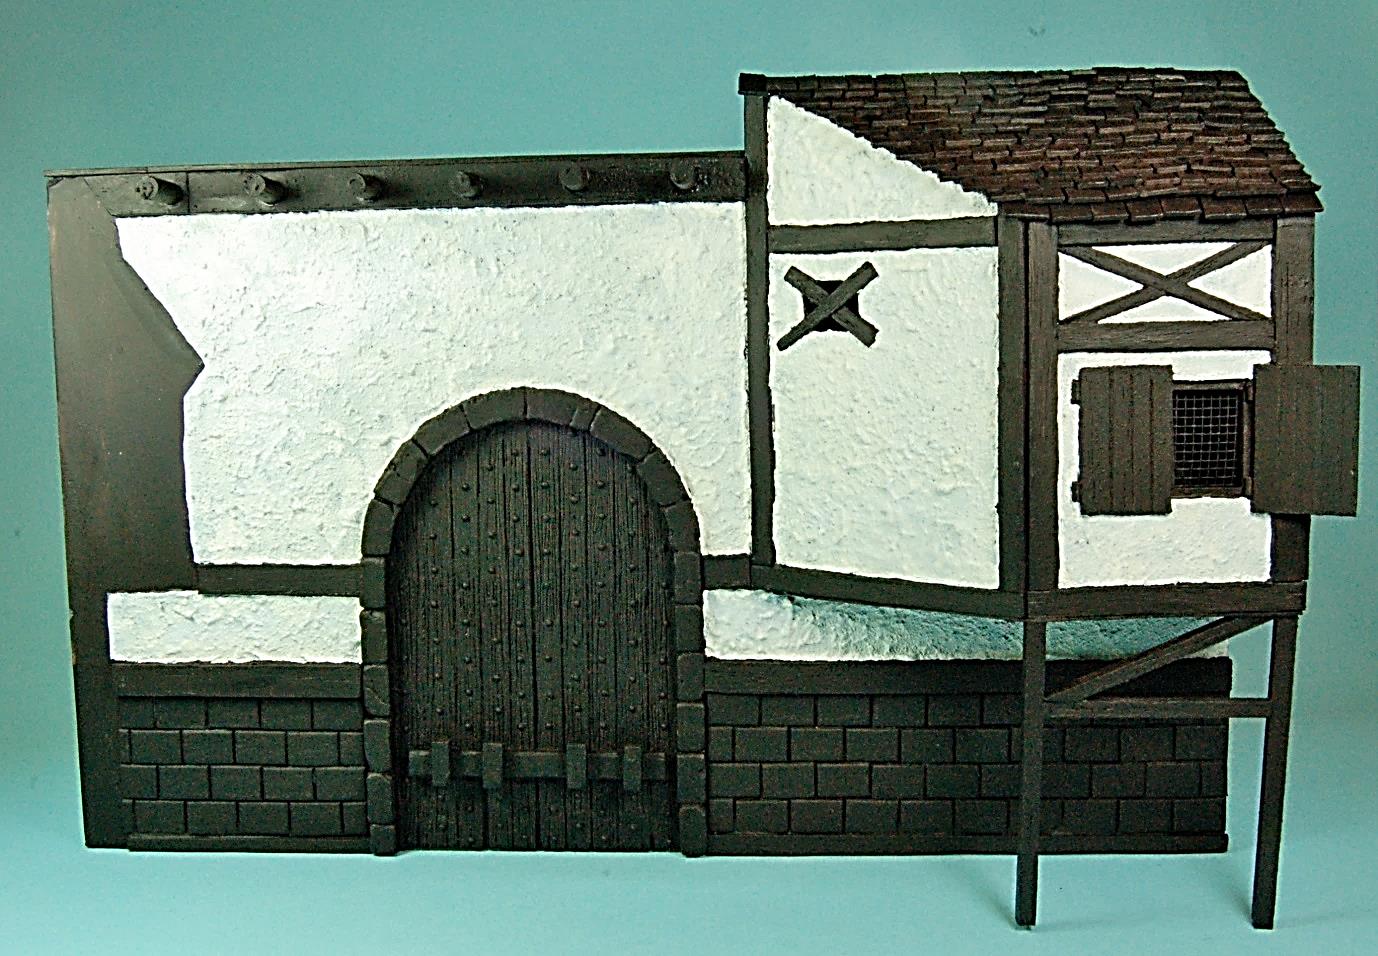
Starting with the largest area first, the white render was drybrushed with Vallejo Off-White 101 in different consistencies adding more water to the paint mix leaves the finish quite patchy.
|
|
All the other details have been painted with a very dark brown base-coat. This cleans up any mess ready for the main colours.
|
|
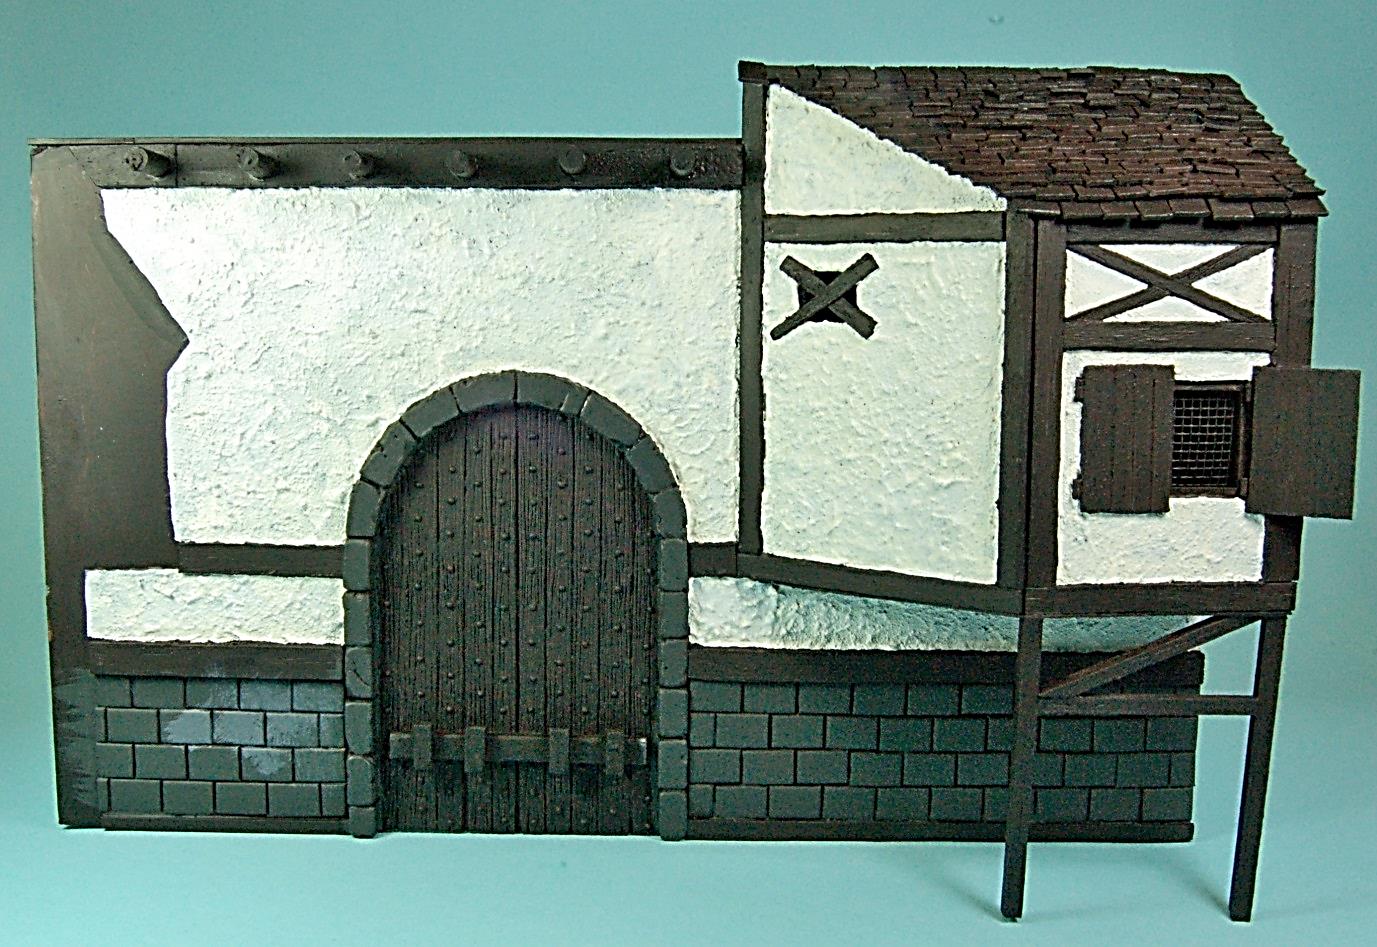
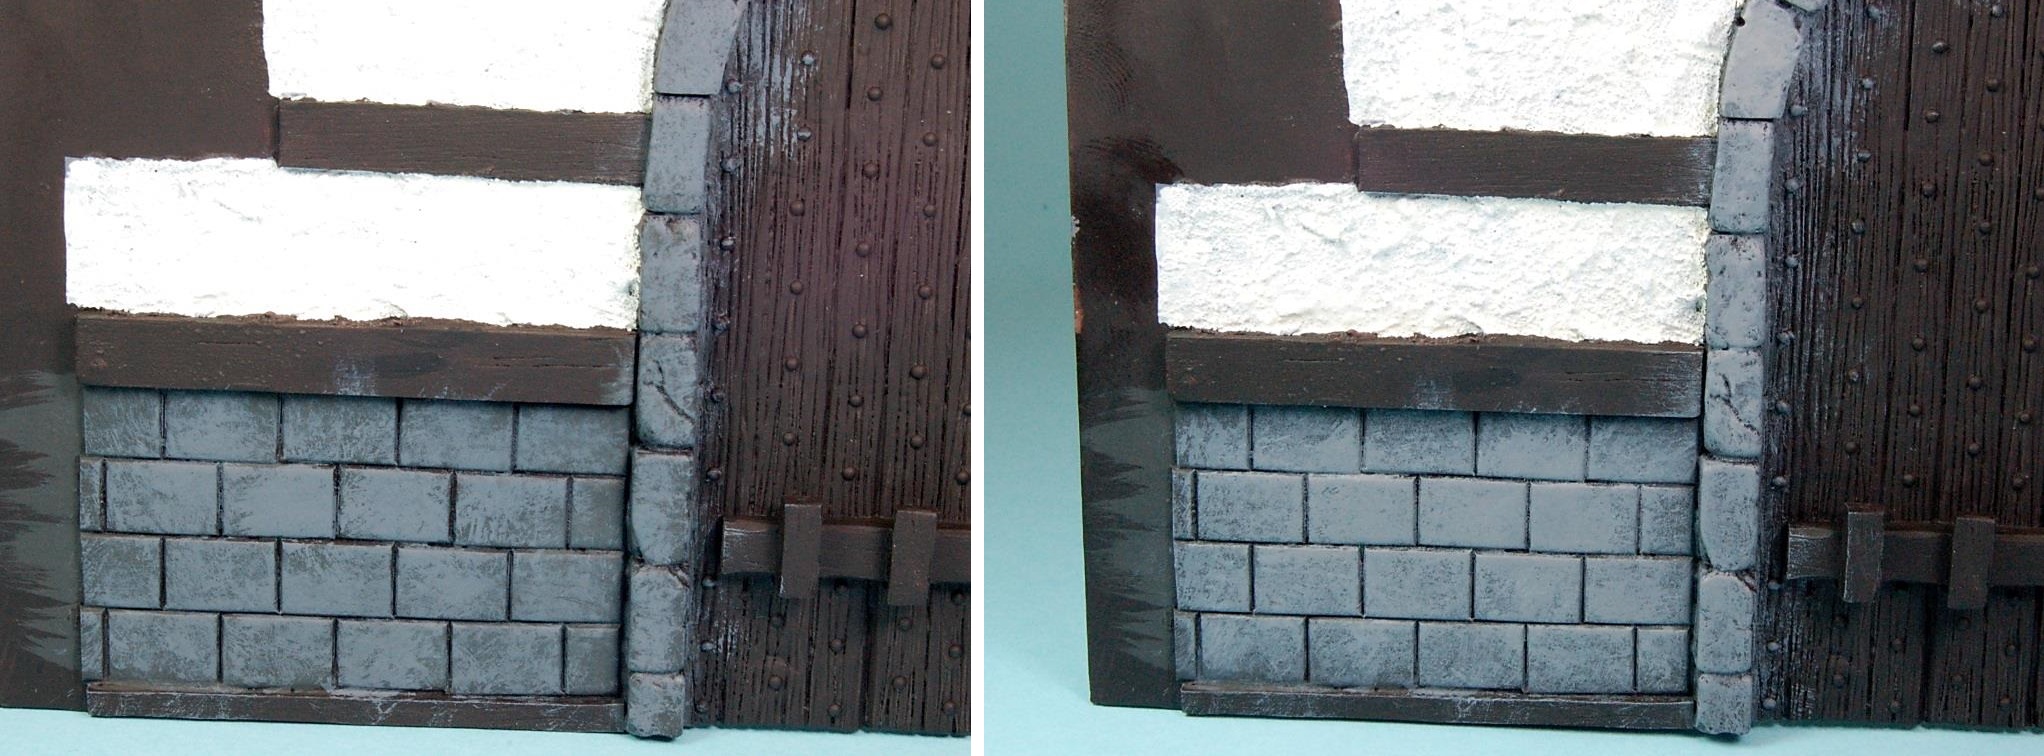
Starting with the stone textures, they are painted with a basecoat of Dark Sea Blue 898, roughly leaving the gaps between each block. The oil washes will fill in any mistakes later.
In the image below, I have started stippling a lighter tone of Basalt Grey 869 over the basecoat. This uneven paint texture makes the flat stone blocks look more pitted and weathered. This is built up over several more layers of lighter greys: Neutral Grey 992 and Cold Grey 050.
|
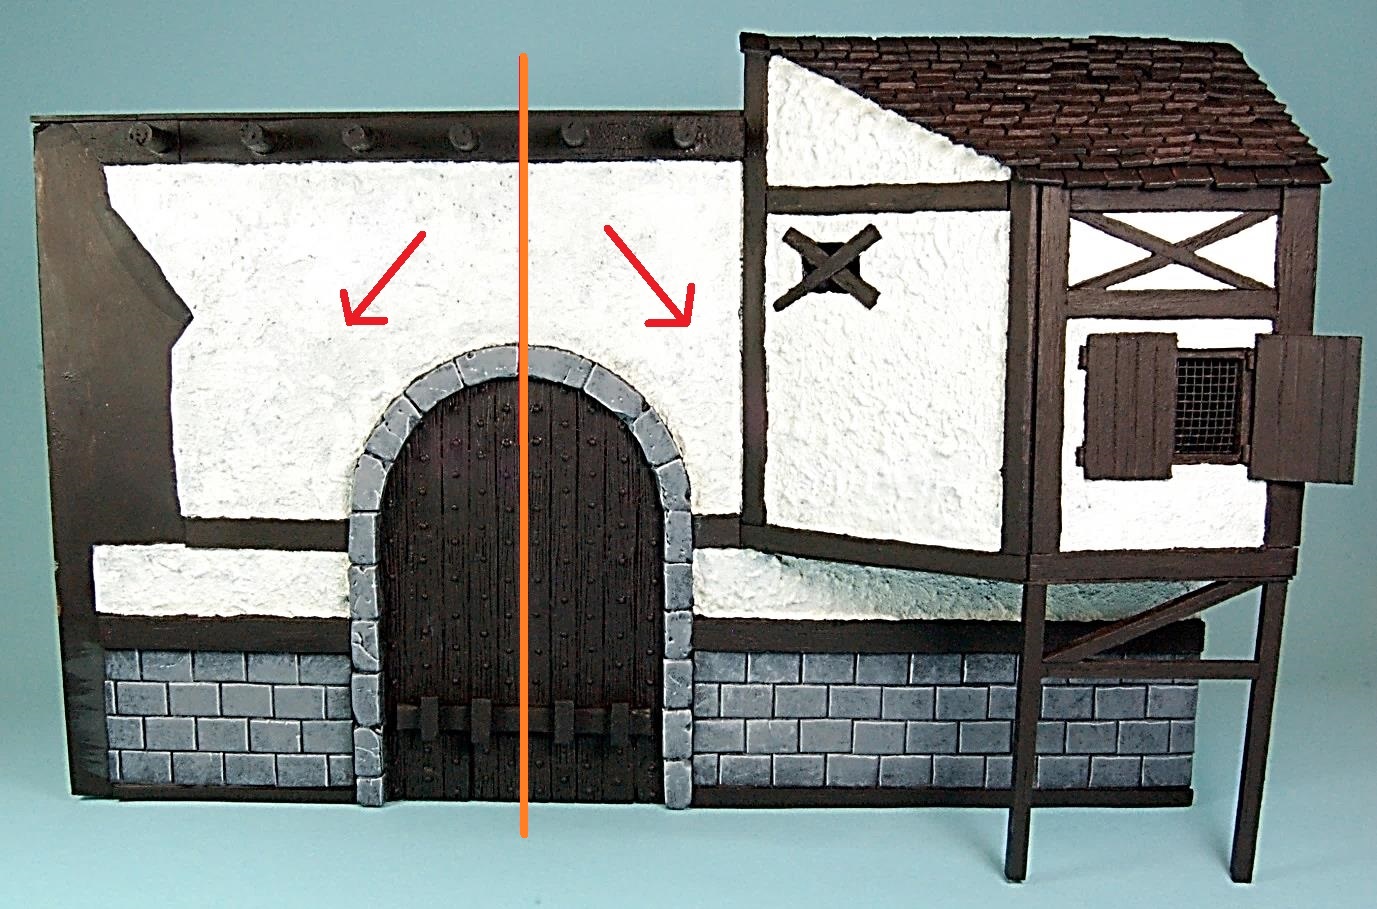
A subtle way of emphasizing the City gate is to frame it with the light sourcing. The orange line represents the focus point where the light forms, and all other highlights fall to each side. This will apply to the wooden door panels as well. I know this is bending the rules of object source lighting, but this method is effective for curved objects, keeping things neat and simple.
|
The wood basecoat is Burnt Umber 941 I have used the same colour overall, as the oils will alter the brown tones later, giving a more natural appearance.
|
I have painted Flat Earth 983 next, to warm the wood tone, leaving some areas with the Burnt Umber darker brown still showing. I am relying on the oil paint later, to tone things down.
|
The highlights are then added with Brown Sand 876. This really helps differentiate all the panel lines and makes the details stand out. I have continued the light sourcing from the focus point, in the middle of the door.
|
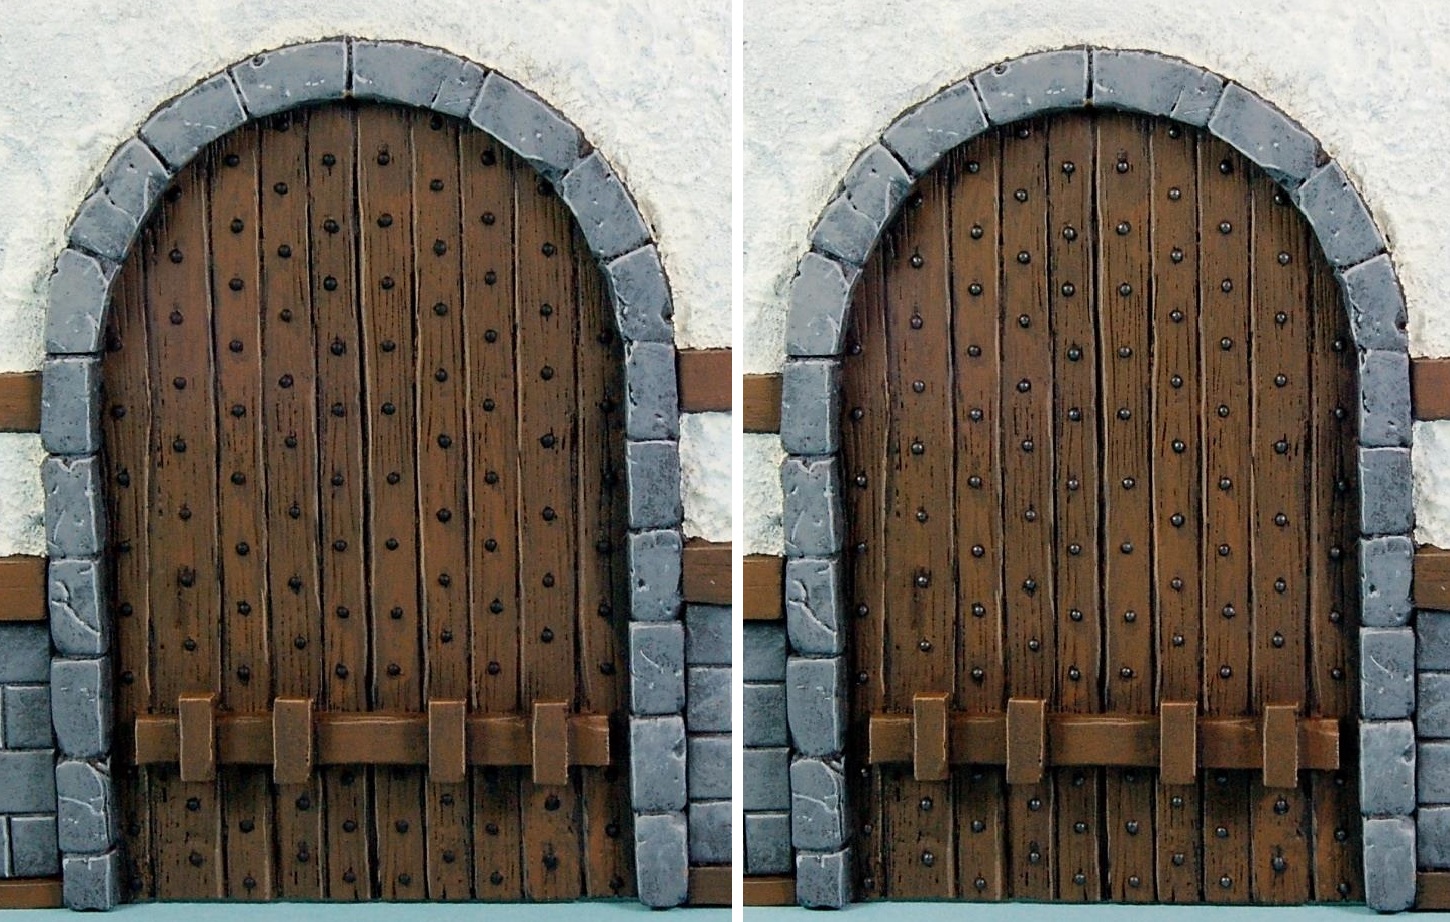
To make the door studs stand out, they were primed in black and painted with dark silver, Oily steel 865 + 50/50 black added to the mix.
|
|
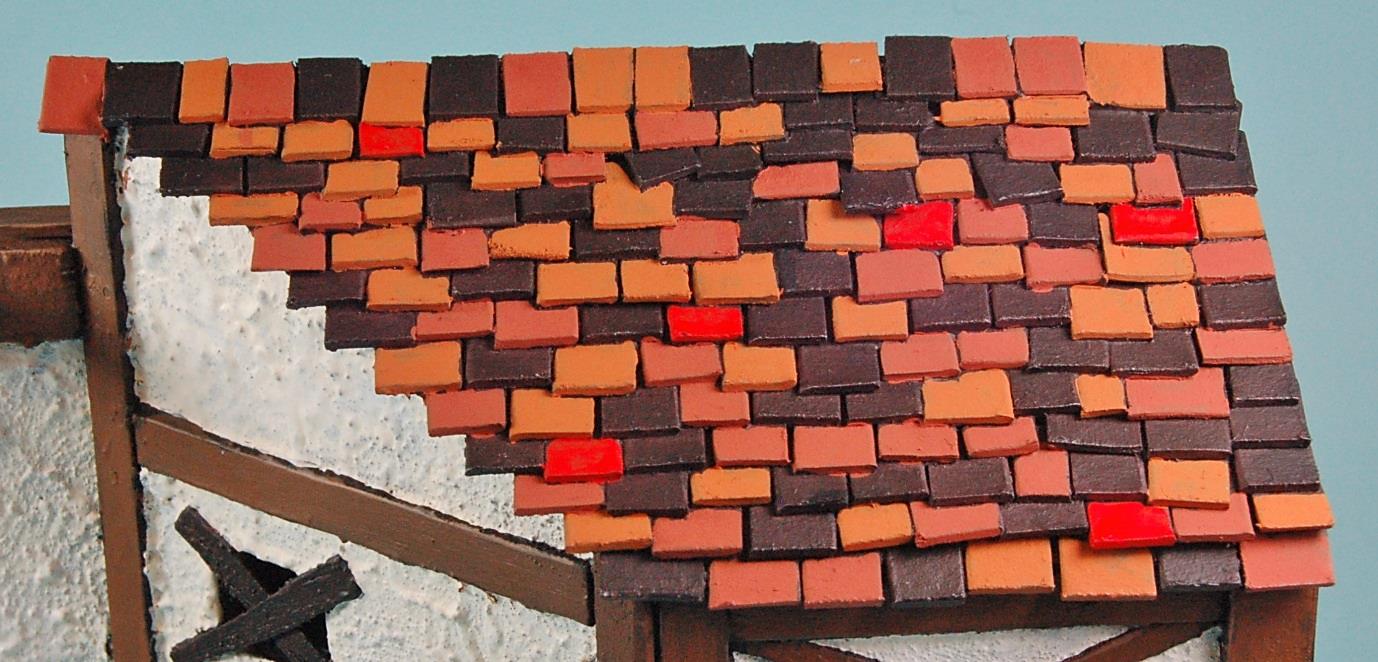
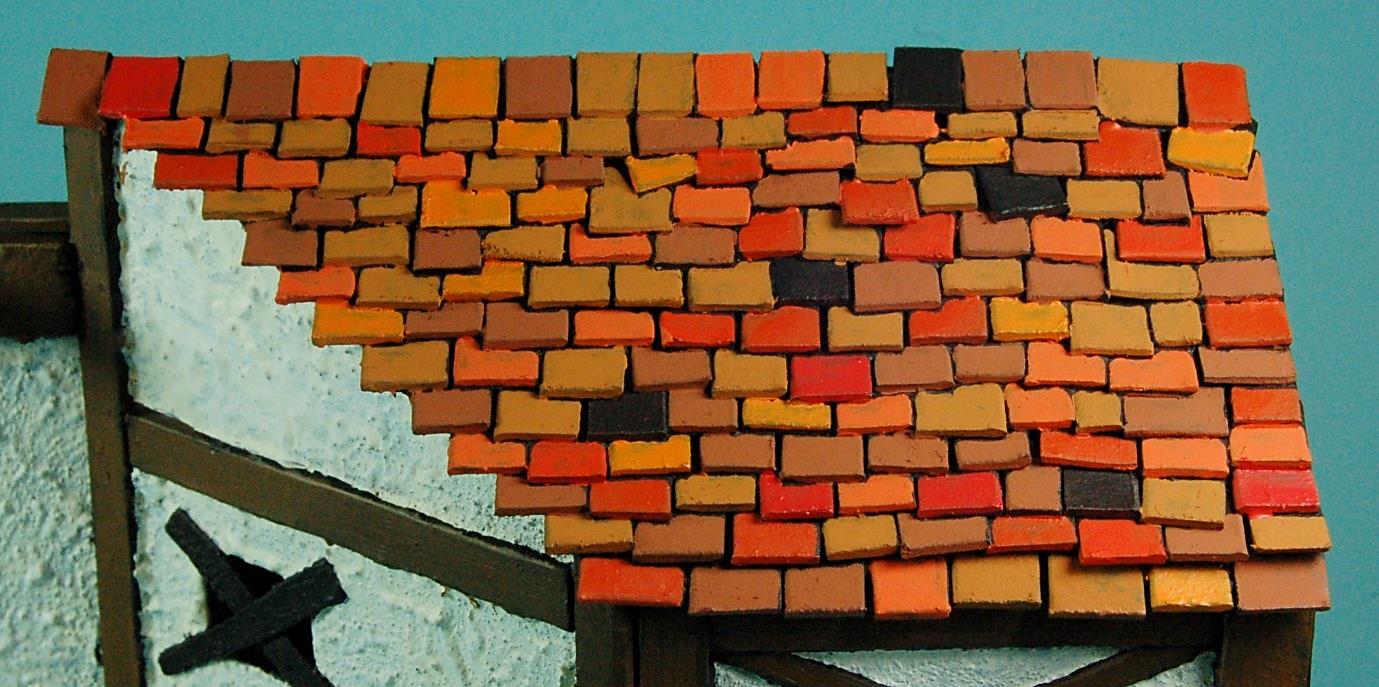
The last stage of the basecoats is the most colourful, the tile roof.
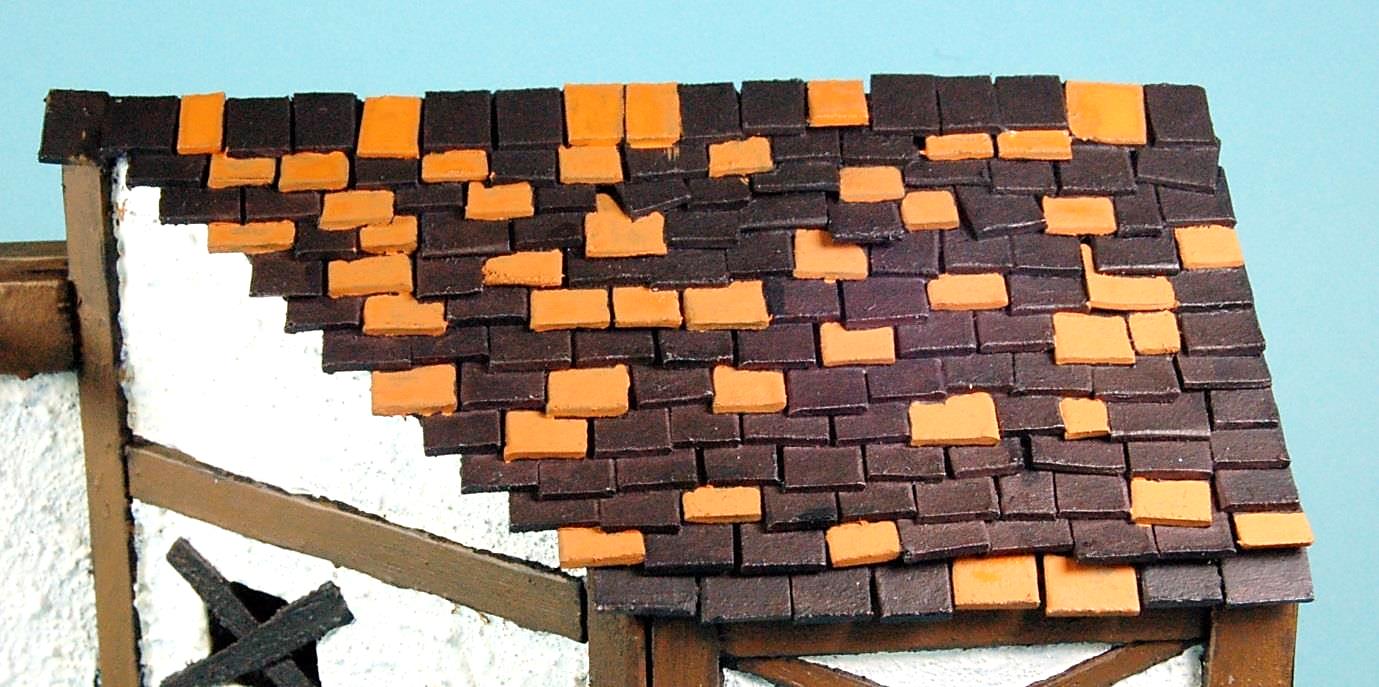
I wanted the tiles to have the same tones as the existing ones on the model, with the roof looking a little newer and more recently built, so the weathering will be a slightly thinner in the application later on. Painting random colours like this, I start with the most common colour tile, working down to smaller groups of different tones. This first colour is the ever-dependable Orange Brown 981.
|
Vallejo Panzer Aces light Rust 301
|
Vallejo Game Colour Hot Orange 009
|
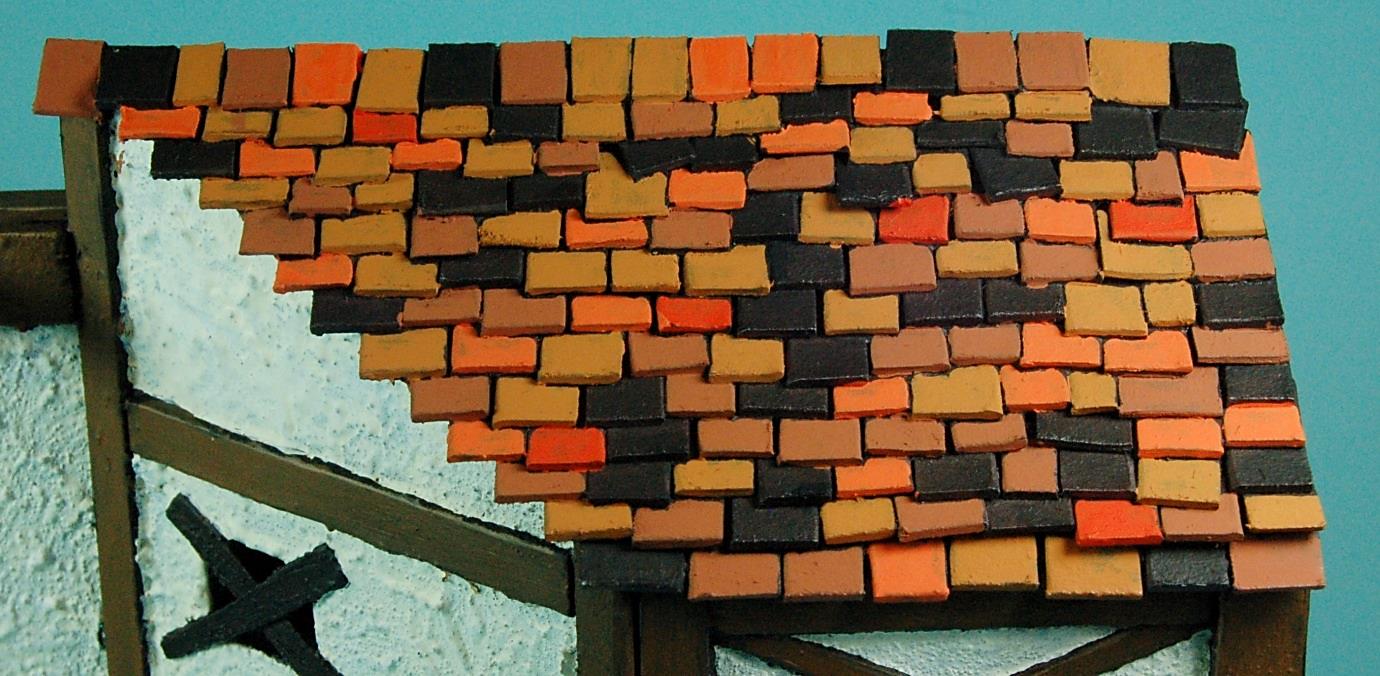
Bright Orange 851
|
Amarantha Red 829
|
Games Workshop- Wild Rider Red
|
Vallejo Panzer Aces Yellowish Rust 303
|
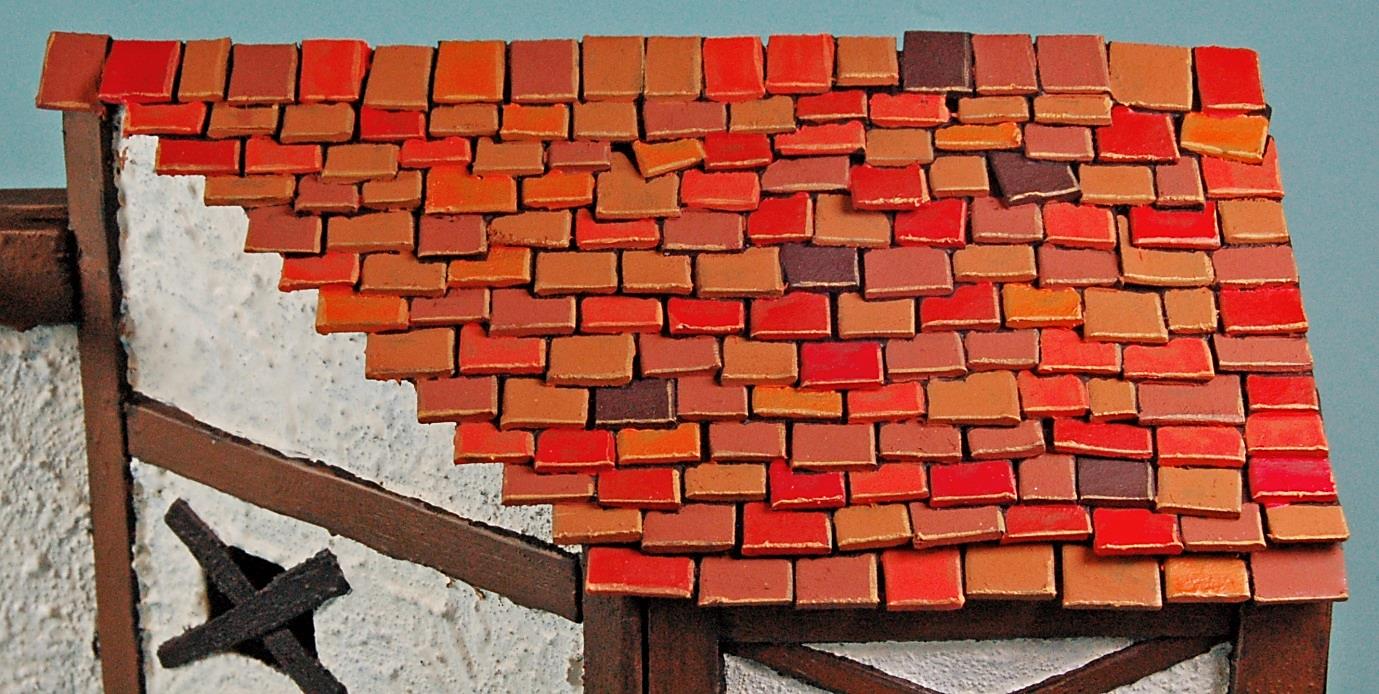
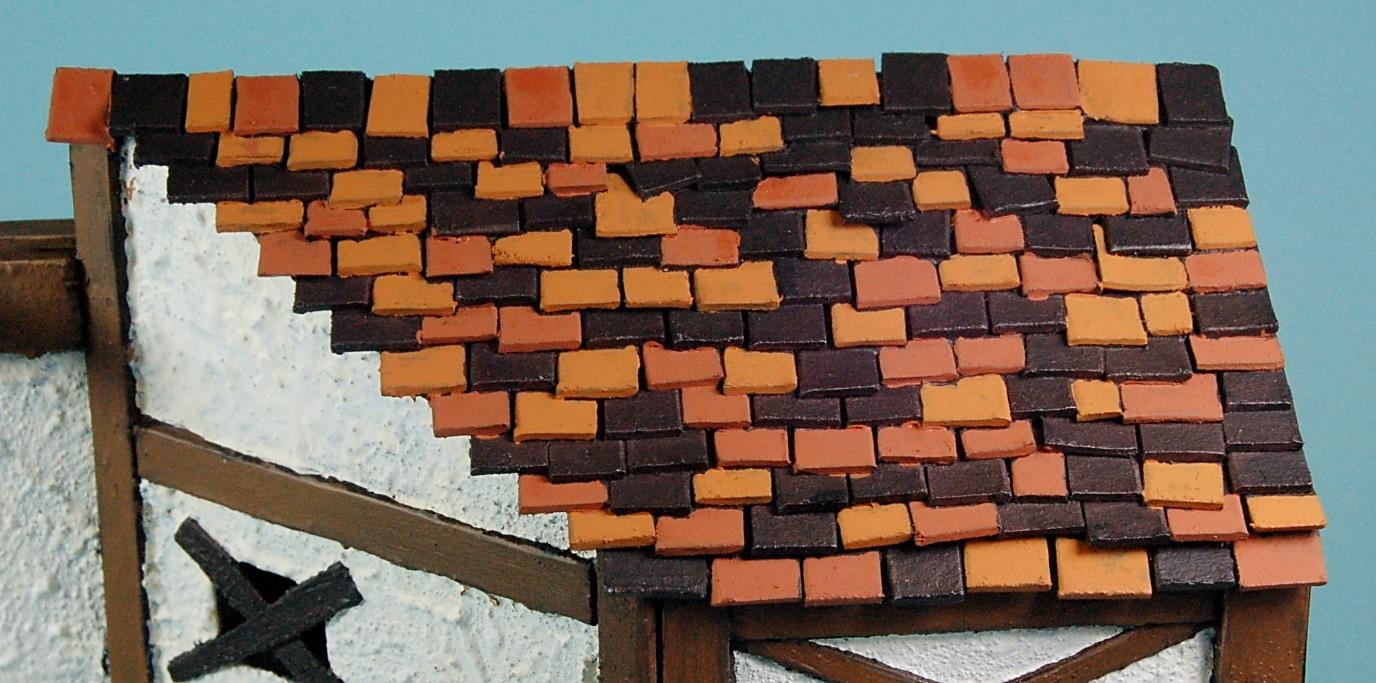
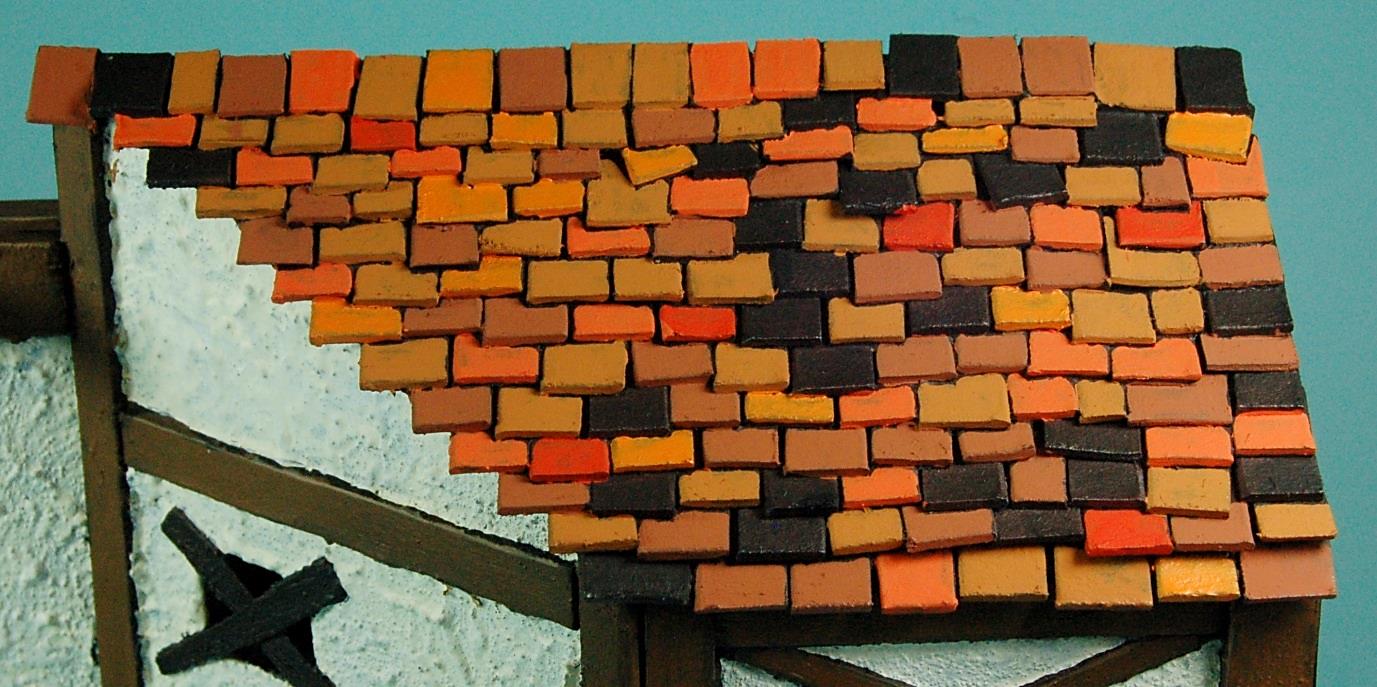
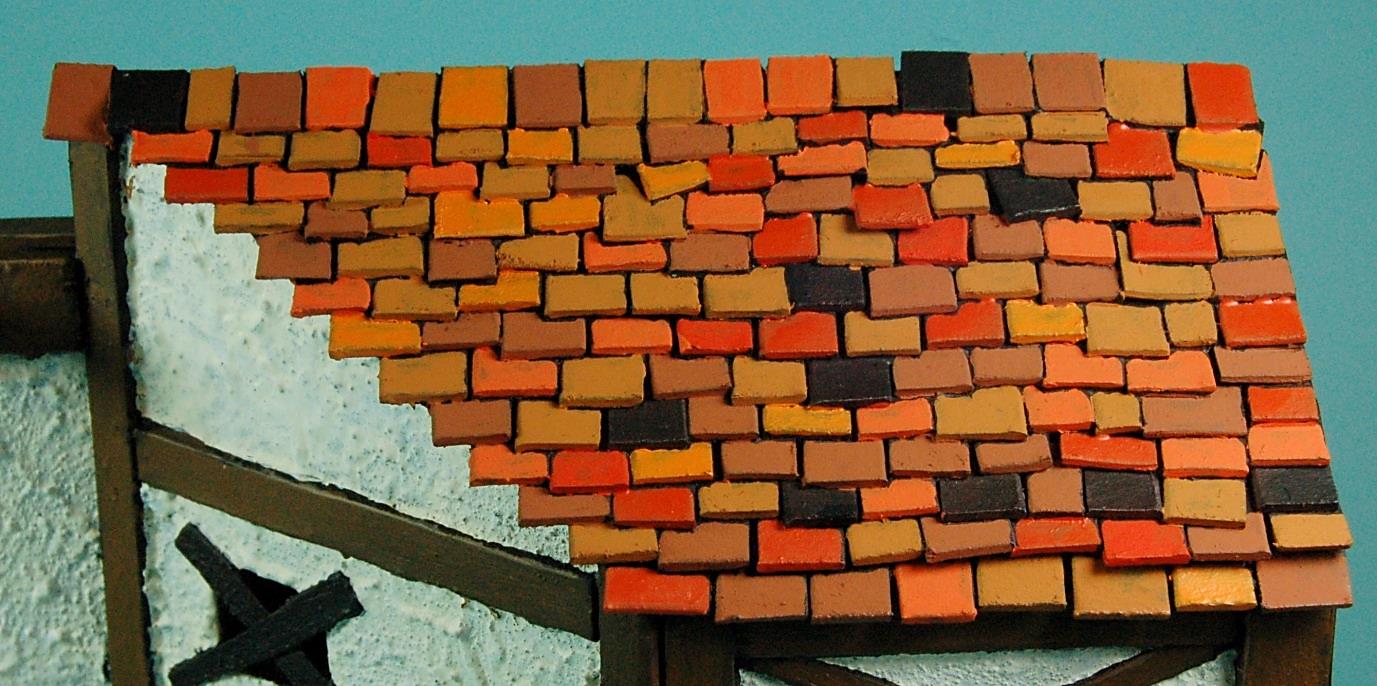
The highlights really bring out each individual tile. I have changed the direction of the light sourcing again as this roof is at eye height and can easily be seen. Also with the city backdrop being in a corner, the light moves into it, not out.
|
|
Weathering with Oil Paints
This is where the basecoats begin to come alive. I have kept the oil colours to a bare minimum with a dark brown, dark green and the essential turps for blending. The colour intensity is altered by adding turps to make a weaker mix.
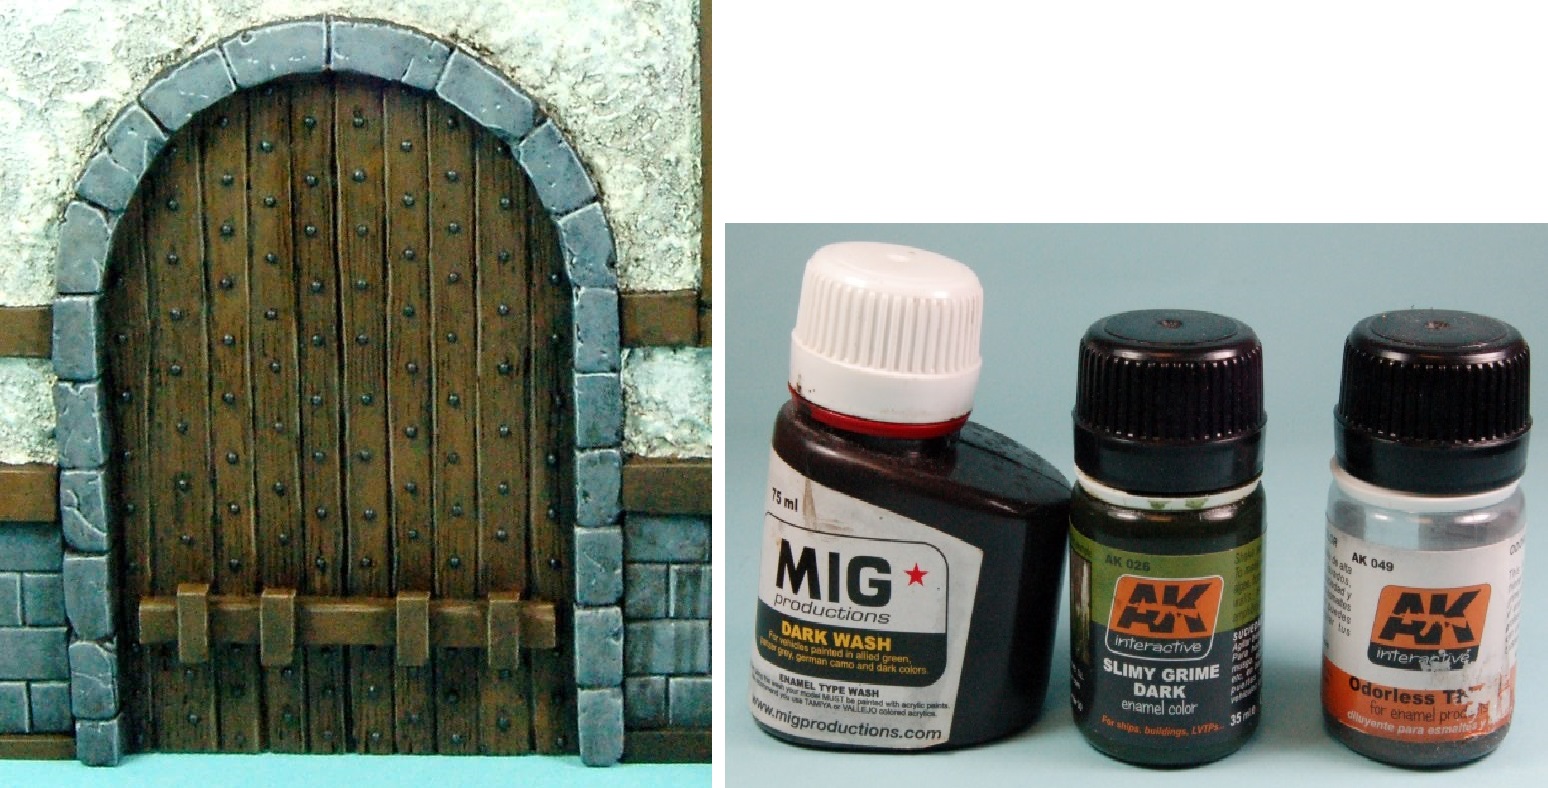
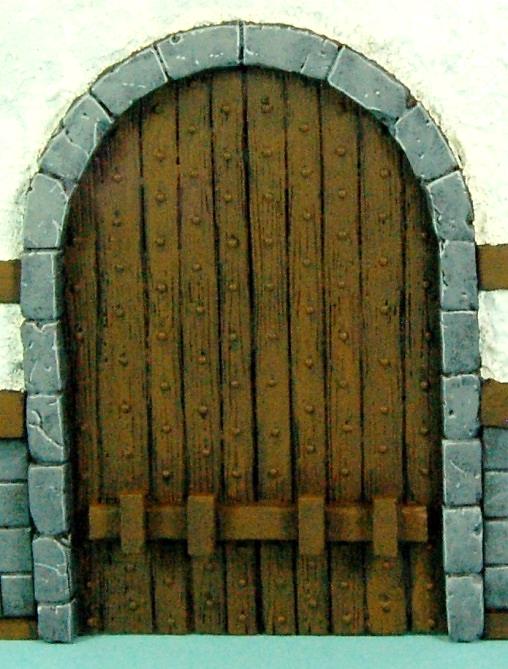
With this close-up of the door, you can see the shadows and grime starting to build up around the stone arch. I apply the oil wash heavily and, with a clean brush moistened with turps, blend in the shade colour by dragging the brush away, removing some of the oil paint with it. This leaves some of the lighter brown tones visible, creating natural highlights and leaving the surface with multiple brown tones.
|
The first oil wash is a thinned paint mix, applied all over the façade to give the whole wall a level of grime, the stark white render is now toned down with patches of dirt showing. On the stone wall underneath the building overhang, I have started to concentrate heavier washes by streaking the paintbrush downwards with a thicker oil paint mix.
|
The finished dark brown weathering adds more character to the walls and details. I will continue more washes when the wall is glued into place, so I can match all the weathering together.
|
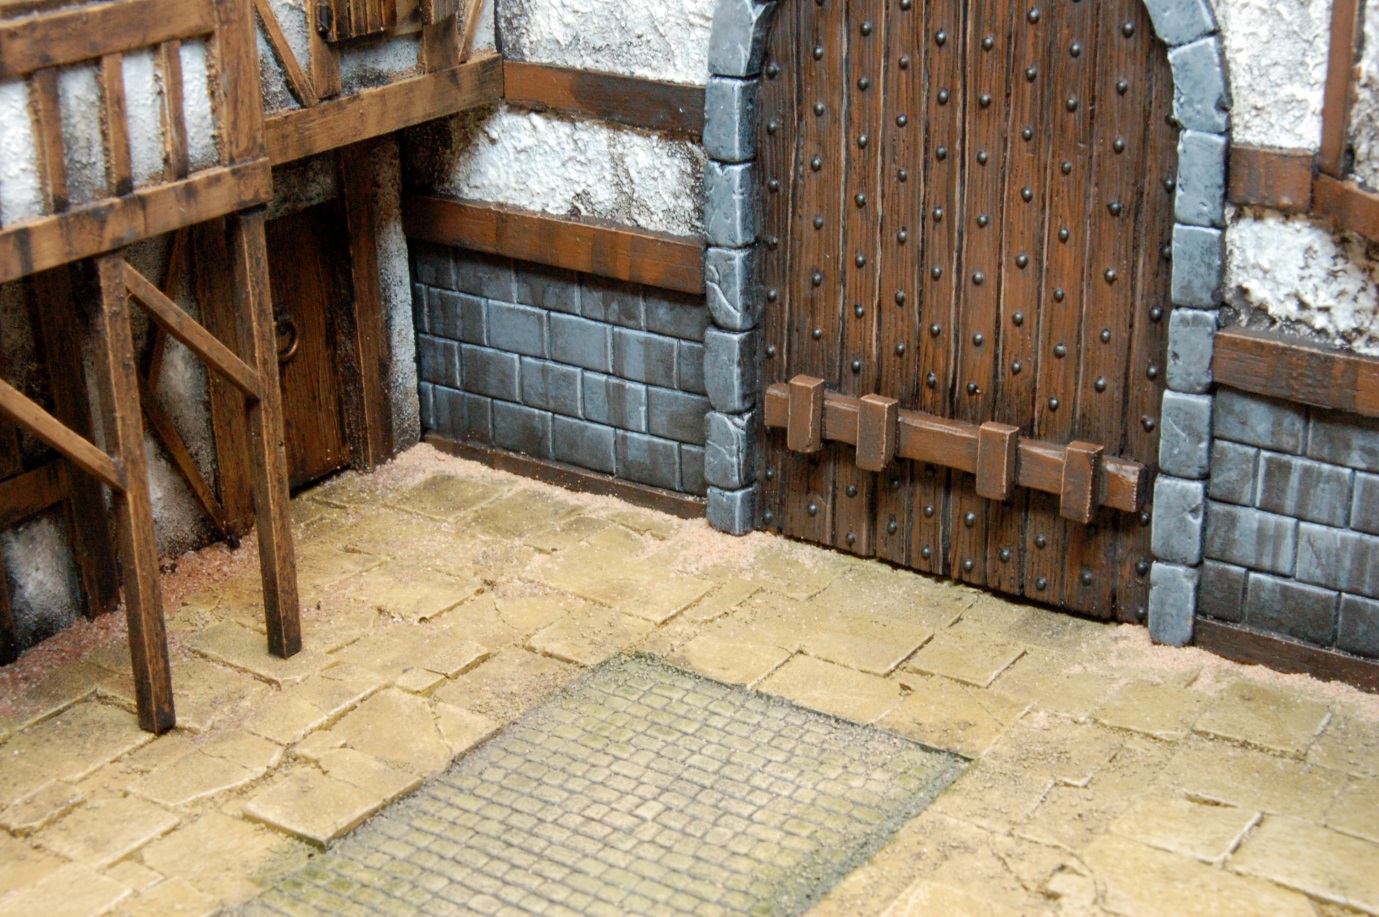
There is one job left to do before the final green oil wash, and that is to fill the gap at the bottom of the wall. I sprinkled sand and small stones in the gaps, letting it fall naturally around the stone slabs.
Using this brilliant product from AK Interactive ‘Sand and Gravel Fixer’ I carefully dripped the glue over the top of the sand with a pipette.
|
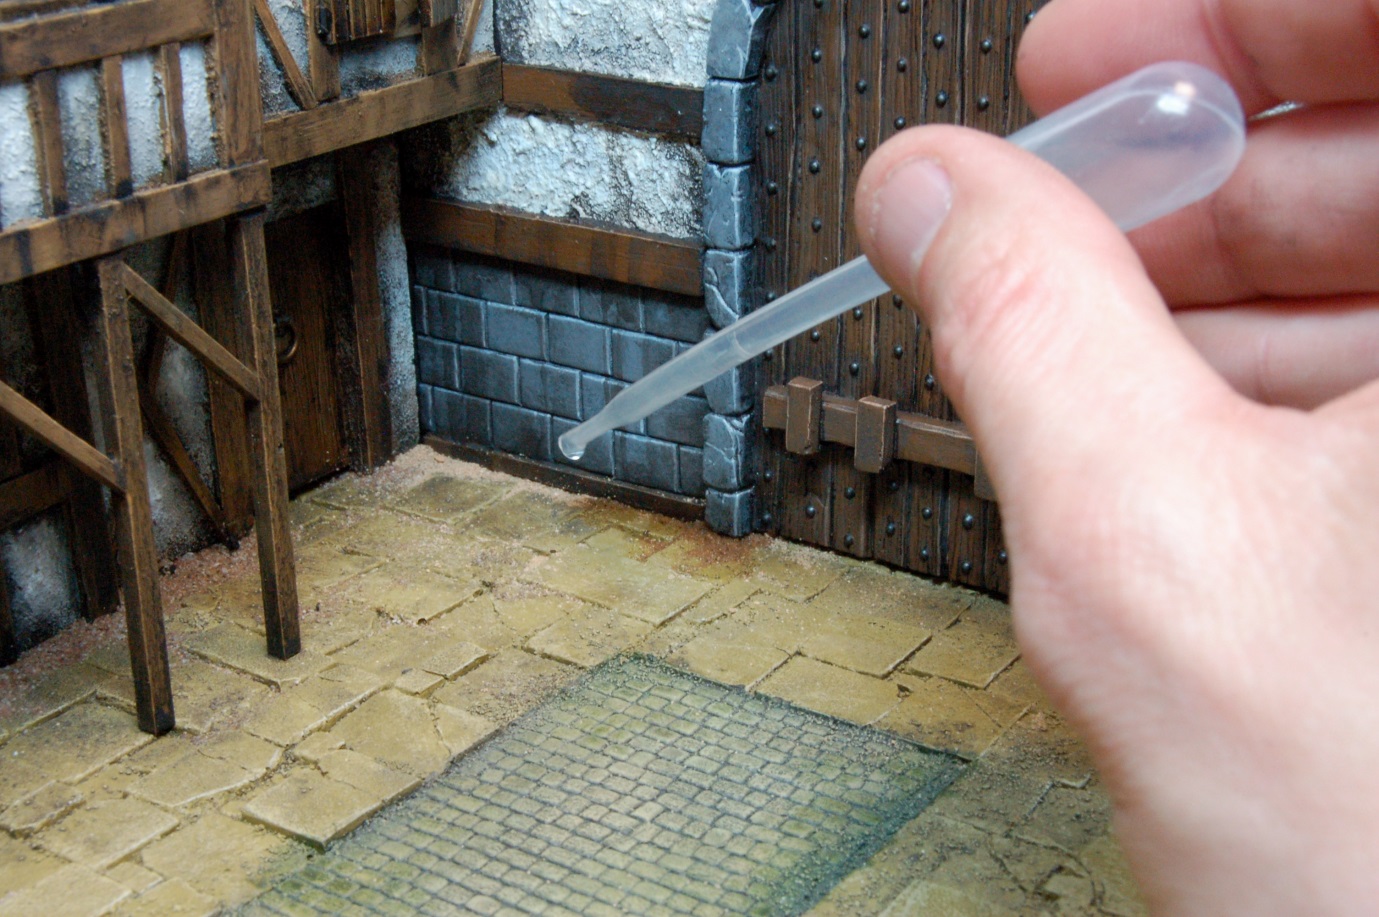
I cannot recommend this product enough and it is now an essential part of my scenery building kit.
|

“A new adhesive to fix down all kinds of earth, gravel, small stones and sand to your bases. This special adhesive, with an alcohol base, is much more effective than the traditional white glue. The white glue tends to leave a plastic finish over the surface giving an unreal effect and also tends not to expand well through the material, but this new adhesive expands rapidly and is adsorbed by the stones and sand saving a lot of time when fixing down rubble for example. This product is easily cleaned using alcohol, can be applied using an airbrush or paint brush and the drying process can be accelerated with a hairdryer or any other type of heat source. Although it is matt when it dries, on smooth surfaces it can leave a light satin mark, but this can be removed with a matt varnish.”
|
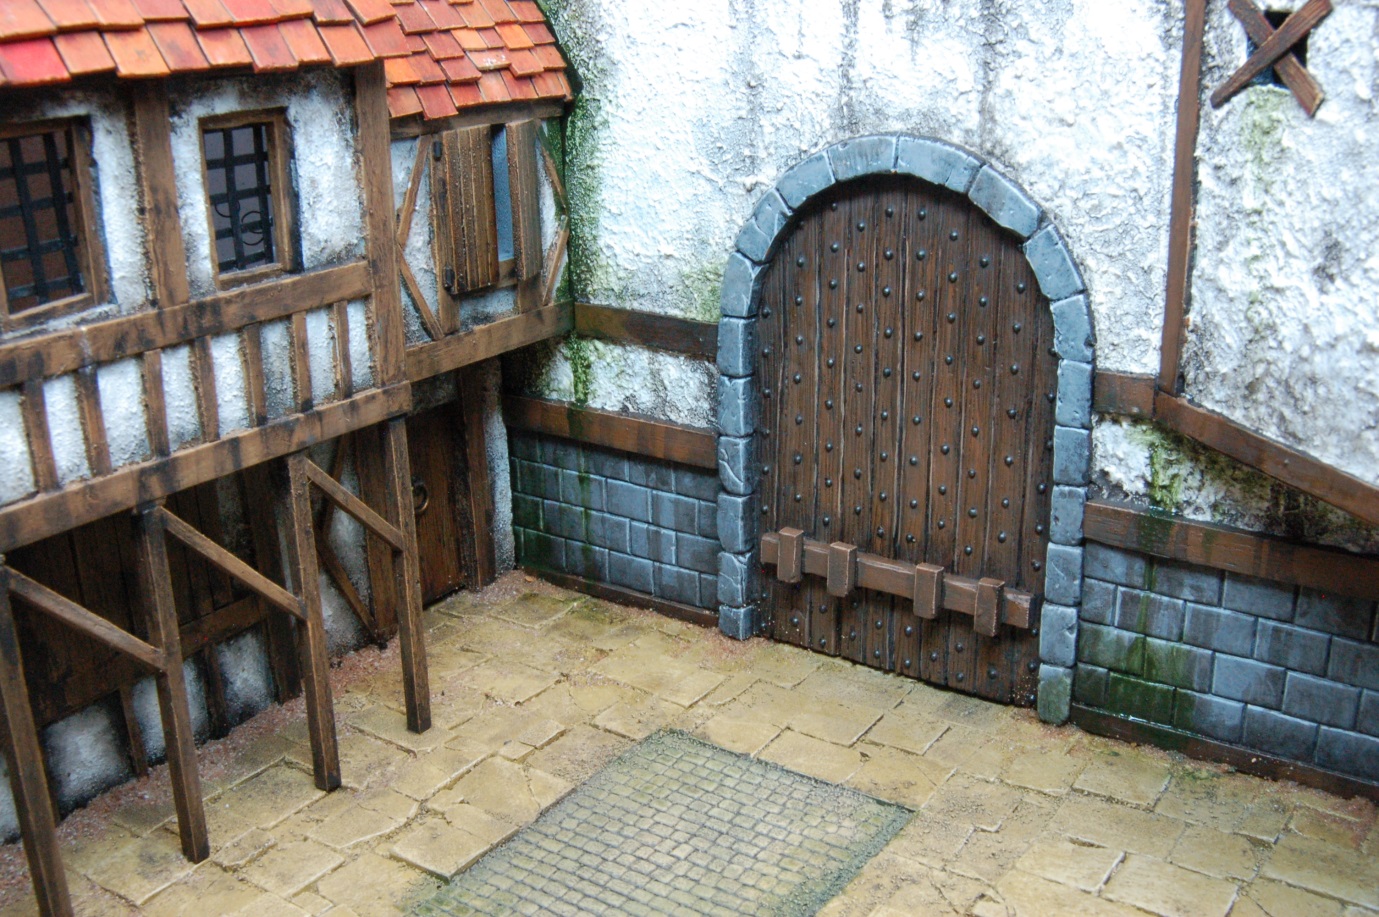
The green washes are applied and help match the two walls of this backdrop together. You can see now, how the sand at the bottom of the wall is dry and the colour has naturally toned itself down, no further painting required.
|
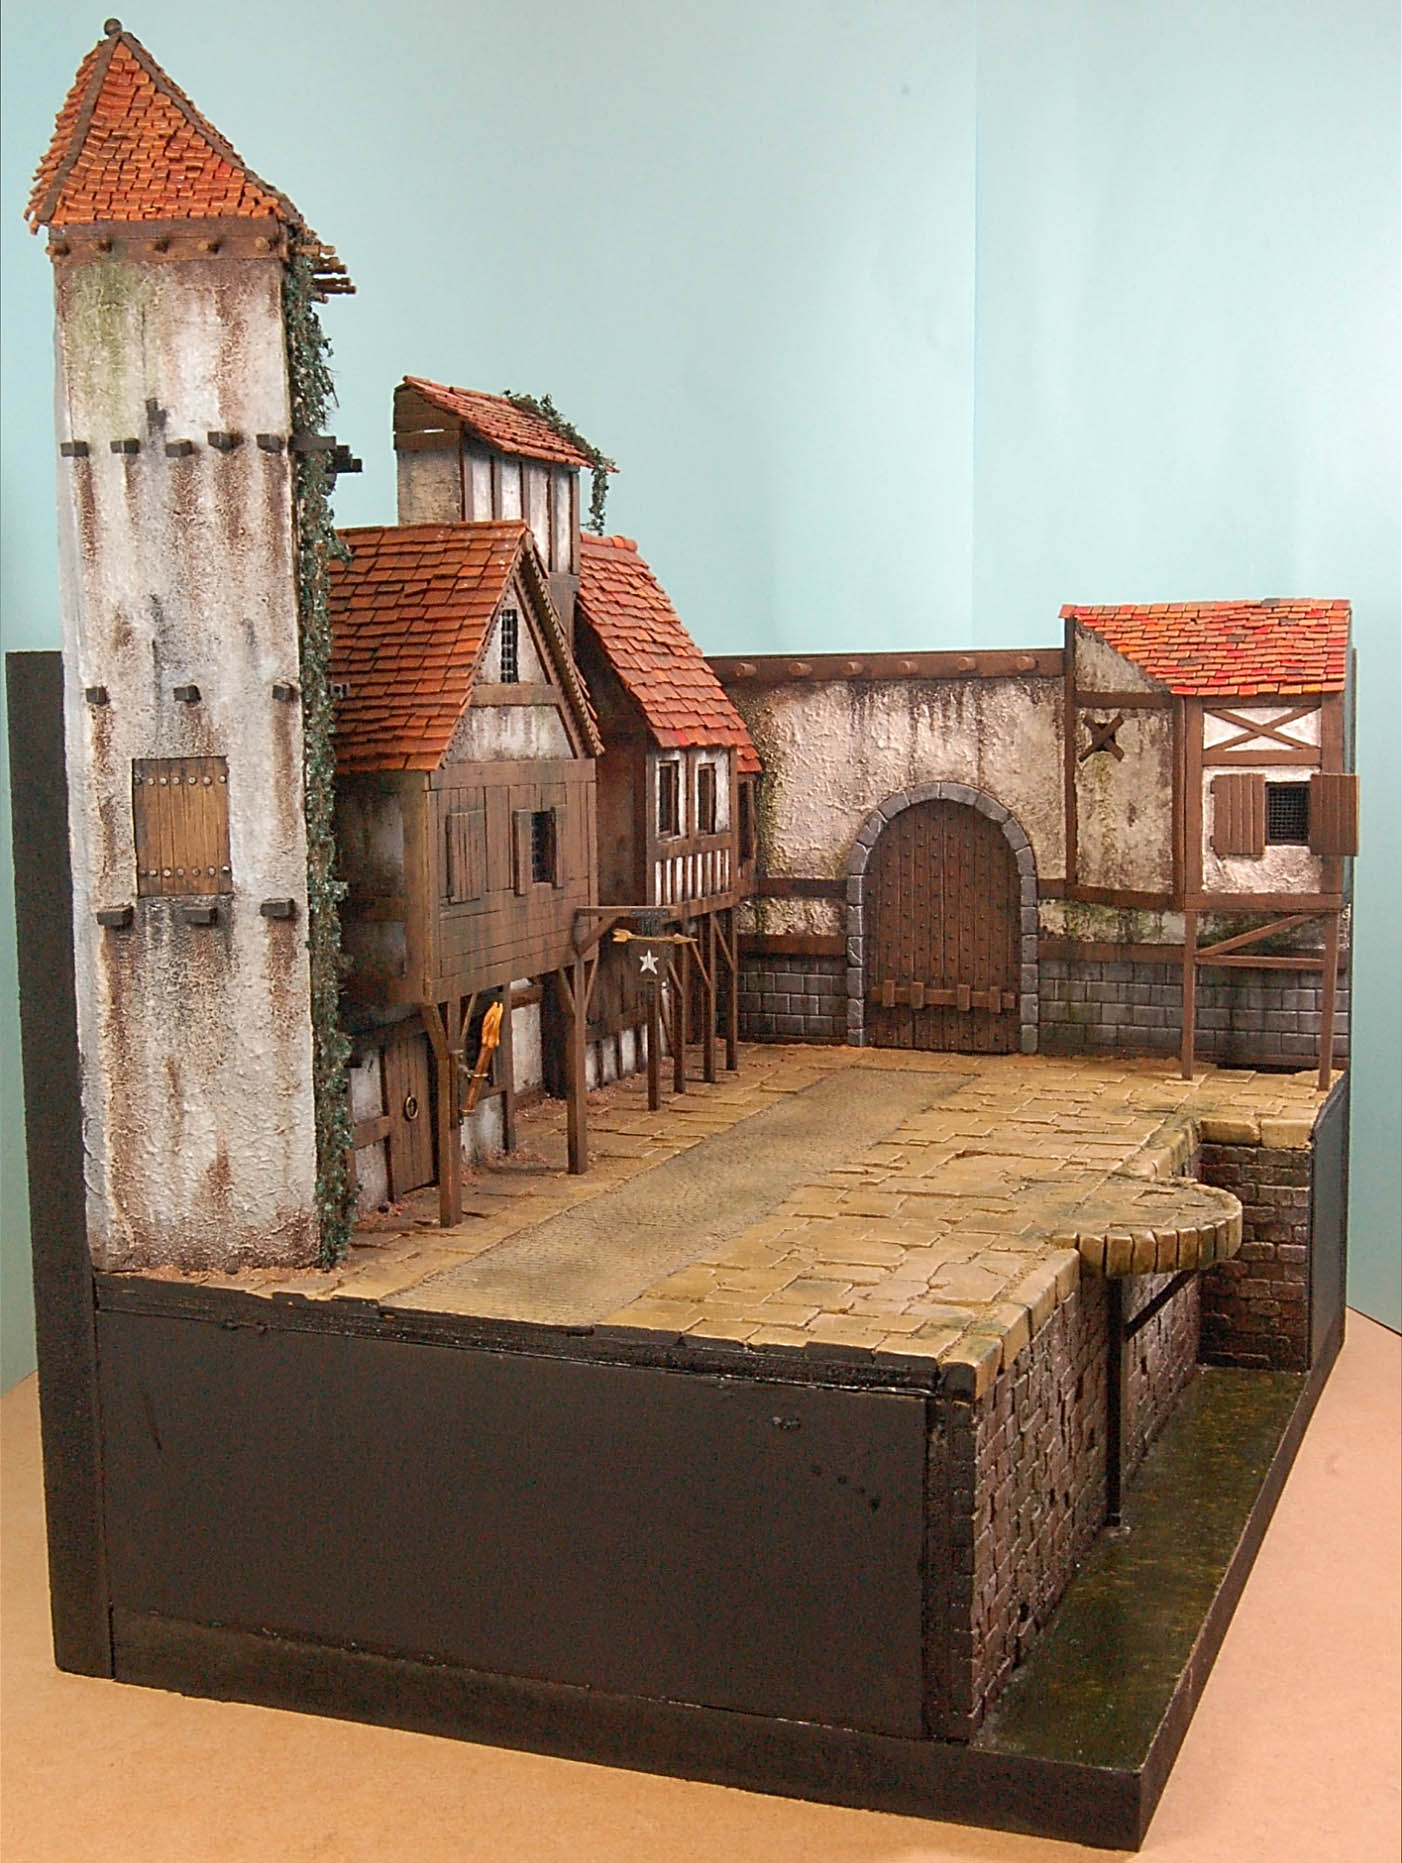
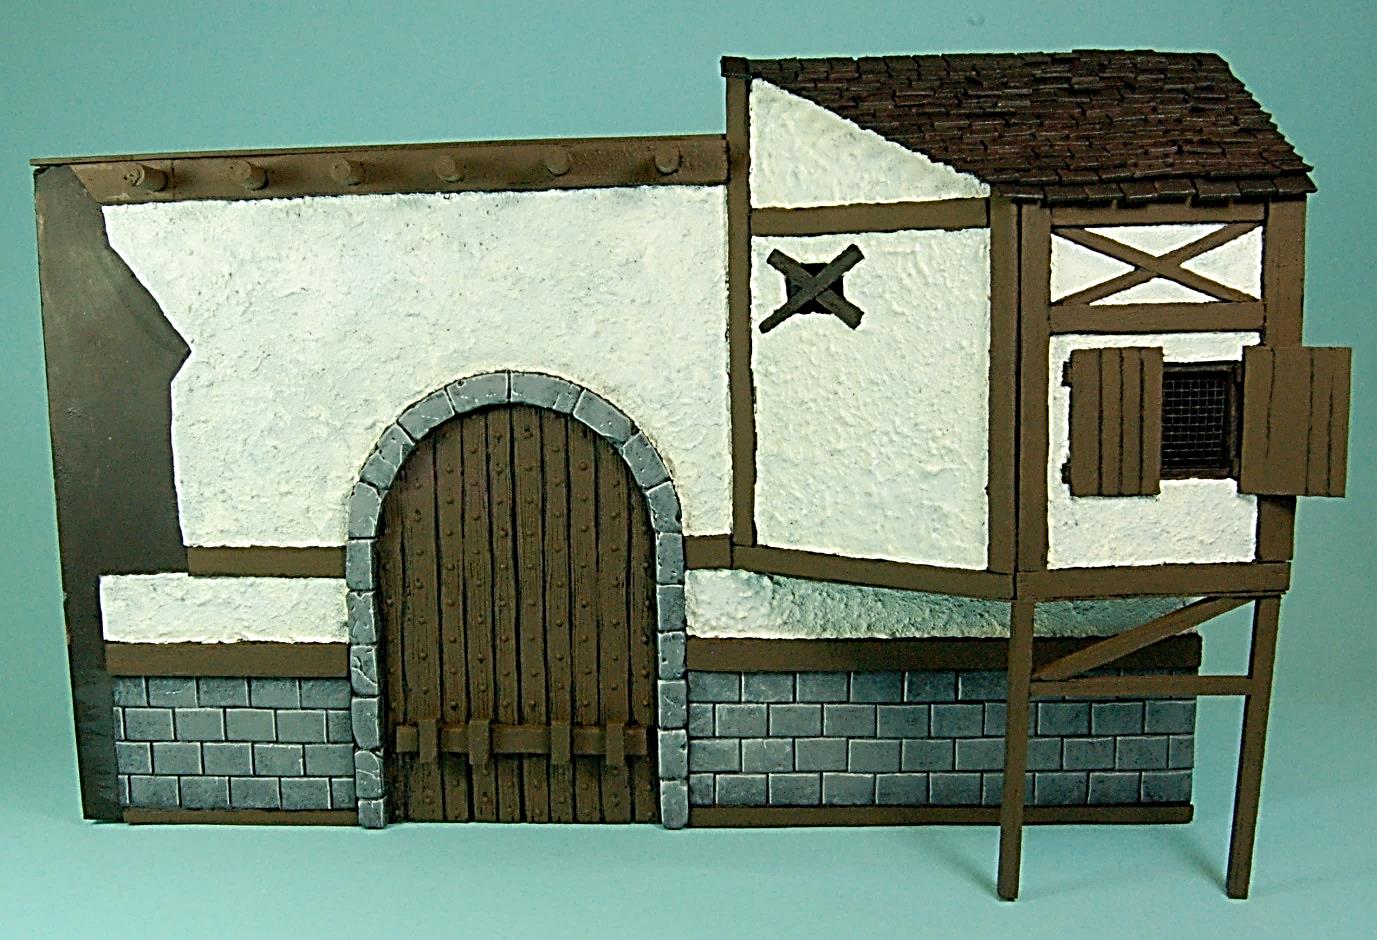
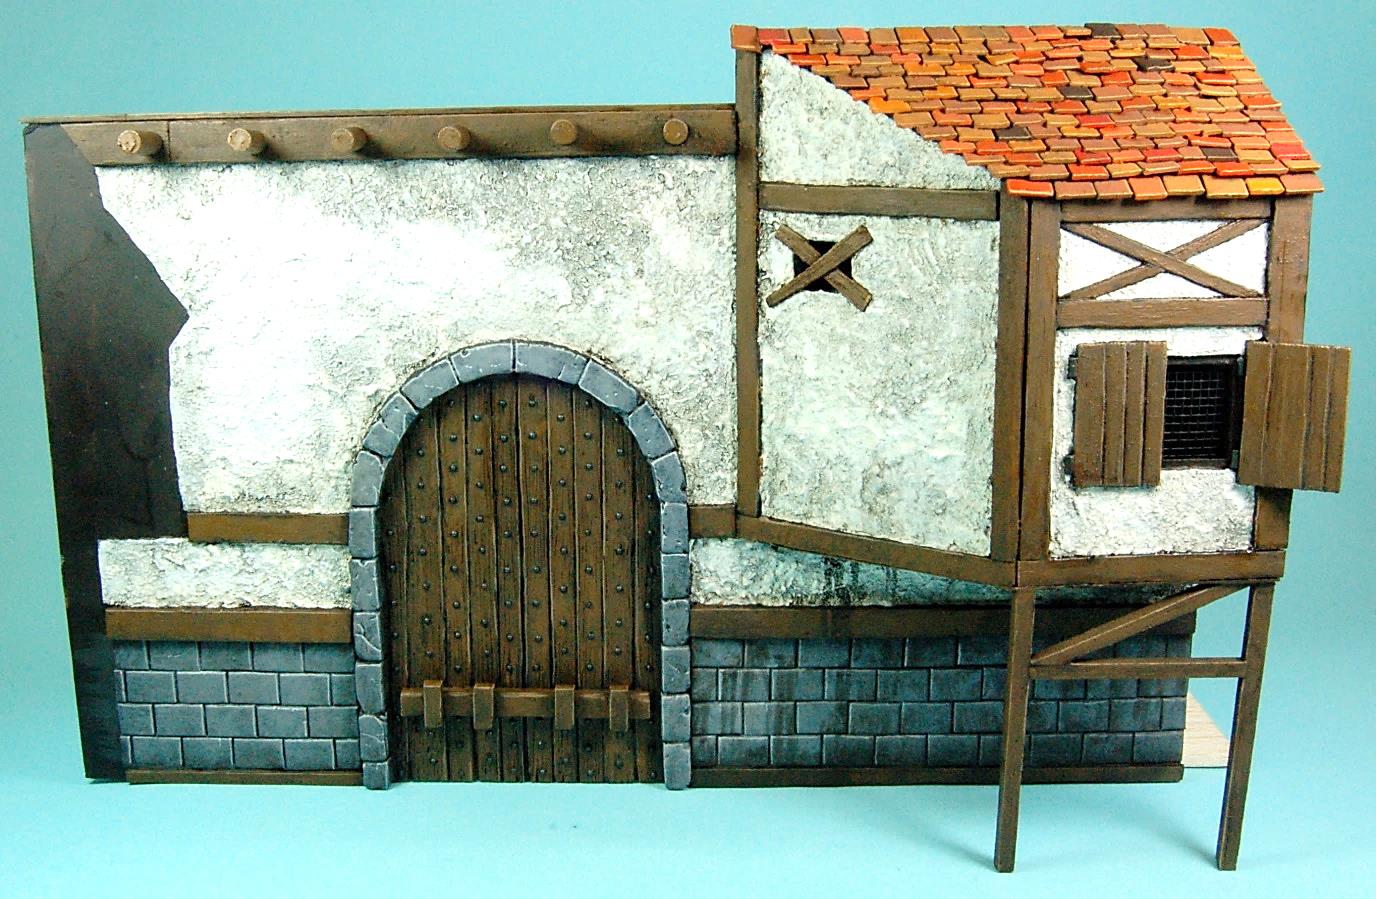
The City Gate backdrop finished, ready for box cover photography.
|
Possibly related posts:
- Behind The Scenes - Town Backdrop (part 1)The release of two Baldur’s Gate box sets, it gives me a great opportunity to show you the theory and evolution of creating a box cover backdrop.
...
- GF9 Dungeons and Dragons Website ContentIntroduction
My name is Matt Parkes and I have been a professional figure painter and modeller for nearly 20 years. In this time I have worked for various miniature companies, painting everything from 15mm tanks to massive fantasy...
Comments are closed for this post, but if you have spotted an error or have additional info that you think should be in this post, feel free to contact us.
Loading, please wait.