
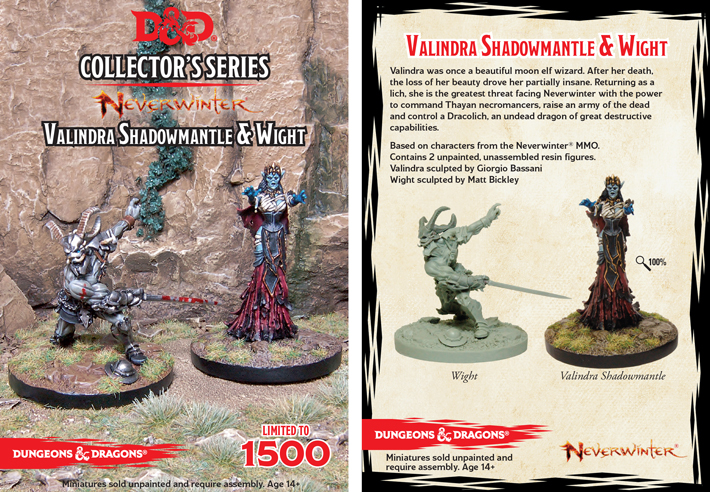
View the Valindra Shadowmantle & Wight assembly guide here...
You can find Valindra Shadowmantle & Wight in our online store here...
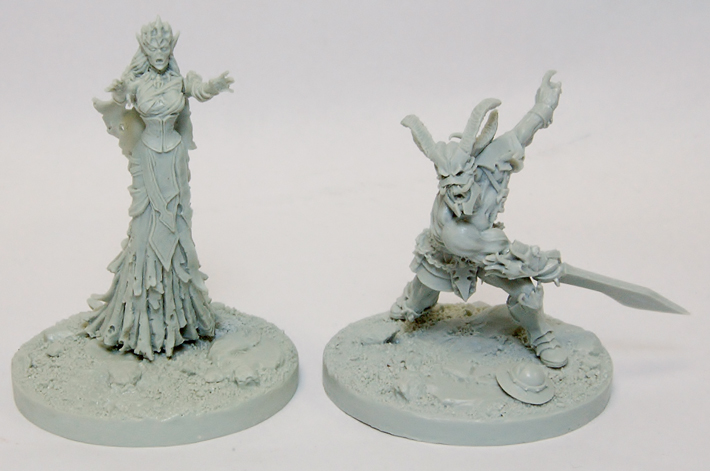
With the components cleaned up and attached to their individual painting stands, they are then sprayed with a mid-grey primer. Any more imperfections can easily be seen at this point and any further cleaning completed.

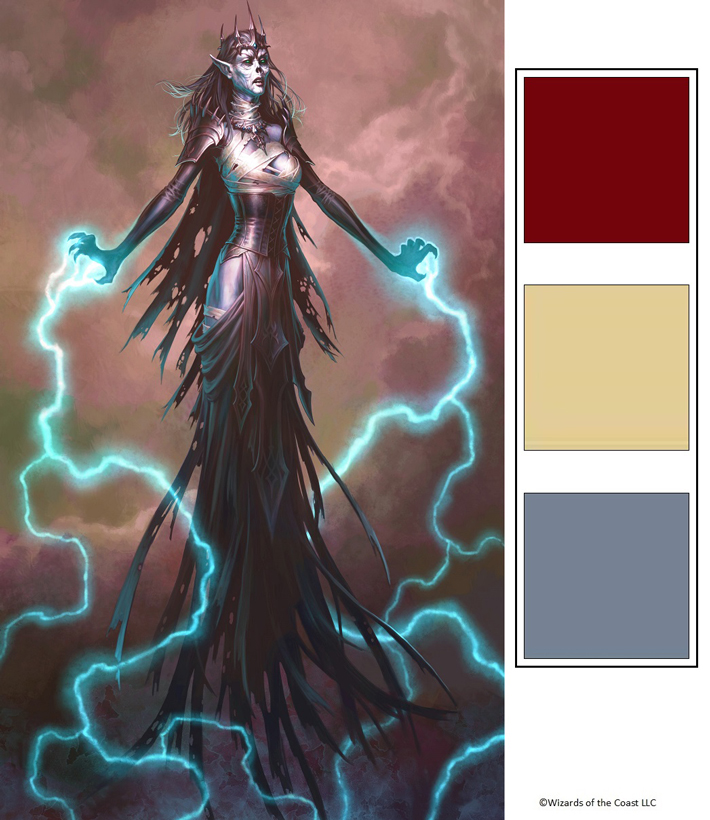
Colour palette for Valindra
Regardless of what paint brand you use the overall palette for Valindra is dark red, cream for her bandages and a light field blue tone for her skin.
Ragged dress
I generally start painting the largest part on the model; in this case it is her dress.
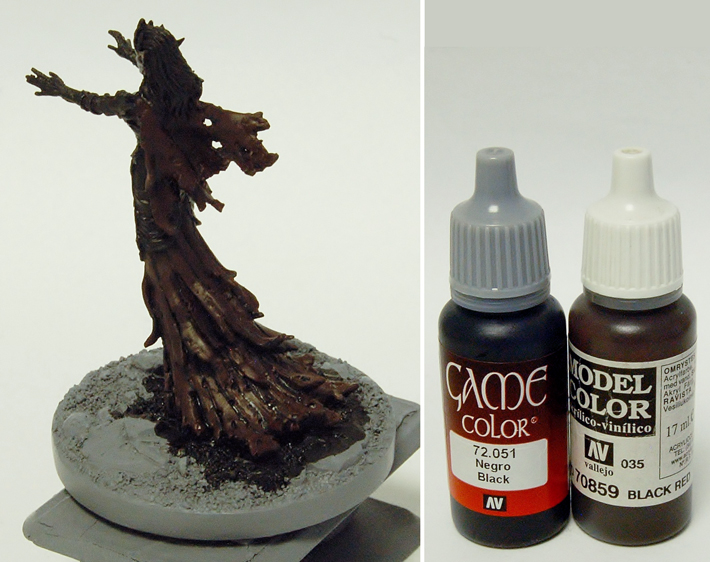
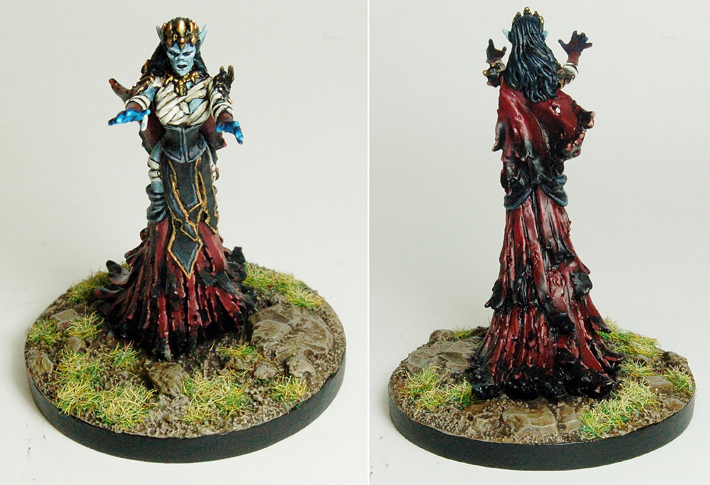
Starting with a dark red basecoat, it was soon apparent that the stage by stage photos where not showing up the detail as I wanted, so I have used extra bright images from the finished miniature and I will explain my methods as we go.
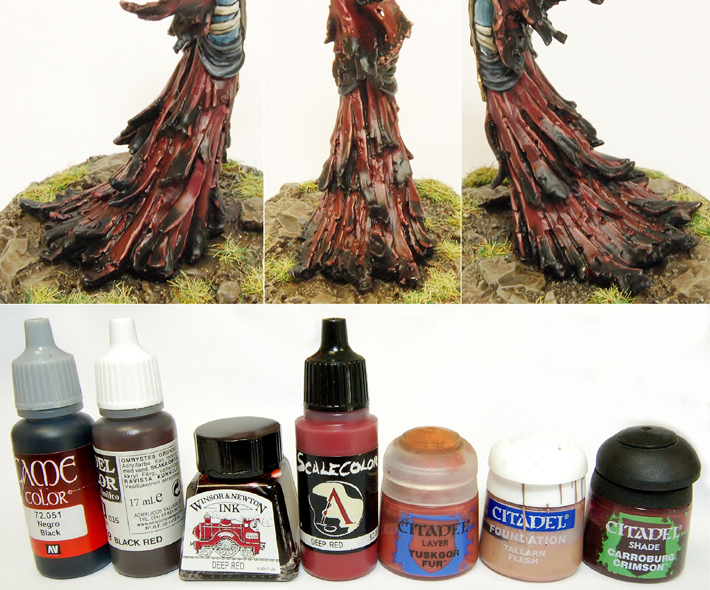
After the initial basecoat, the whole dress was washed with a deep red ink into all the cracks and crevices. I then began to paint each strip with deep red, leaving space so each piece of fabric is separated from each other. Using a peach tone to highlight the edges and holes brings out the details even more, to a final highlight of red-based flesh tone.
After a considered review of the dress, I decided to paint the ends of each piece of fabric black, making the whole area a lot darker. This is quite an unusual finish and looks sinister, so I’ll go with that. To make sure nothing was looking too bright and clean, a final thin wash of dark red ink was applied all over.
Waist sashes on the dress
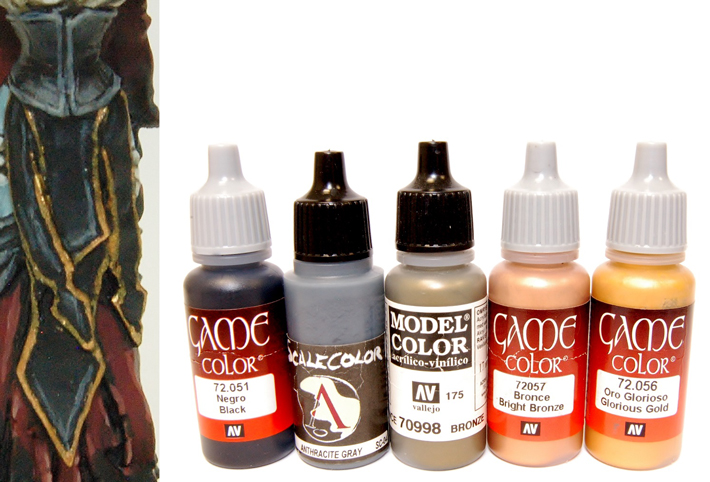
This is the second time I painted this area; the first was an attempt at the complicated pattern from the main artwork, which turned out to be a big mess. Sometimes it is better to simplify things at this scale.
Skin tone
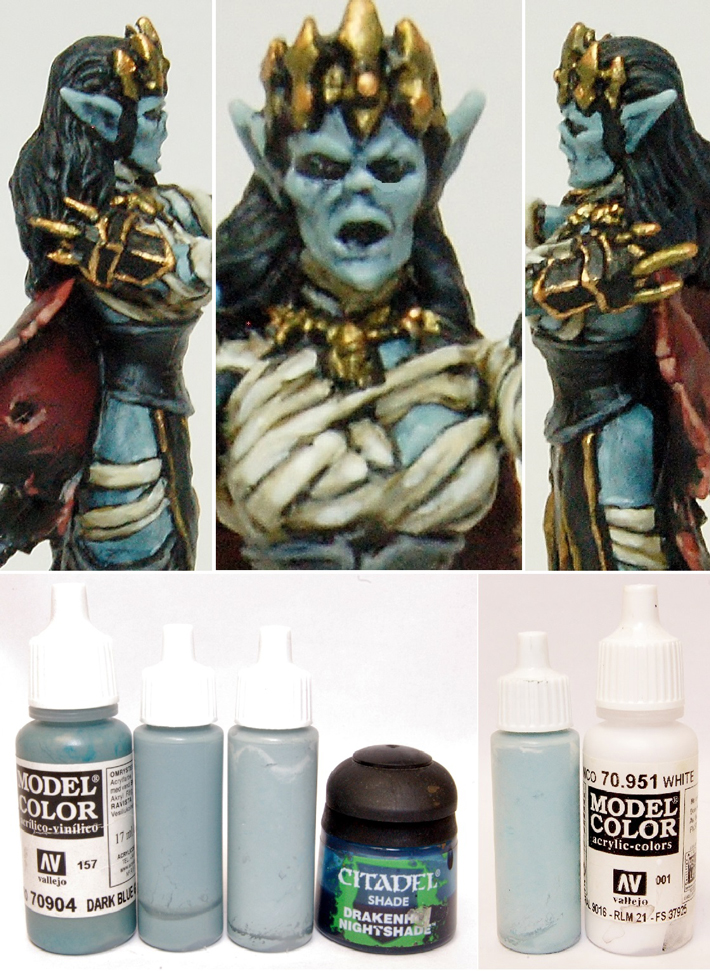
After watching the introduction movie to the Neverwinter game (many times) her transition from a beautiful woman to this evil, malevolent creature is quite alarming. I wanted to reflect this change with her skin tone and decided to go with a unworldly pale blue.
Unfortunately Vallejo does not produce an evil Elven skin tone, so I have had to make my own mixes: each stage is 25% more white added to the original Dark Blue Grey 904.
I have painted her eyes with a very dark black border to add her evil characteristics.
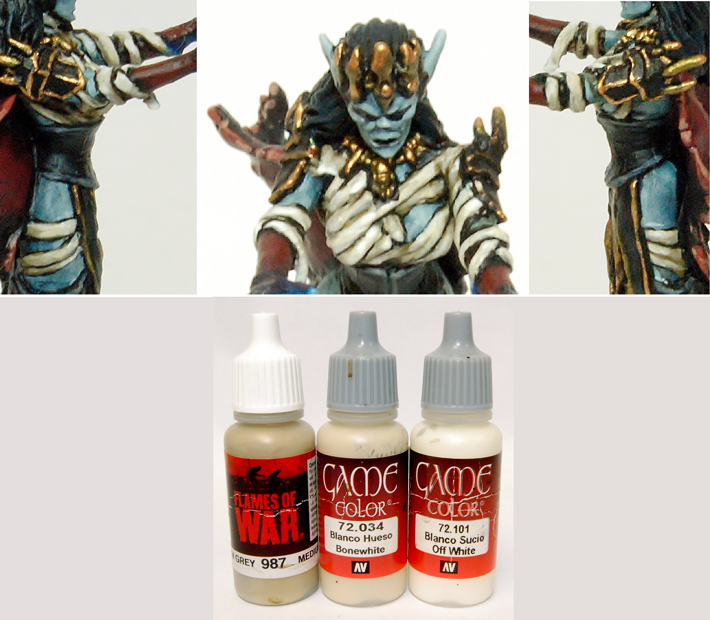
Her bandages are picked out in a neutral cream and highlighted with bone and off-white tones.
Raven hair
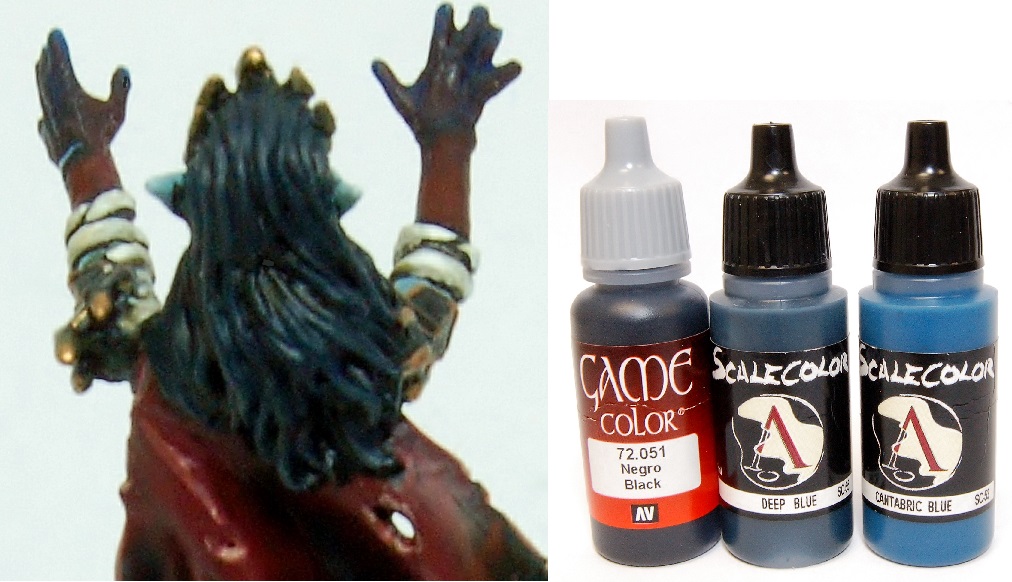
It’s almost a pre-requisite for a female super-villain to have this coloured hair! To keep the hair a black as possible, I have only painted the extreme hair ends and a highlight line across the back of the head in the dark blues.
Magic hands

Following the introduction movie as my reference, all the bad guys i.e. The Dracolich have blue magic.
Base
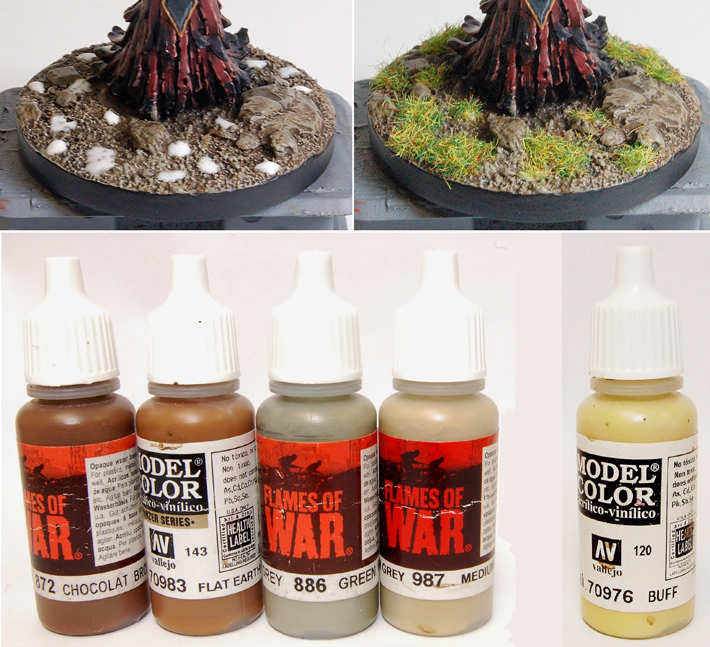
The groundwork is first given a solid coat of chocolate brown, followed by the drybrushed layers in lighter tones.
Small dots of PVA glue are painted around the base and static grass stuck on. I always drybrush the grass when it is completely dry for three reasons;
- Dulls down the un-natural brightness of the static grass, straight out of the bag
- It makes the static grass hard and more durable
- Brings out the individual details of each blade of grass

What a bruiser he is!
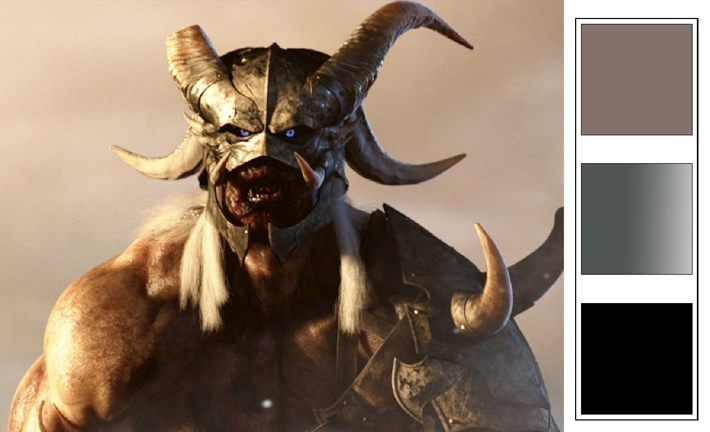
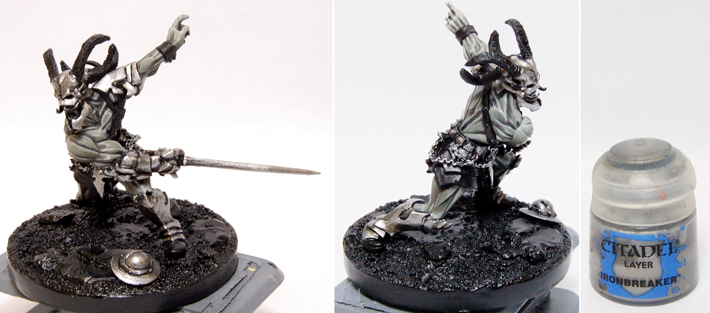
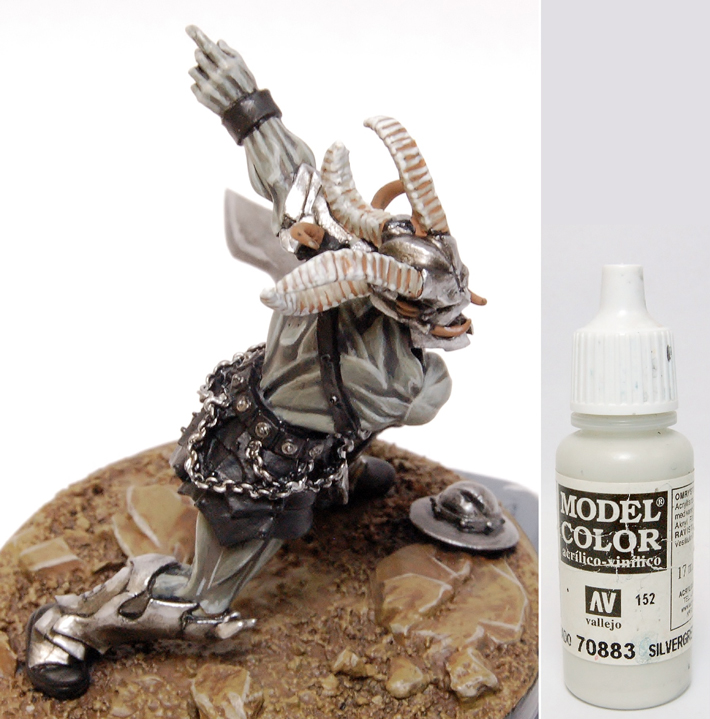
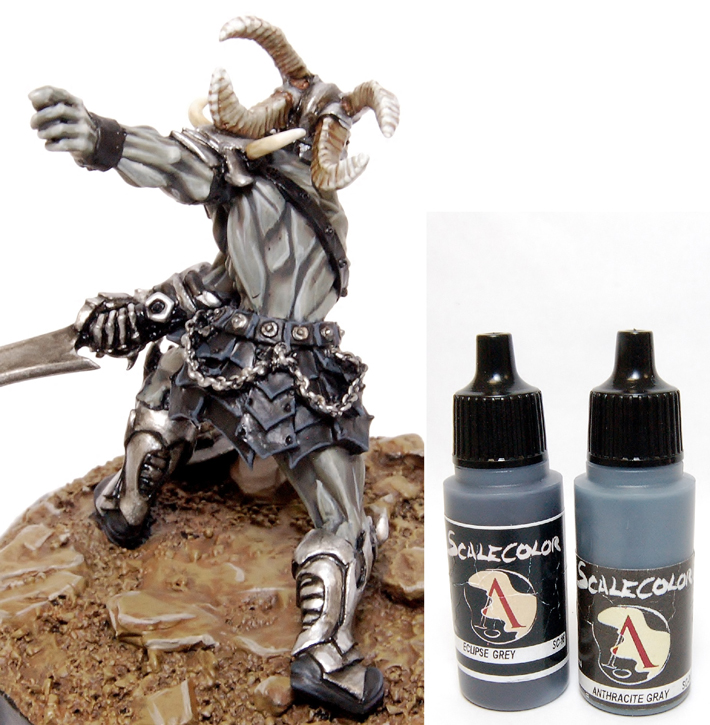
The Wight has a warm grey skin colour, weathered silver armour and black loin armour.
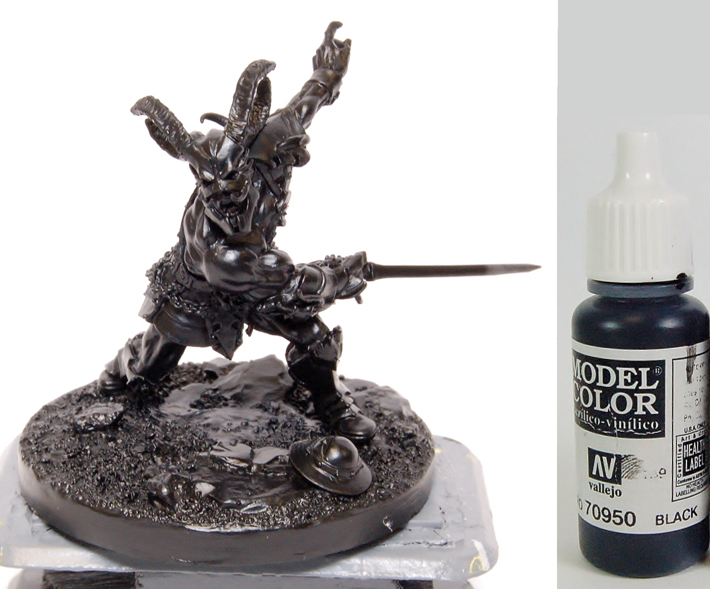
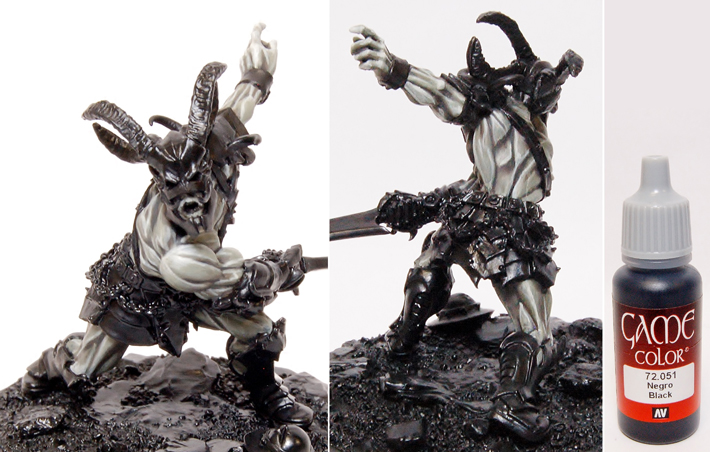
Everything is given a black basecoat, mainly because most of the colour scheme is quite dark.
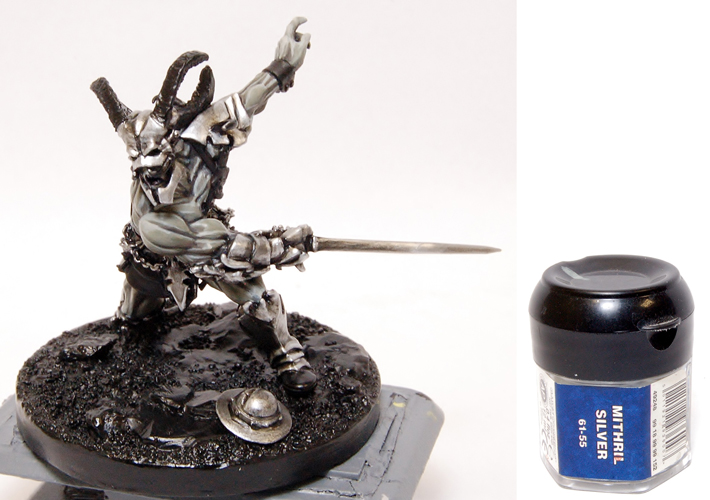
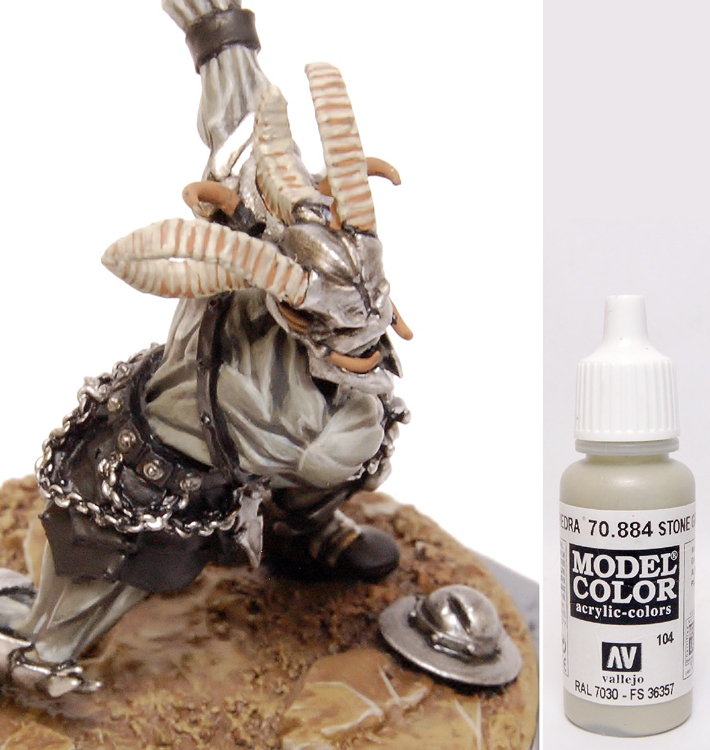
Skin
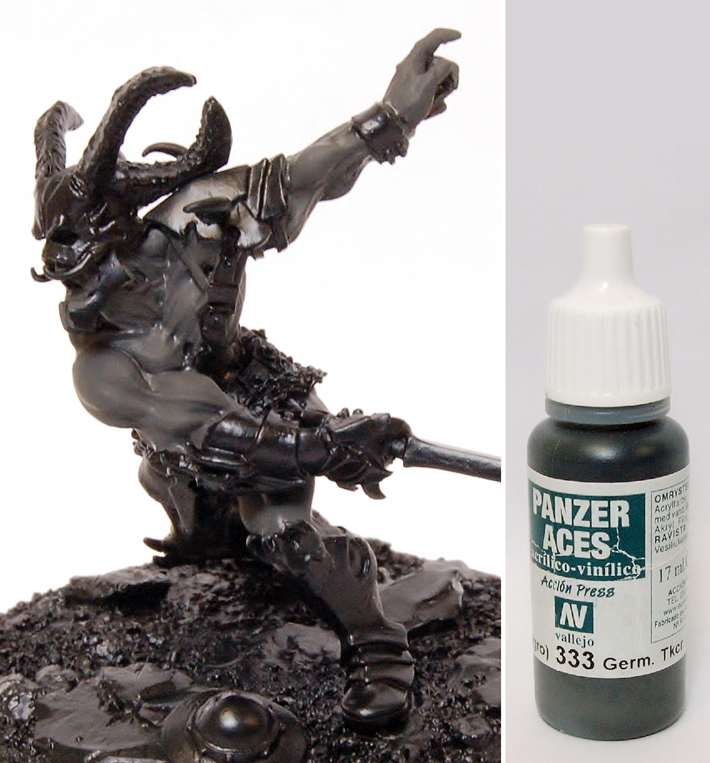
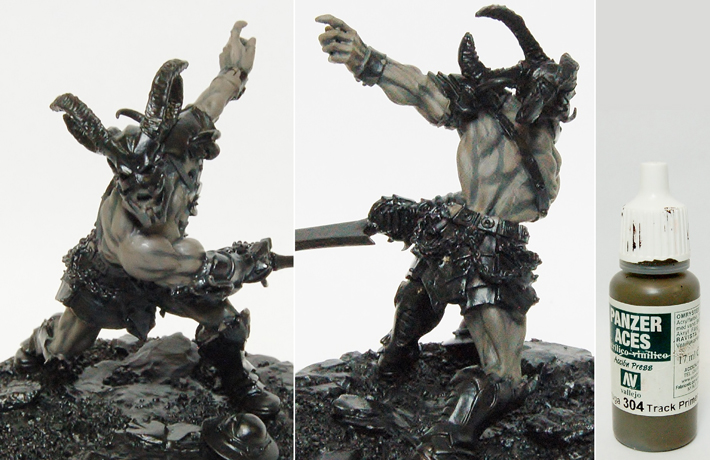

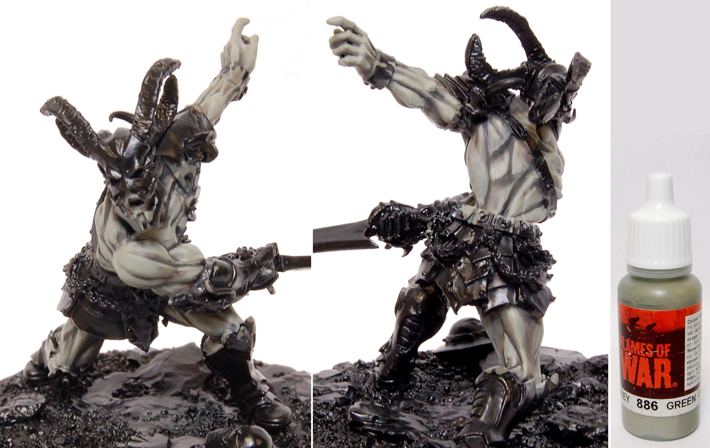
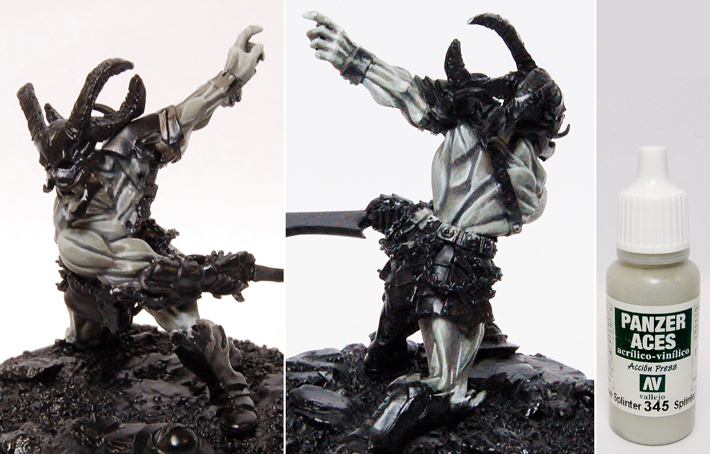
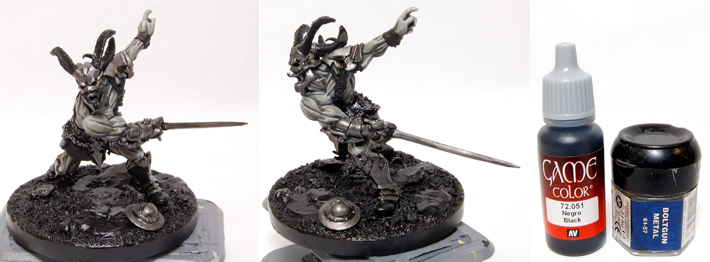
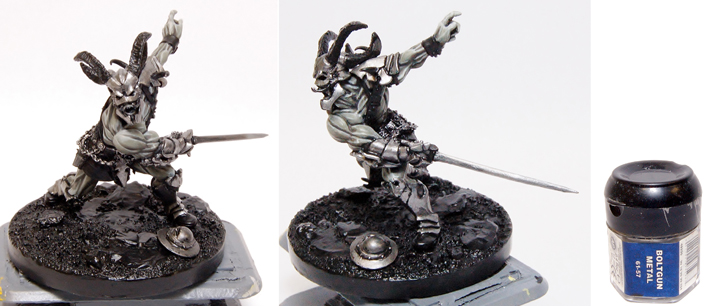
This stage is to tidy up everything so far and provide a good solid basecoat for the metallics.
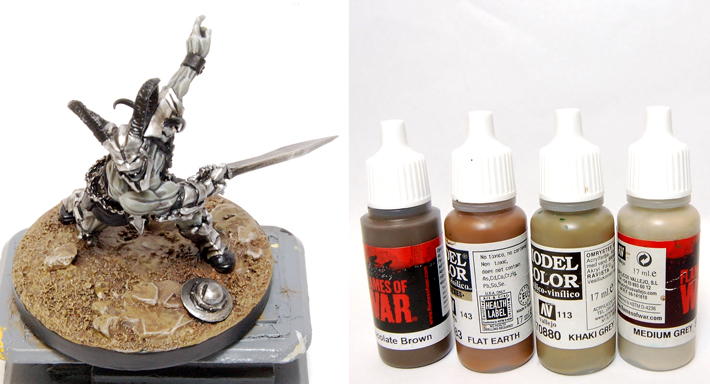
Groundwork
I have opted for mid-brown colours, to match Valindra’s base.
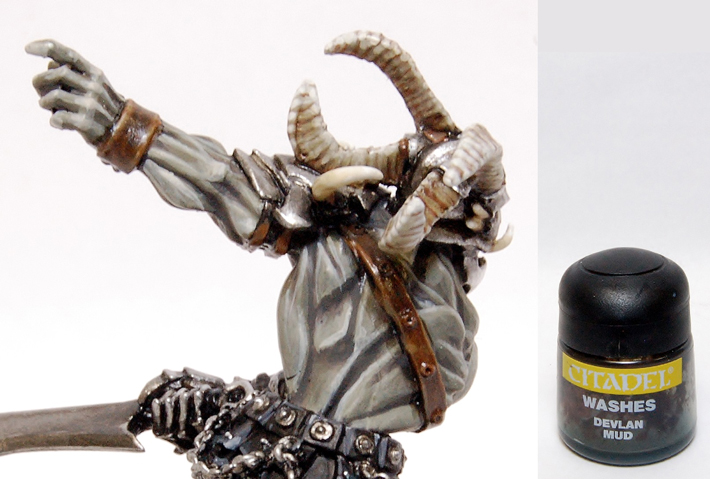
Horns
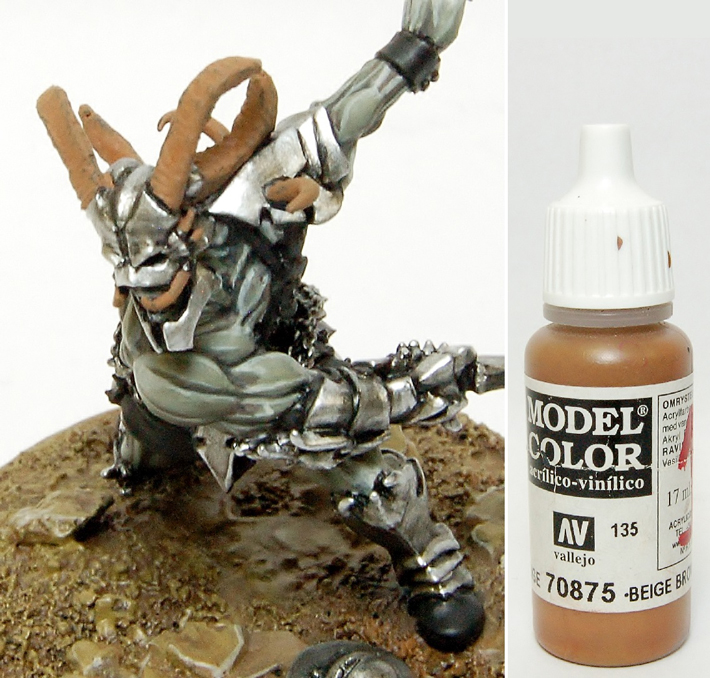
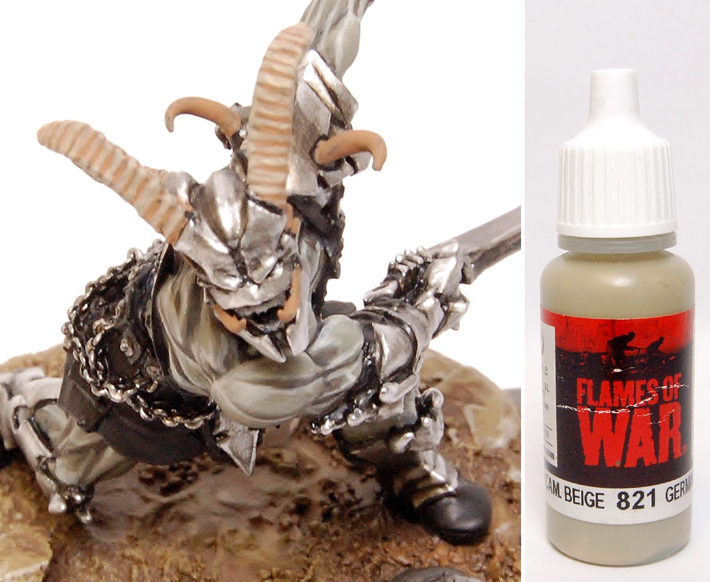
After applying a basecoat of beige brown, I have started the line texture with consecutive lighter colours, ending with a thin black/brown ink wash to tone down the horns where they meet the metal armour.
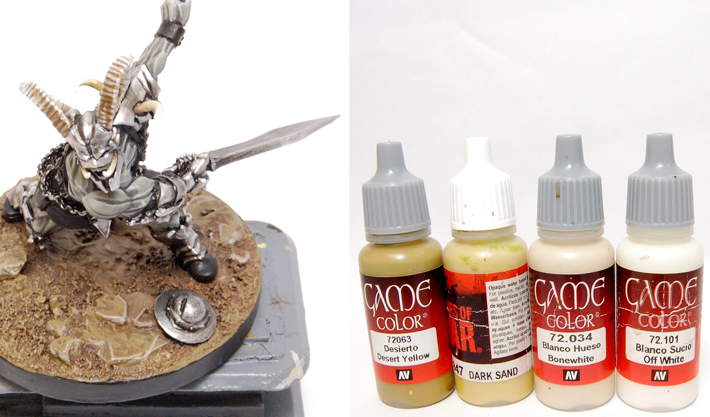
The smaller horns around the mouth and shoulders are painted in lighter colours to make them appear different from the main horns.
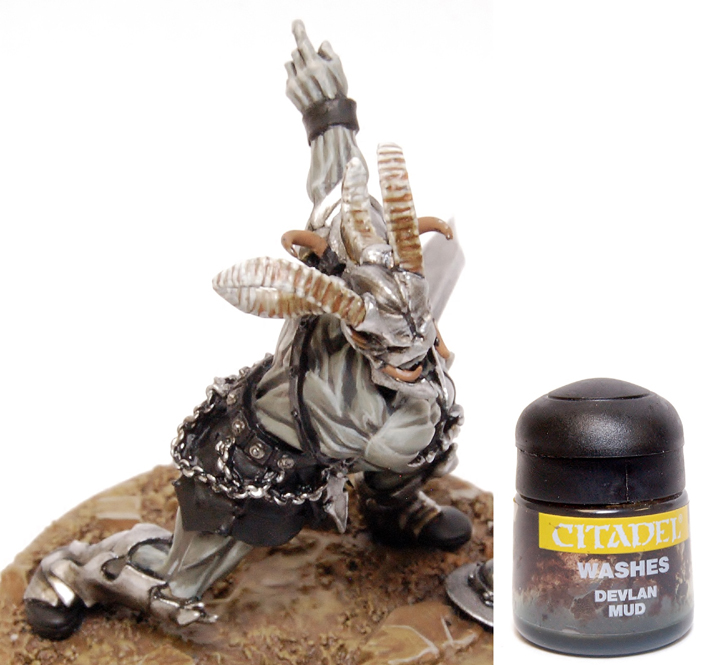
Leather loin armour and boots
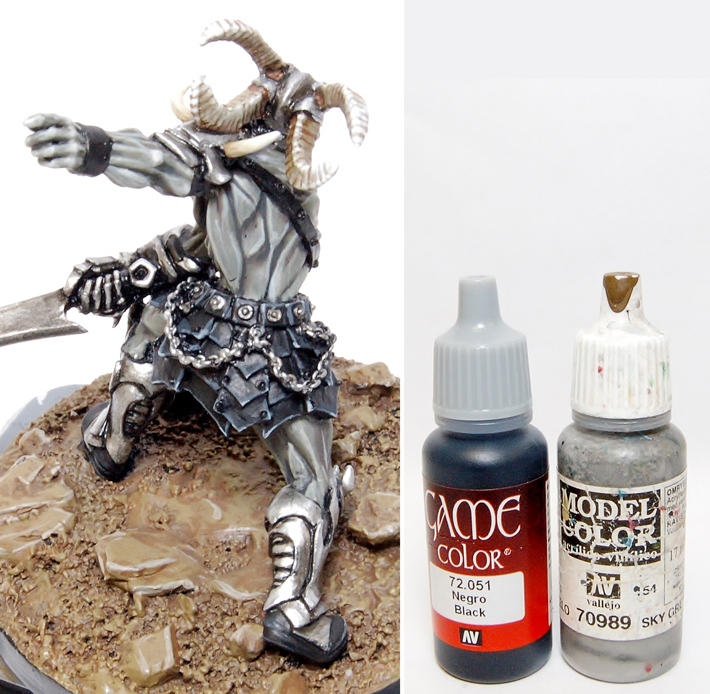
The black paint shown above, was use to tidy up the highlight lines, as they have a tendency to be too large when first applied.
Leather
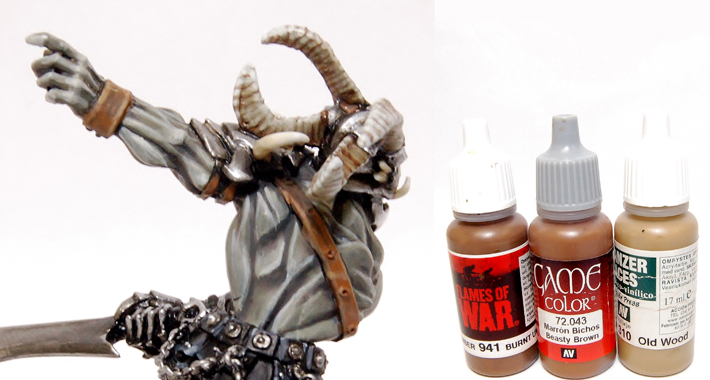
Following the intro movie as reference, the straps are mid-brown and then washed to add shadows with a black ink wash.
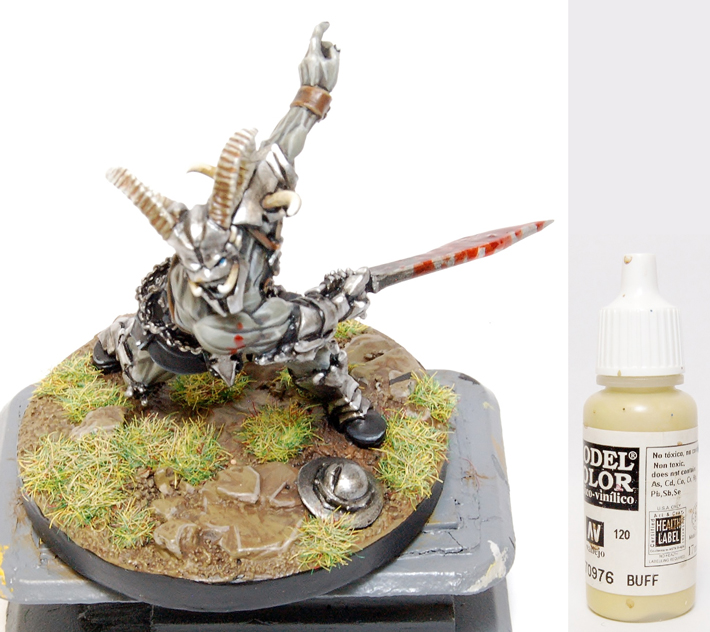
Blood
This brute would not look the same without some of the hero’s blood on him, would he?
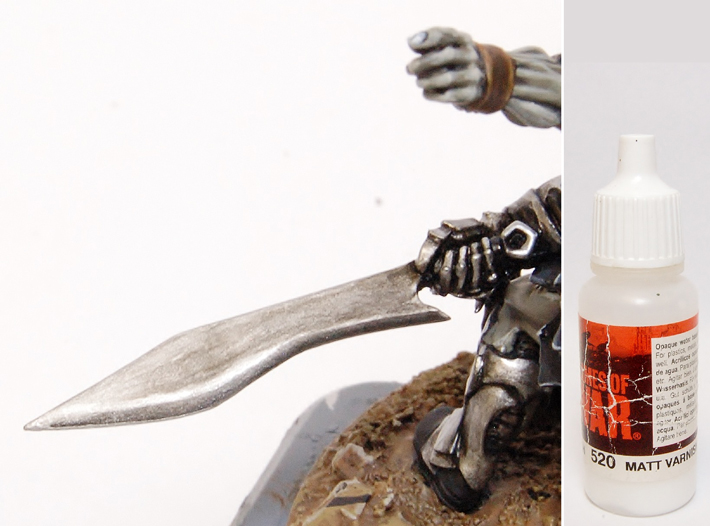
There are many ways to achieve this effect; I have picked one of the easiest with Tamiya clear red. Before you start, I recommend you give the blade a coat of protective mat varnish as this strong paint will sometimes lift the underneath coat of silver, making the surface uneven.
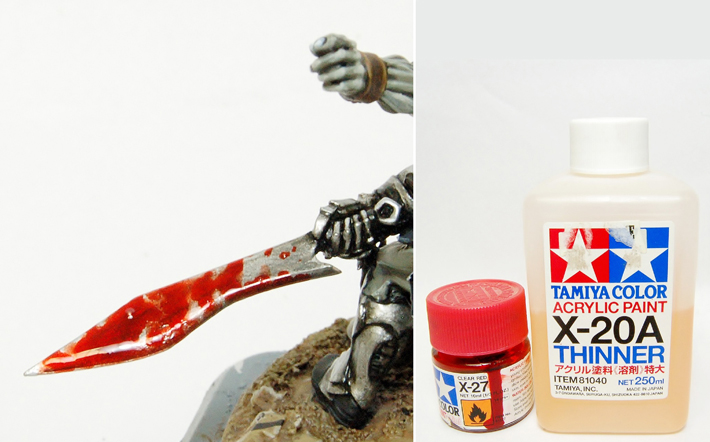
Start with a very thin mix of clear red and gradually add more paint to the mix, making the pigment a much more vivid red colour, until you are using just neat clear red in small patches. This paint dries with a very gloss finish, so no need for any varnish afterwards.
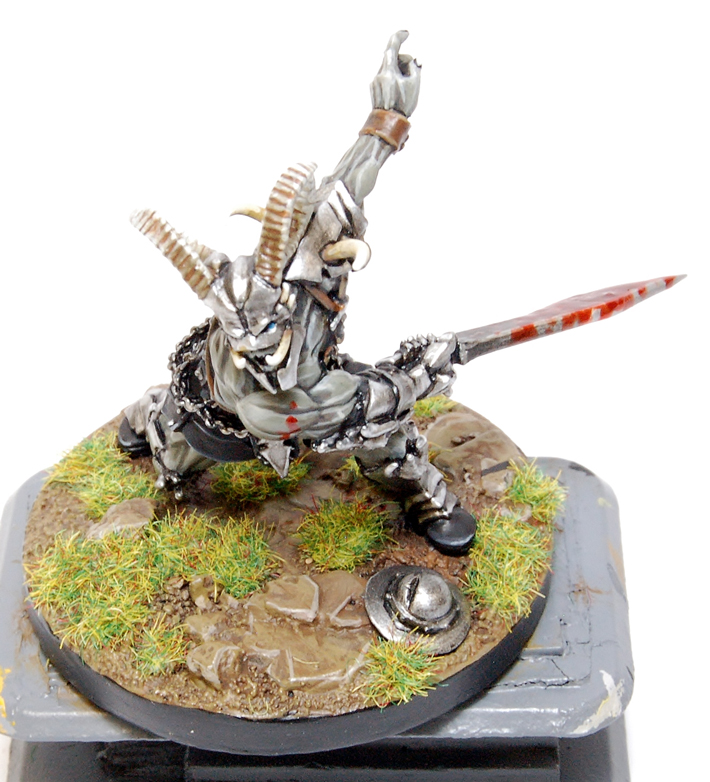
The final stage is the glue the static grass in small clumps after all the paint has dried thoroughly, otherwise the static grass will stick to everything that is still wet.
To match Valindra’s base, I have finished with a drybrush of cream paint over the static grass.
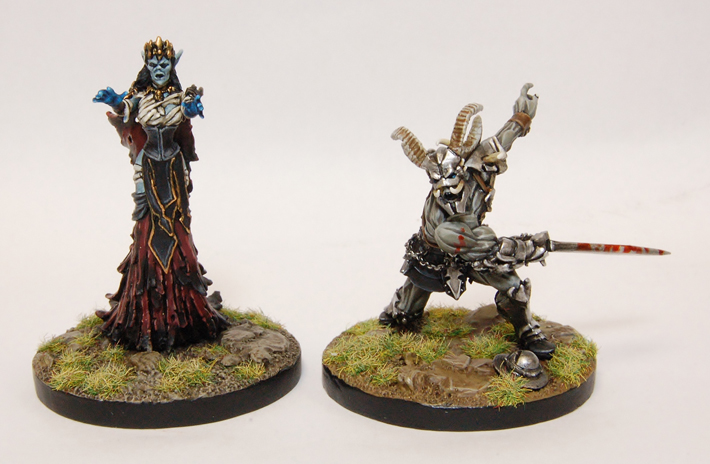
The two villains ready to fight.