
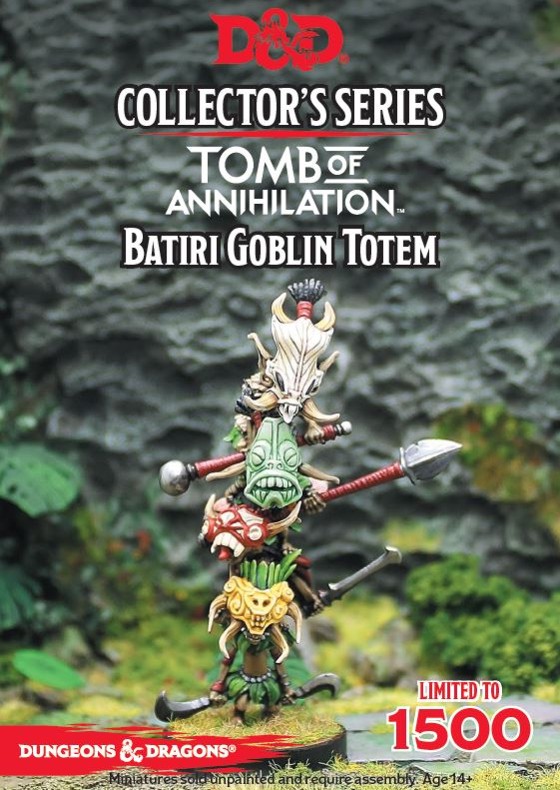
View the Batiri Goblin Totem spotlight here...
Check out the Batiri Goblin Totem painting guide here...
You can find the Batiri Goblin Totem in our online store here...
With all resin models there is a small amount of preparation before painting can begin. For this you will need a few essential tools, glue, and equipment to get you started.
Whether you have a dedicated room or are a kitchen table evening painter, you need to get comfortable. Painting figures does require many hours of sitting in the same position, so make sure your chair and table are the right height for you.
Lighting
I recommend that you do not use a normal tungsten bulb as they cast a yellow light, but use a blue daylight hobby bulb. This gives a consistent bright colour balance over the whole table.
Hobby Knife
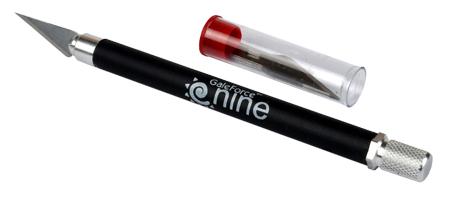
This is the most important tool on your desk. You’ll need a knife with interchangeable blades as they dull quickly. My workhorse is the Swann & Morton scalpel with an extra wide handle. Another useful knife is an X-acto style, with interchangeable blades.
Side Cutters and Tweezers
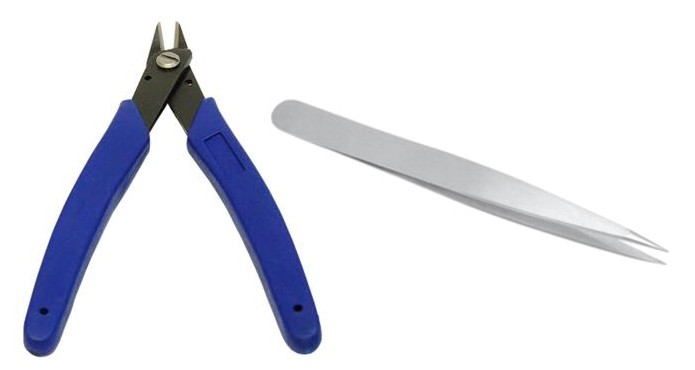
What you are looking for are the outside edge of the blades to be flush, producing a cleaner cut. These are good for snipping off unwanted resin parts.
Tweezers are handy for picking up and gluing small parts together.
Super Glue

Super Glue is strong, fast-acting adhesive. Rapid Cure can be applied to the glued together parts to accelerate bonding. Always use Super Glue and Rapid Cure in a well ventilated area.
Cutting Mat
No one needs knife marks in the kitchen table.
Gap Filling with 'Green Stuff'
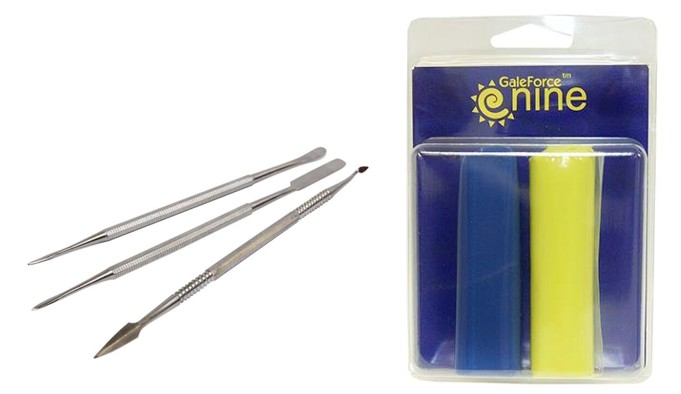
With a multi-part miniature such as this, the resin pieces have shrunk at slightly different rates causing small gaps, this is normal with resin production and can be resolved with a little filling, and for this you will need a few different shaped tools and putty.
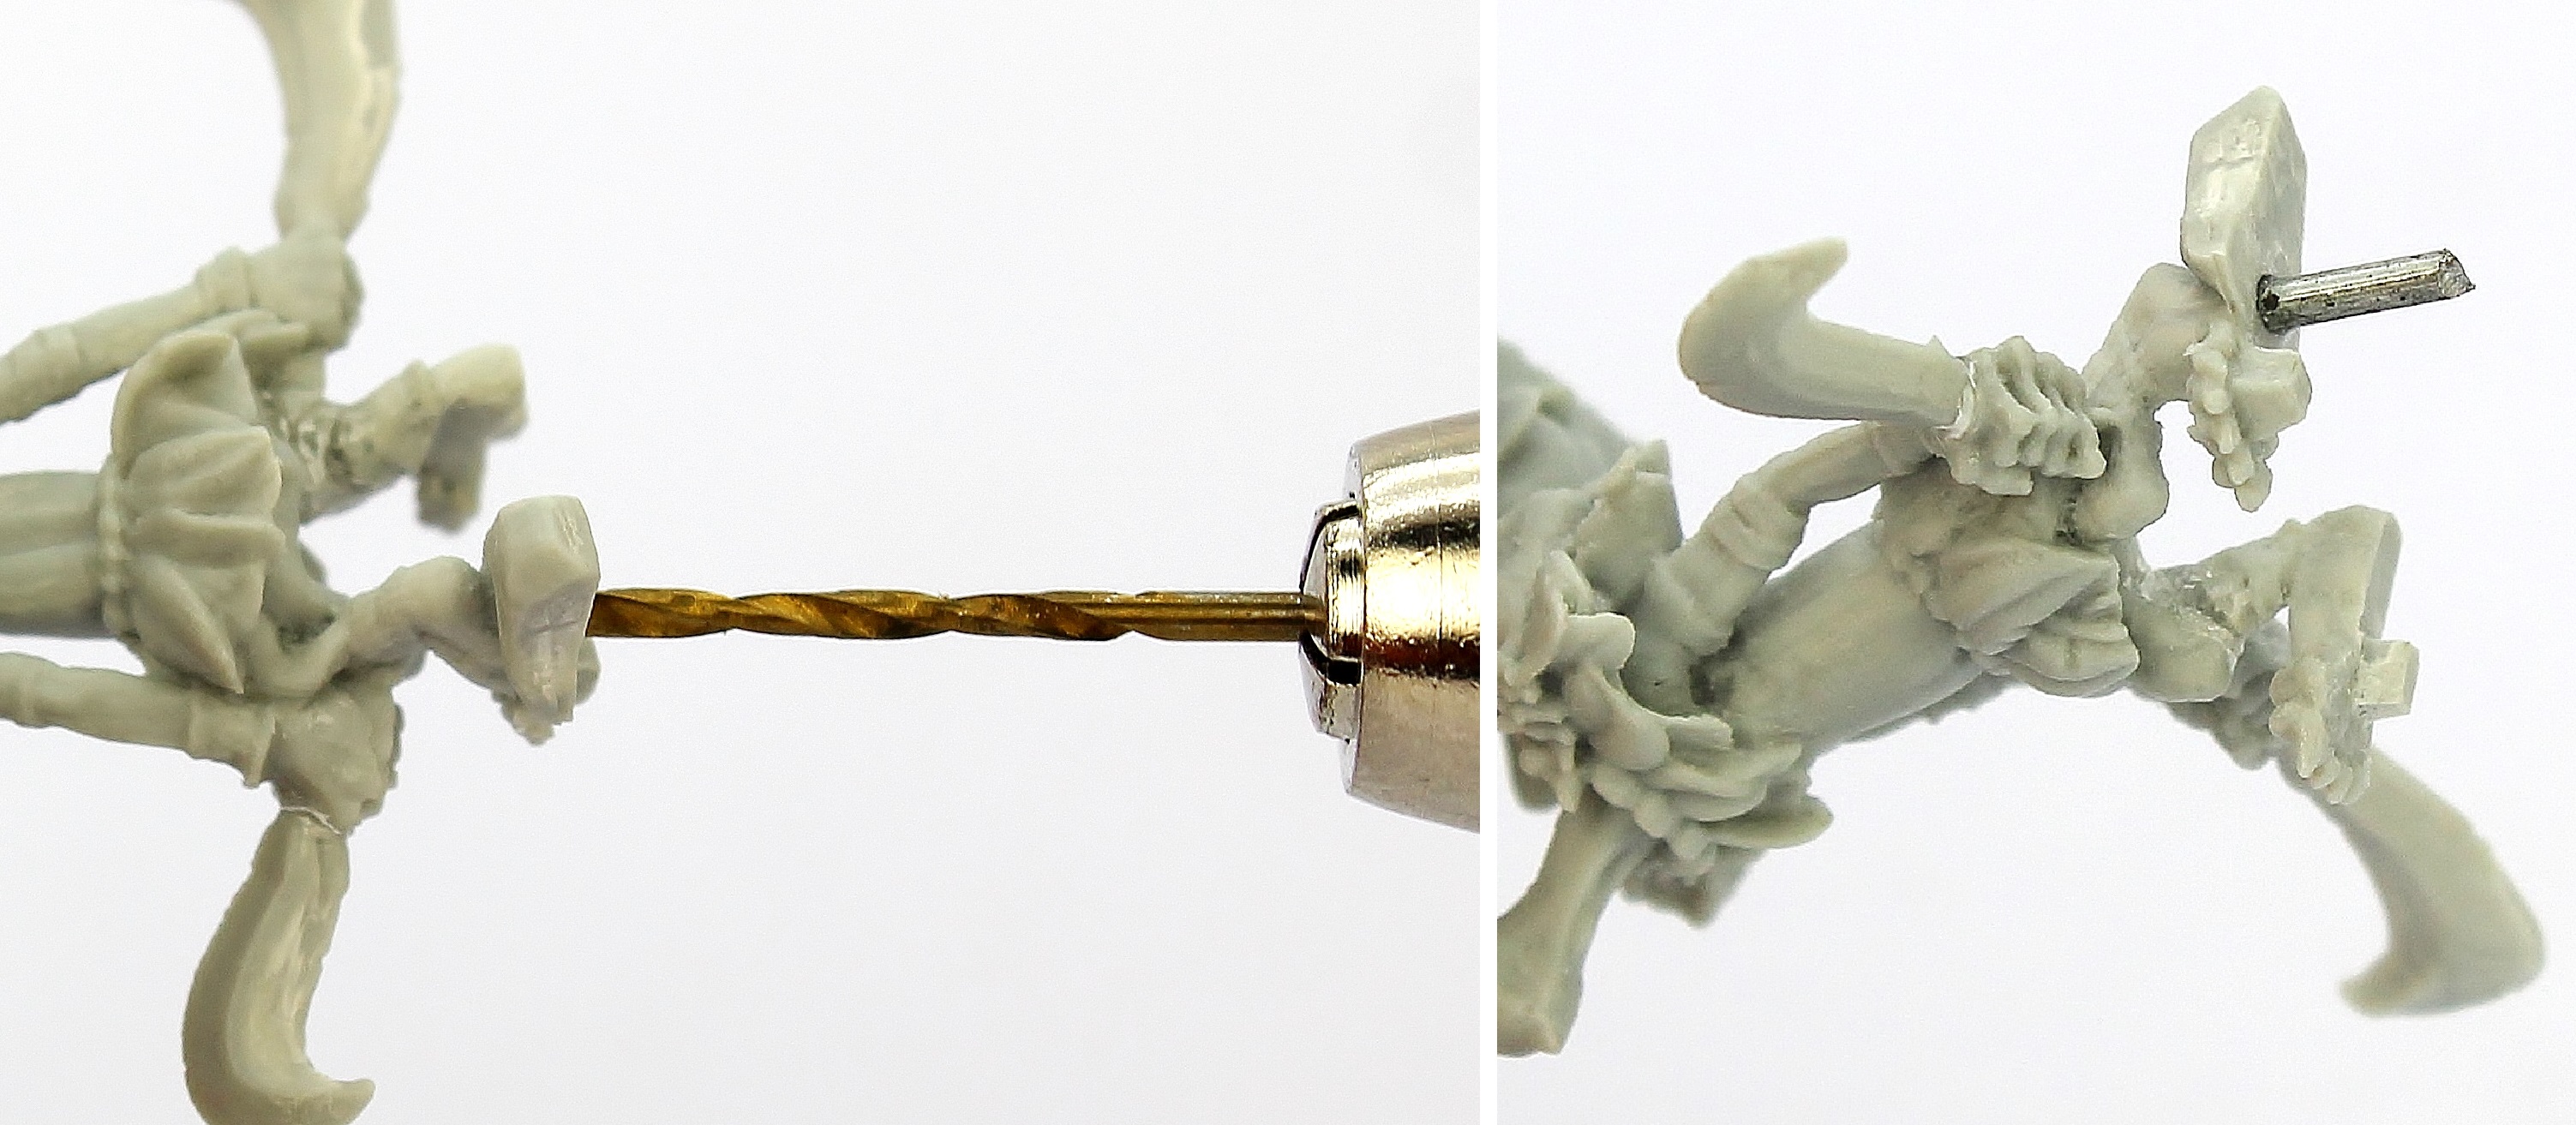
Pin Vice (hand operated miniature drill) and Wire
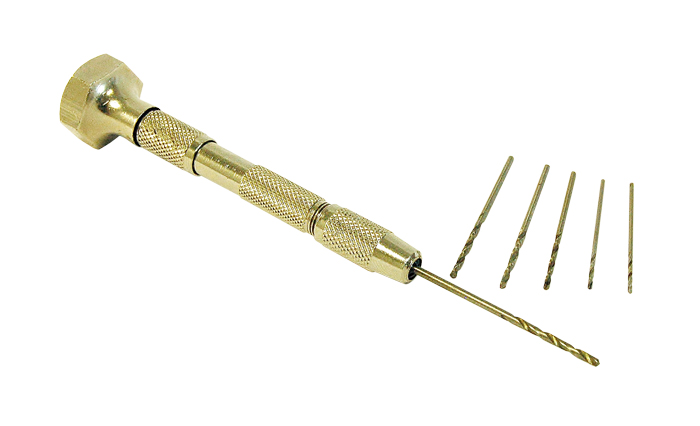
Drilling a small hole on both parts and inserting a reinforcing metal rod between them, is the strongest way to join two potentially weak parts together.
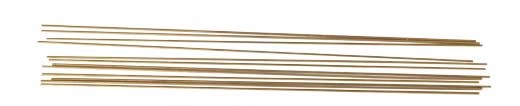
I generally use a 1mm drill bit with 0.9mm brass wire, so the fit is tight and the pin does not wobble around in the join, the brass rod is strong and at the same time easy to snip and file down. If you are stuck, a simple straightened out paper clip will work just as well.
Bone Saw
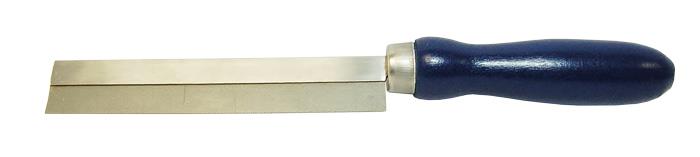
A fine gauge thin bladed saw.
Preparing the Miniature
As part of the production process, the silicon mould which the resin is poured into has release agents in it, which are sometimes transferred onto the miniature. It is recommended that you wash the miniatures in warm, soapy water and that they are completely dry, before starting any modelling.
Warped Parts
This is an example from another model, but it can happen to any thin parts like a spear shaft or sword blade. These parts have a tendency to warp in the moulding process as the vacuum is turned on. To fix this, apply gentle heat from a hair dryer along the whole piece and the resin will move back to its original shape, molecular memory is a cool thing.
Note - this Batiri Goblins miniature is pushing the limits of mould-making and due to its small size, is quite fragile. I recommend that you take your time removing the feeds and mould-lines. If you think a part might snap with standard clippers; change to a scalpel or even a bone saw as these tools do not flex the resin as they cut through.
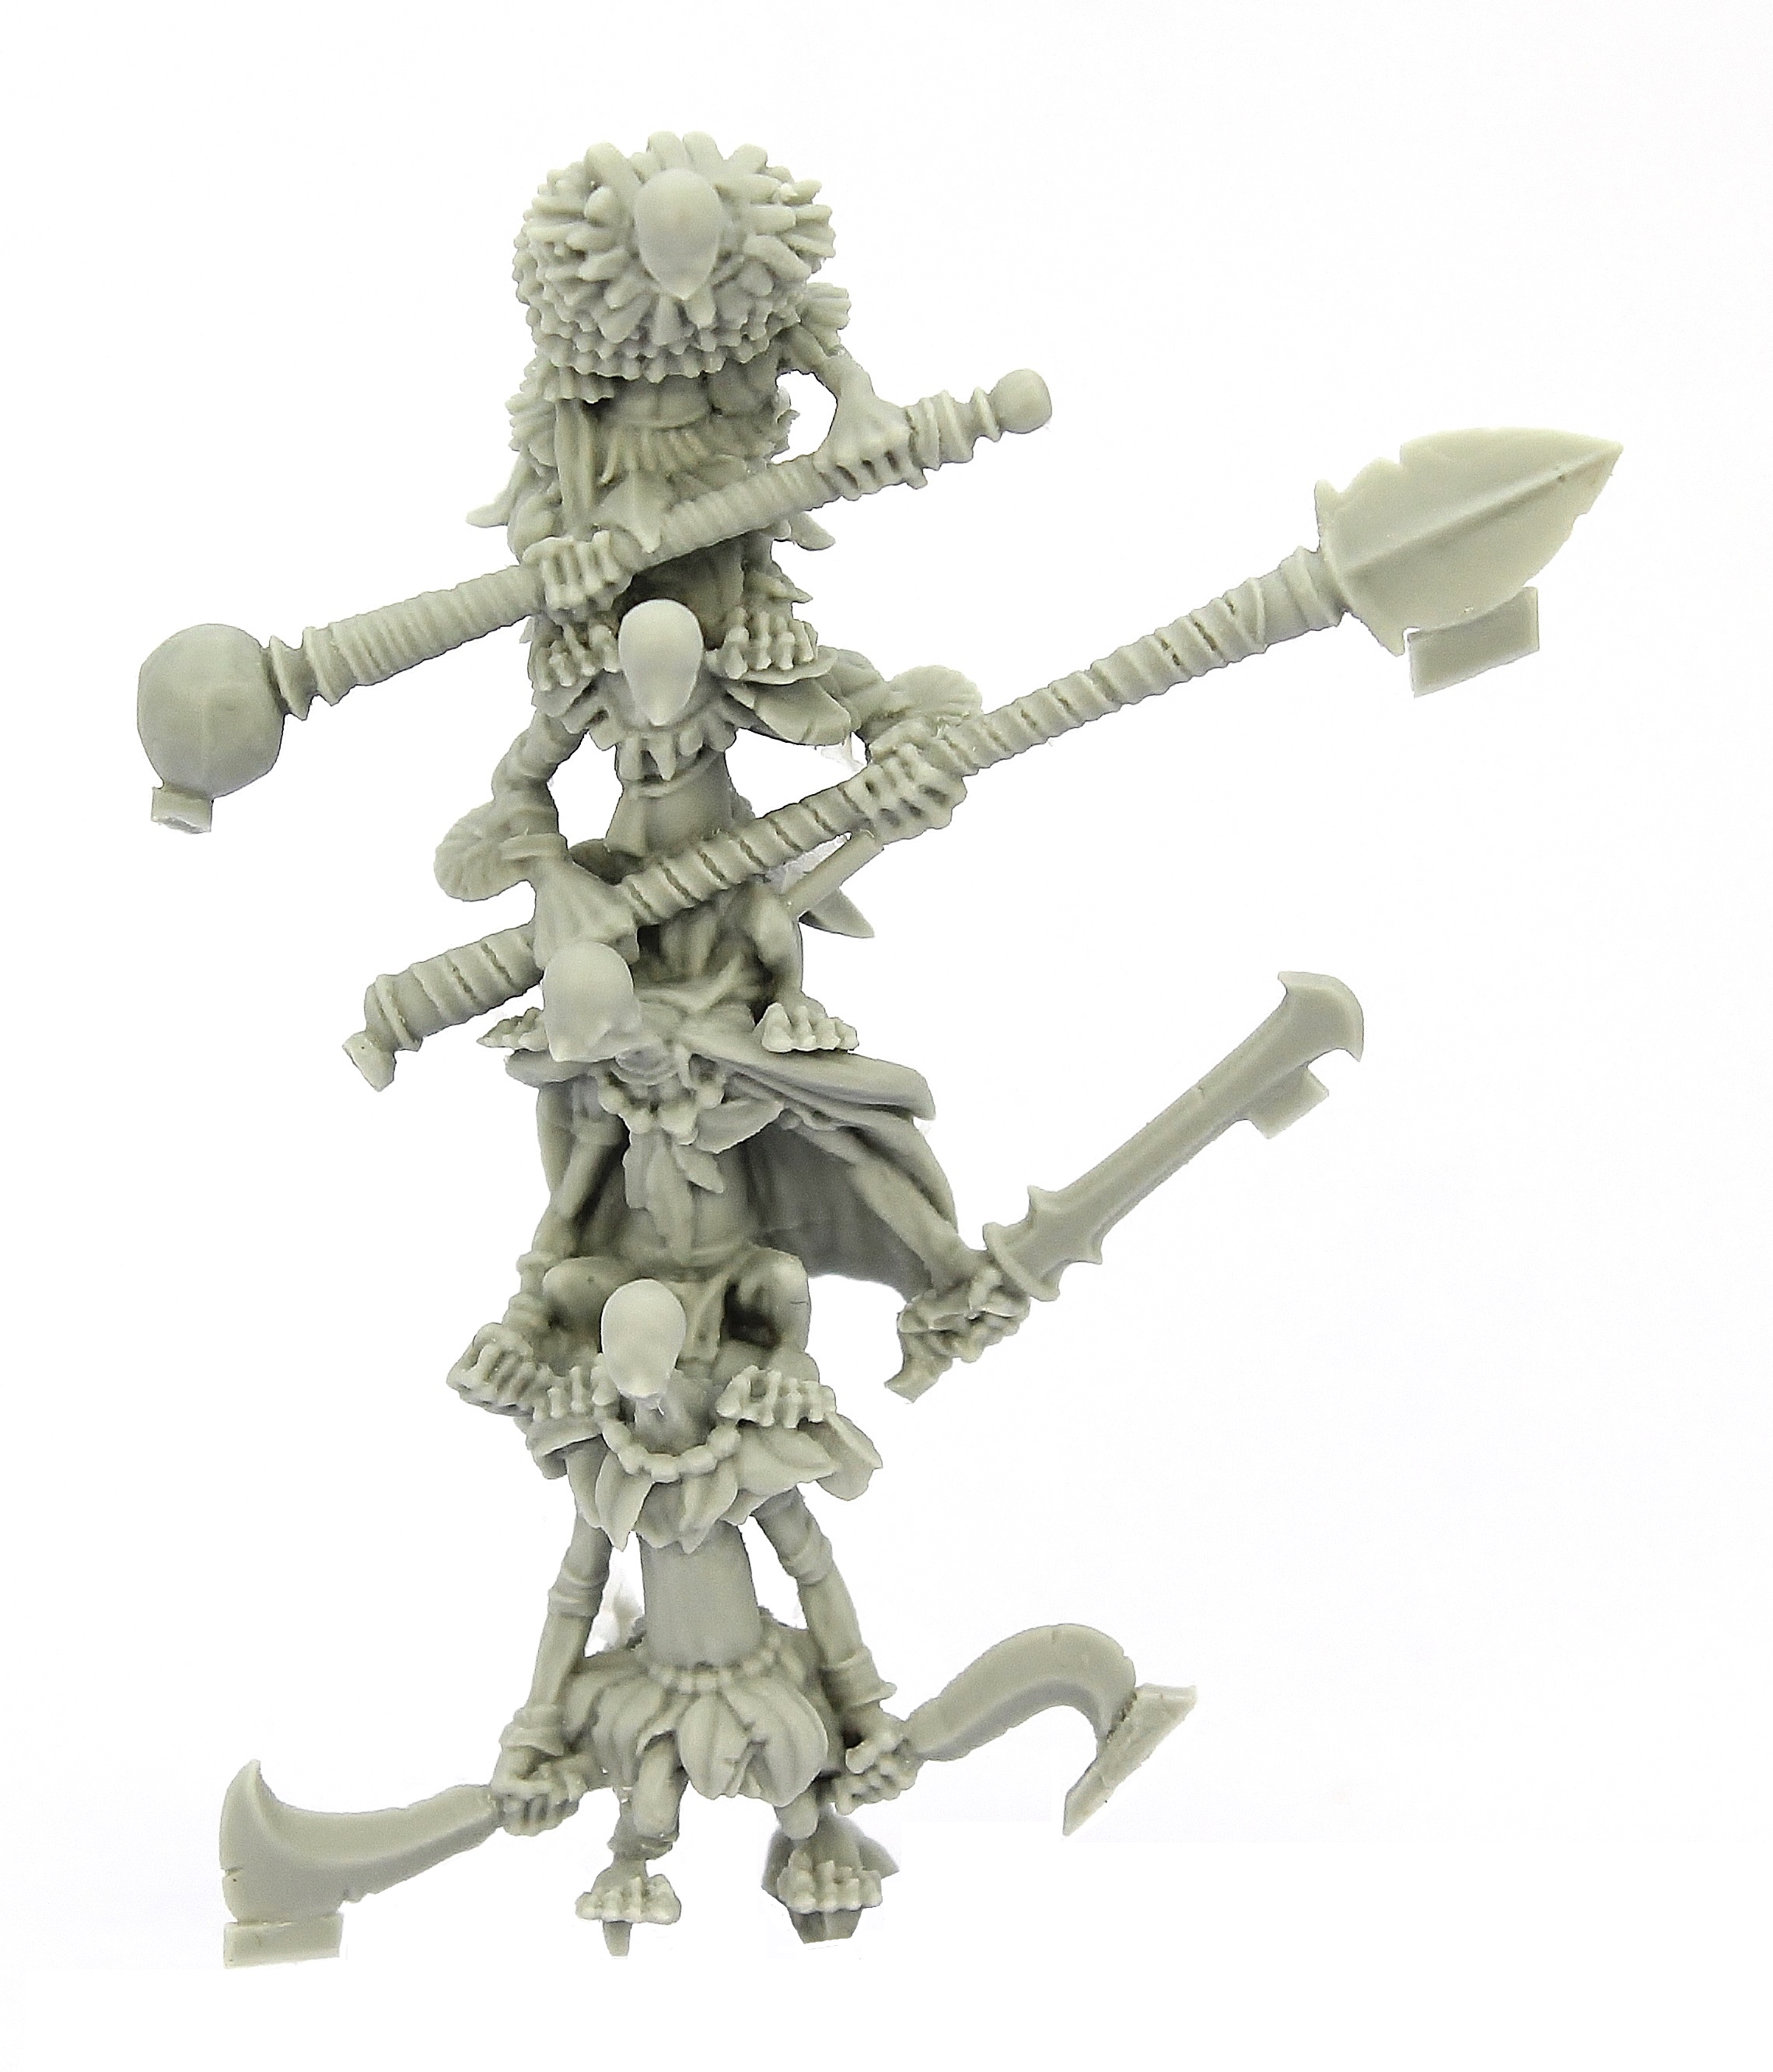
All of these images are taken as I construct the Batiri Goblin Totem. Each stage is in order of how to build the miniature.
Side cutters are good at removing the larger feeds from the sprue.
For the smaller feeds, I clip around the part and carefully cut the smaller feeds off with a sharp blade. Experience has showed me that there is a chance the clippers will snap any fine parts in the wrong place, as the resin flexes while clipping it.
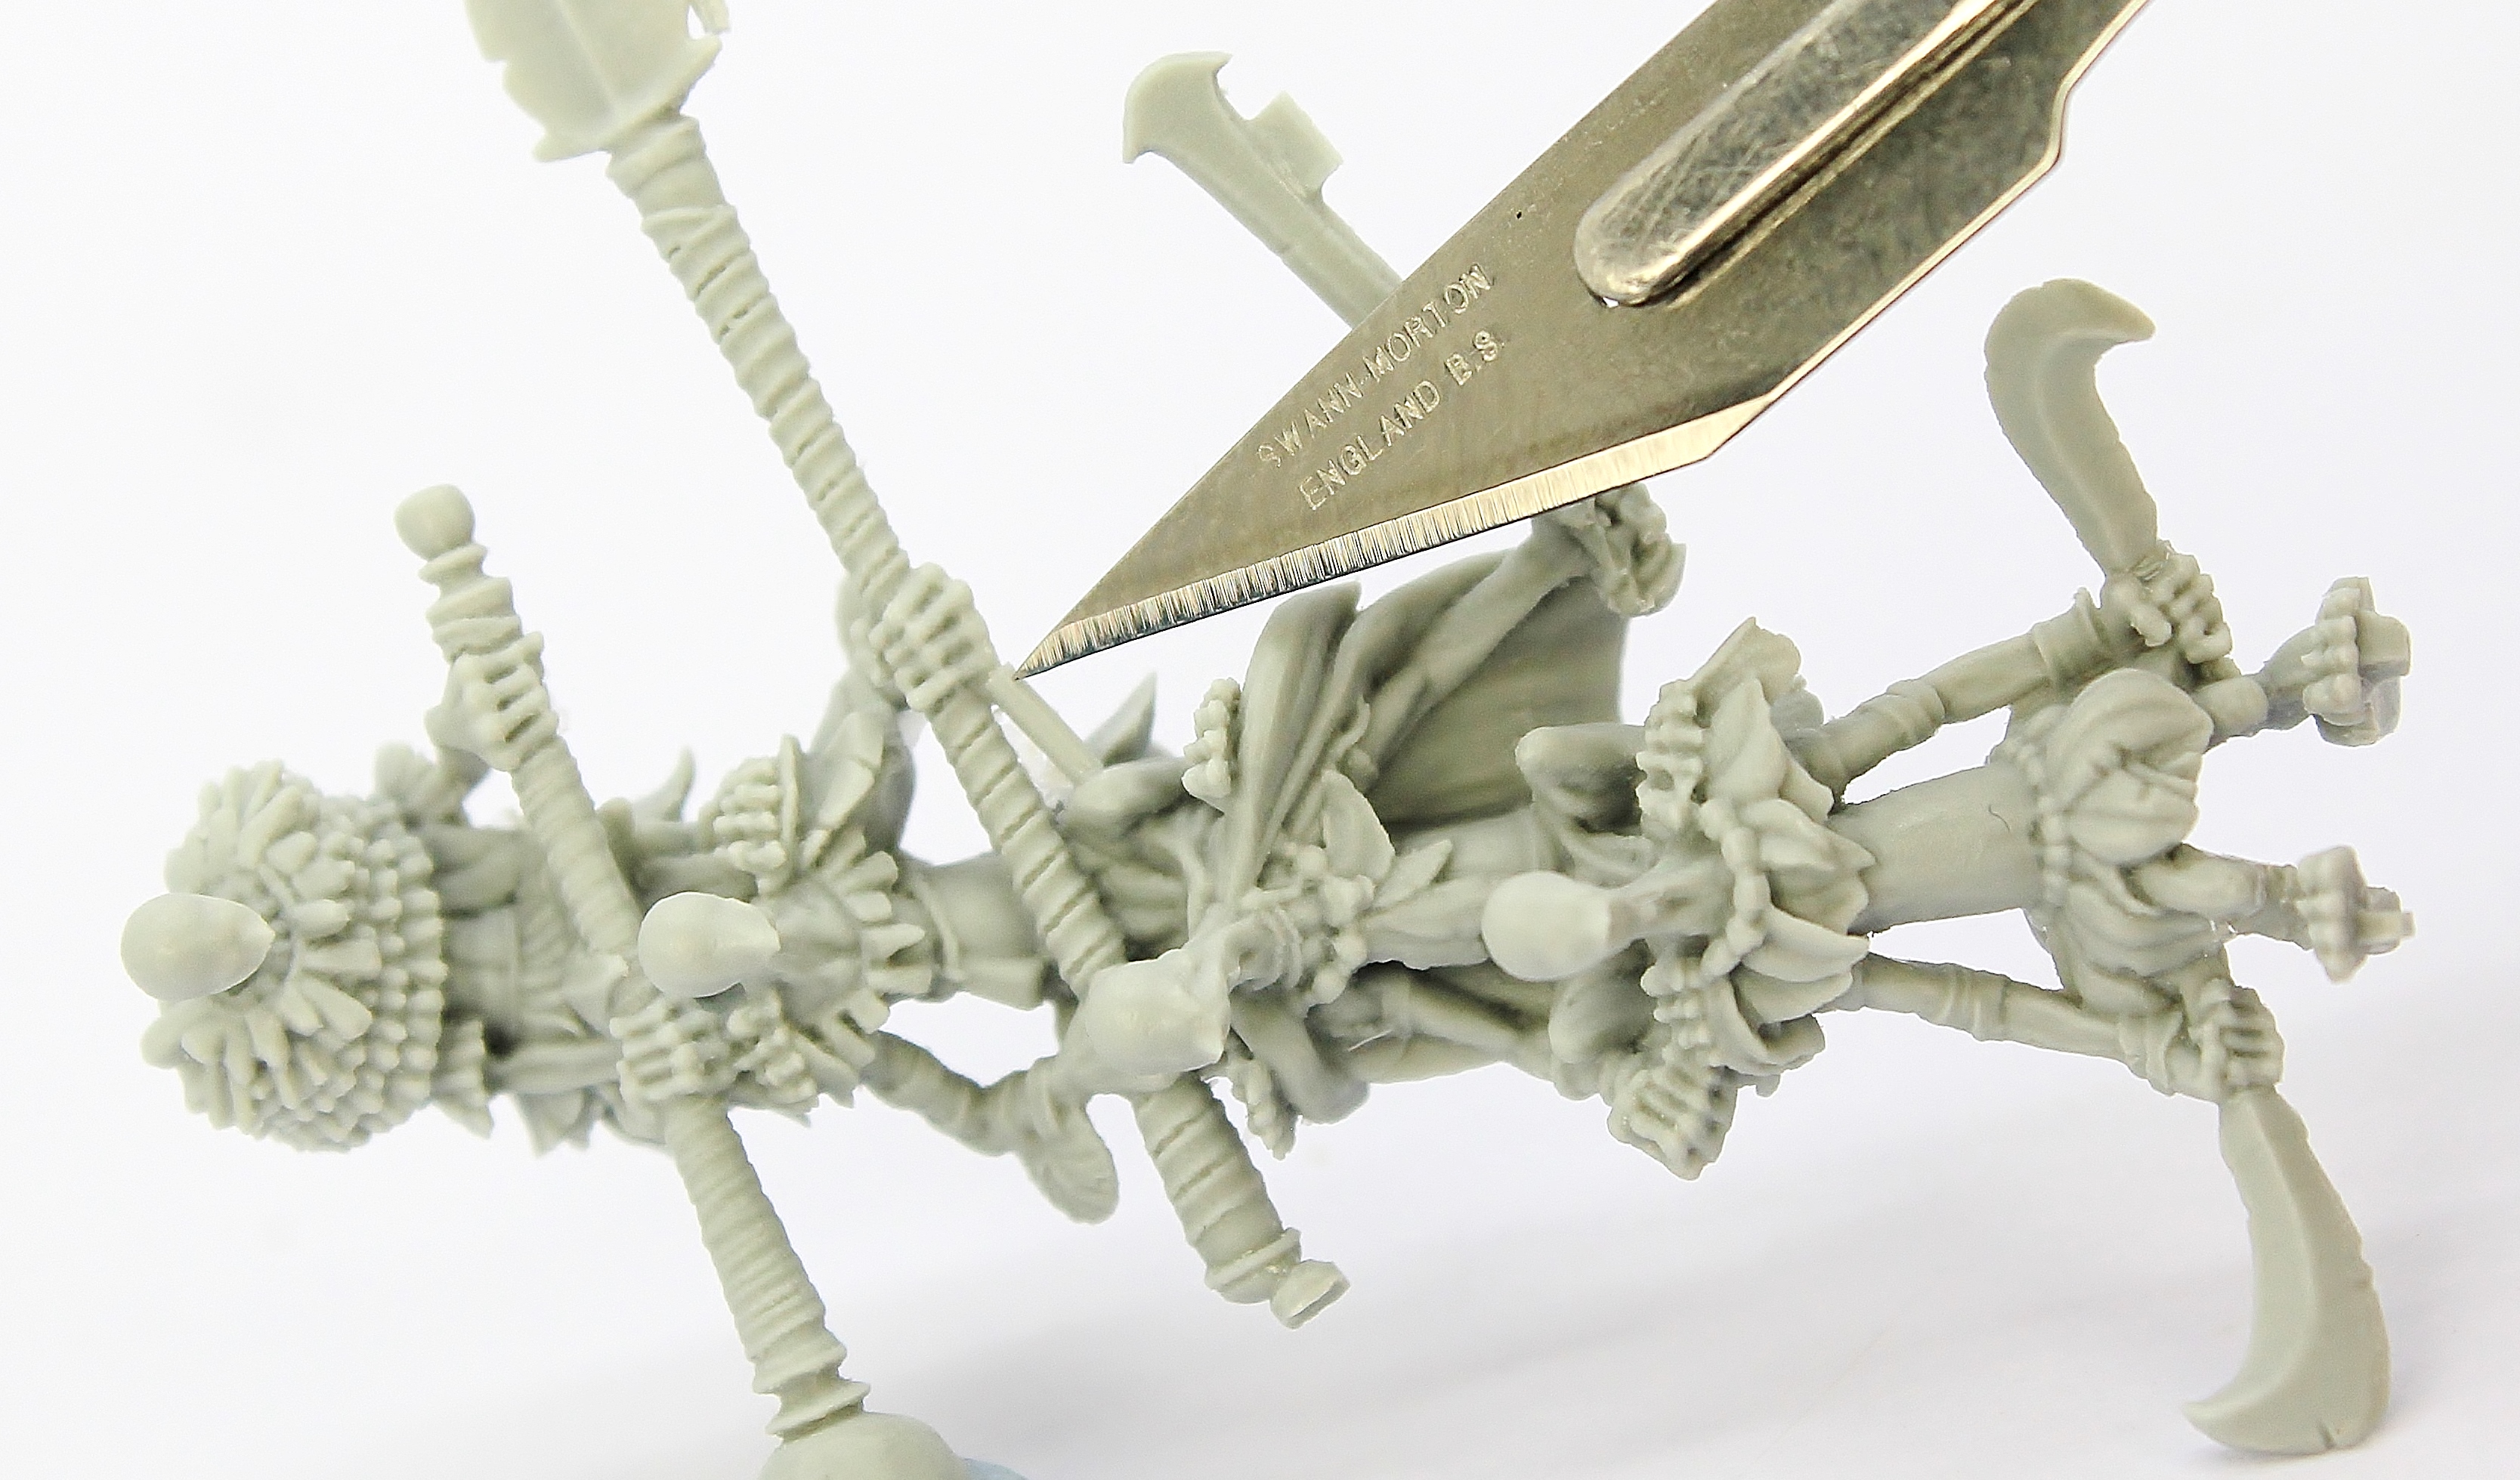
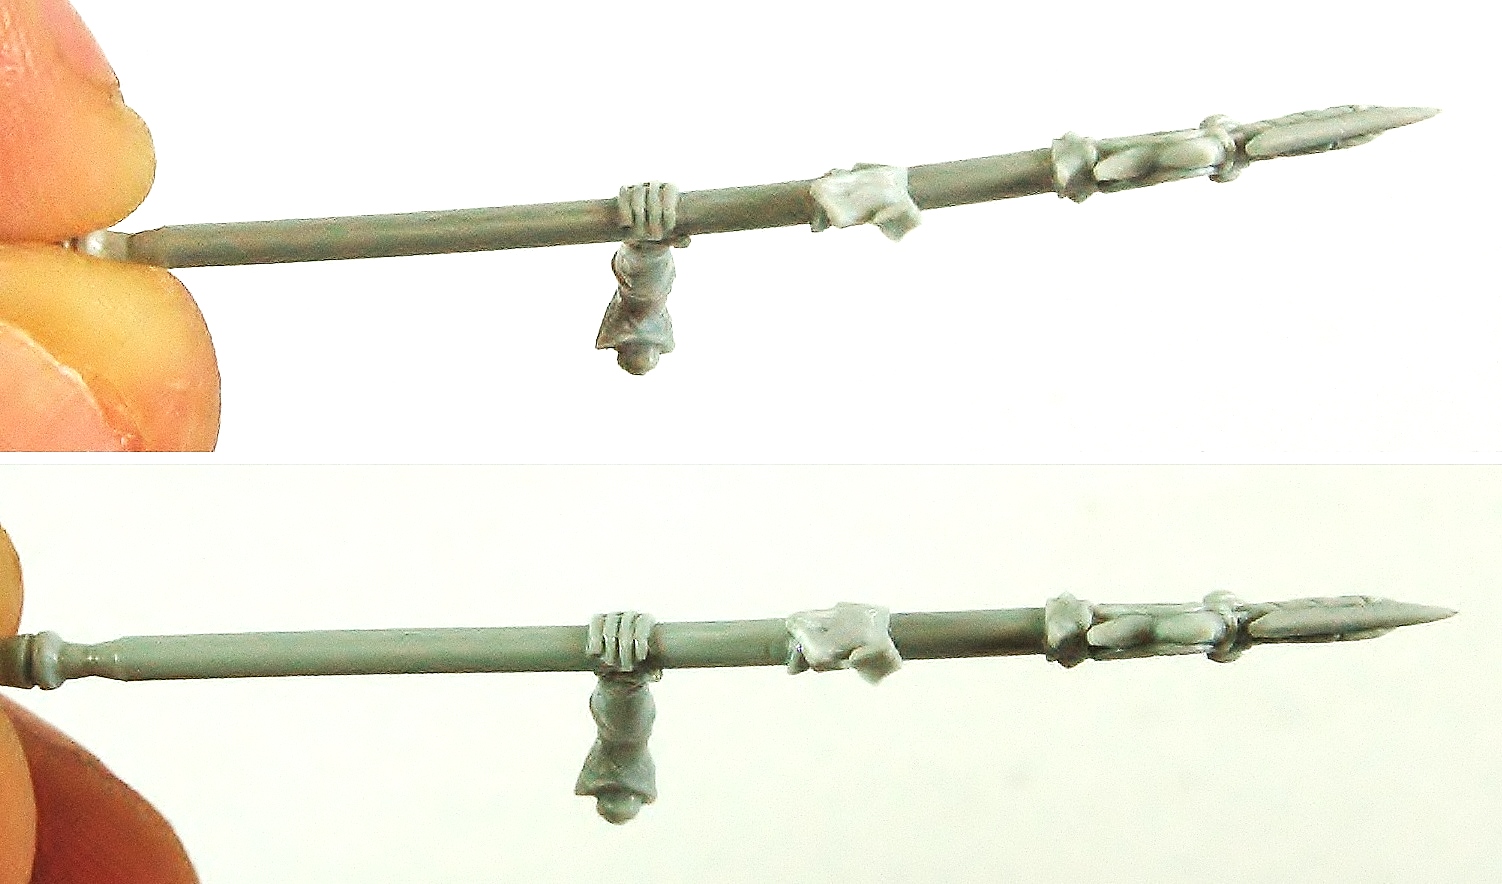
There are a couple of hidden feeds within the model to help the flow of the resin which will need to be removed.
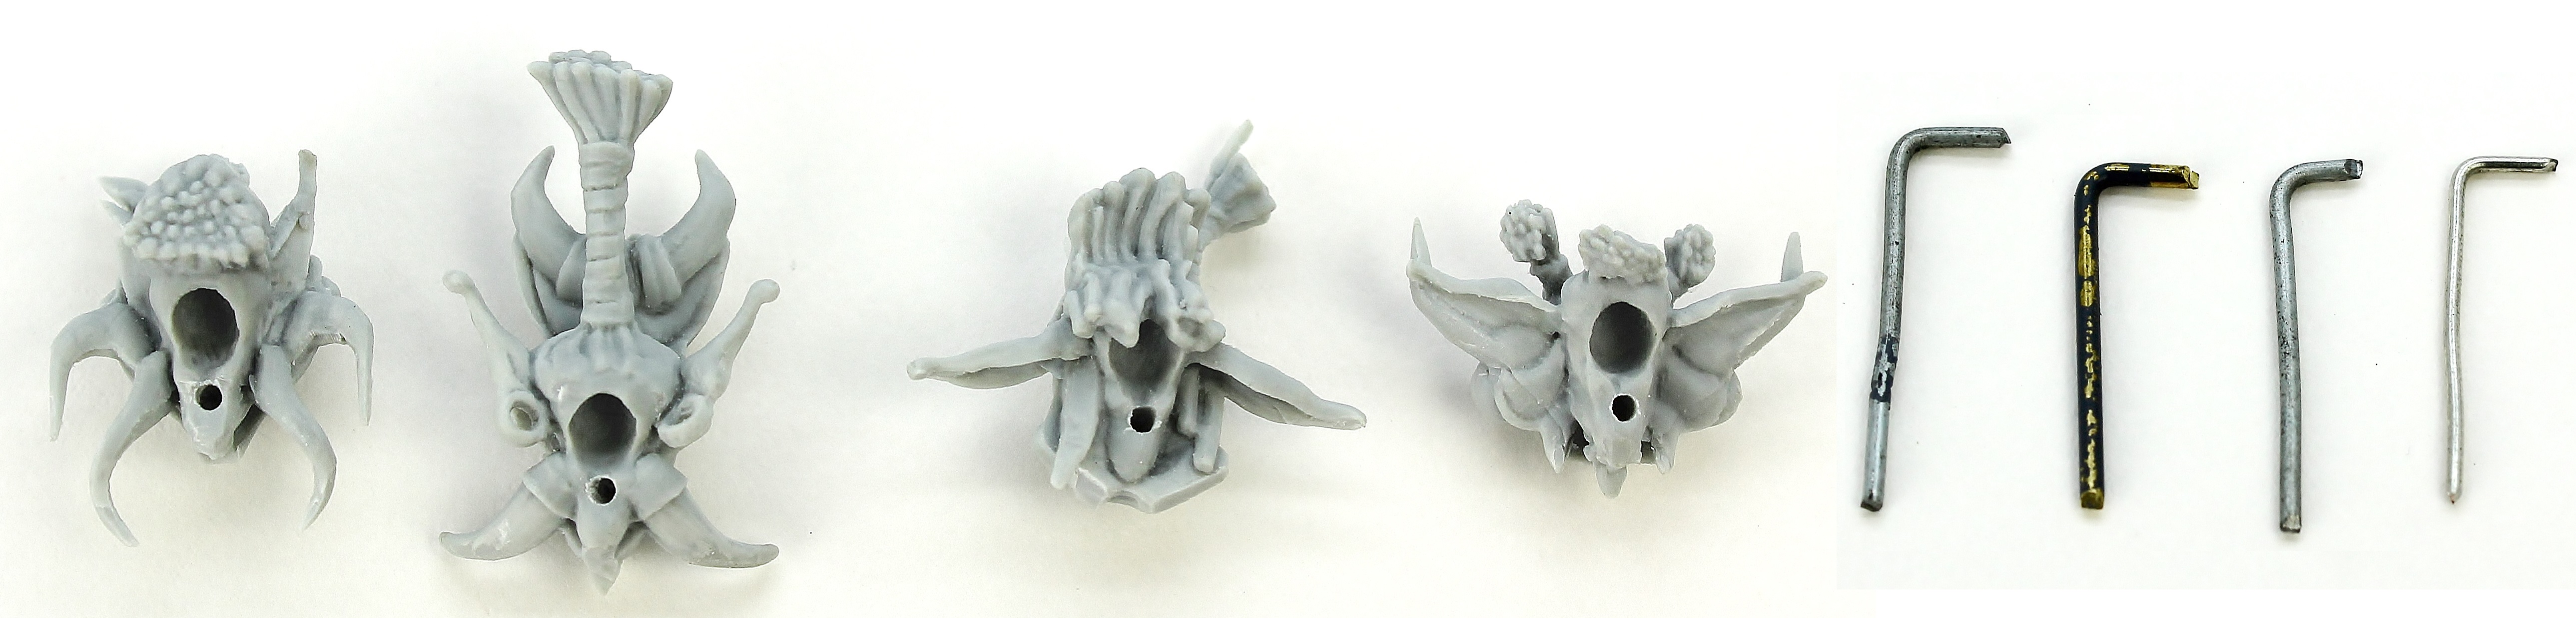
The horns on mask 1 are very thin, so I recommend using the Bone Saw to start, then trim the excess with a hobby knife.
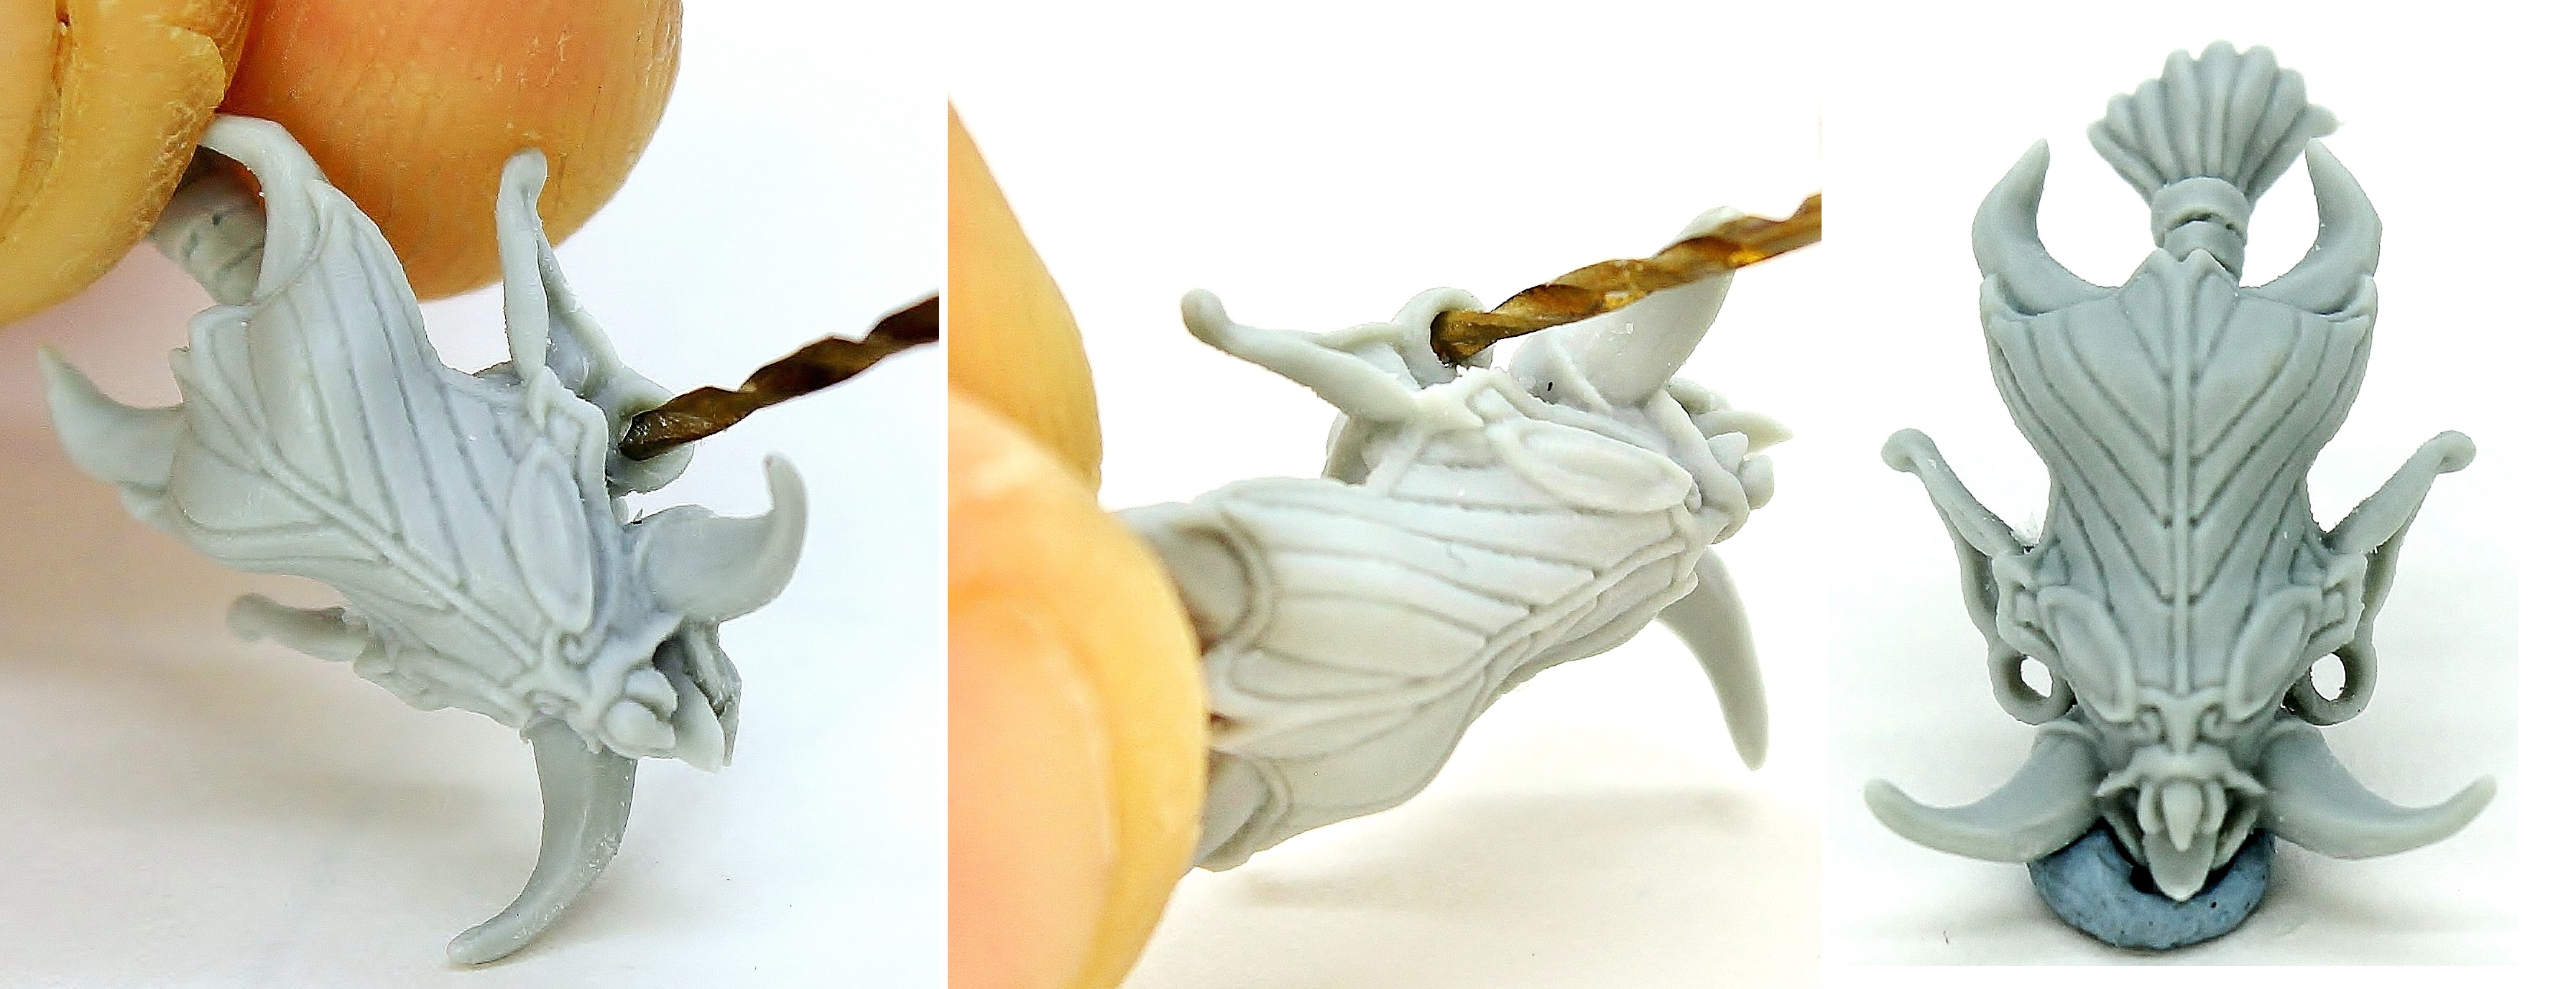
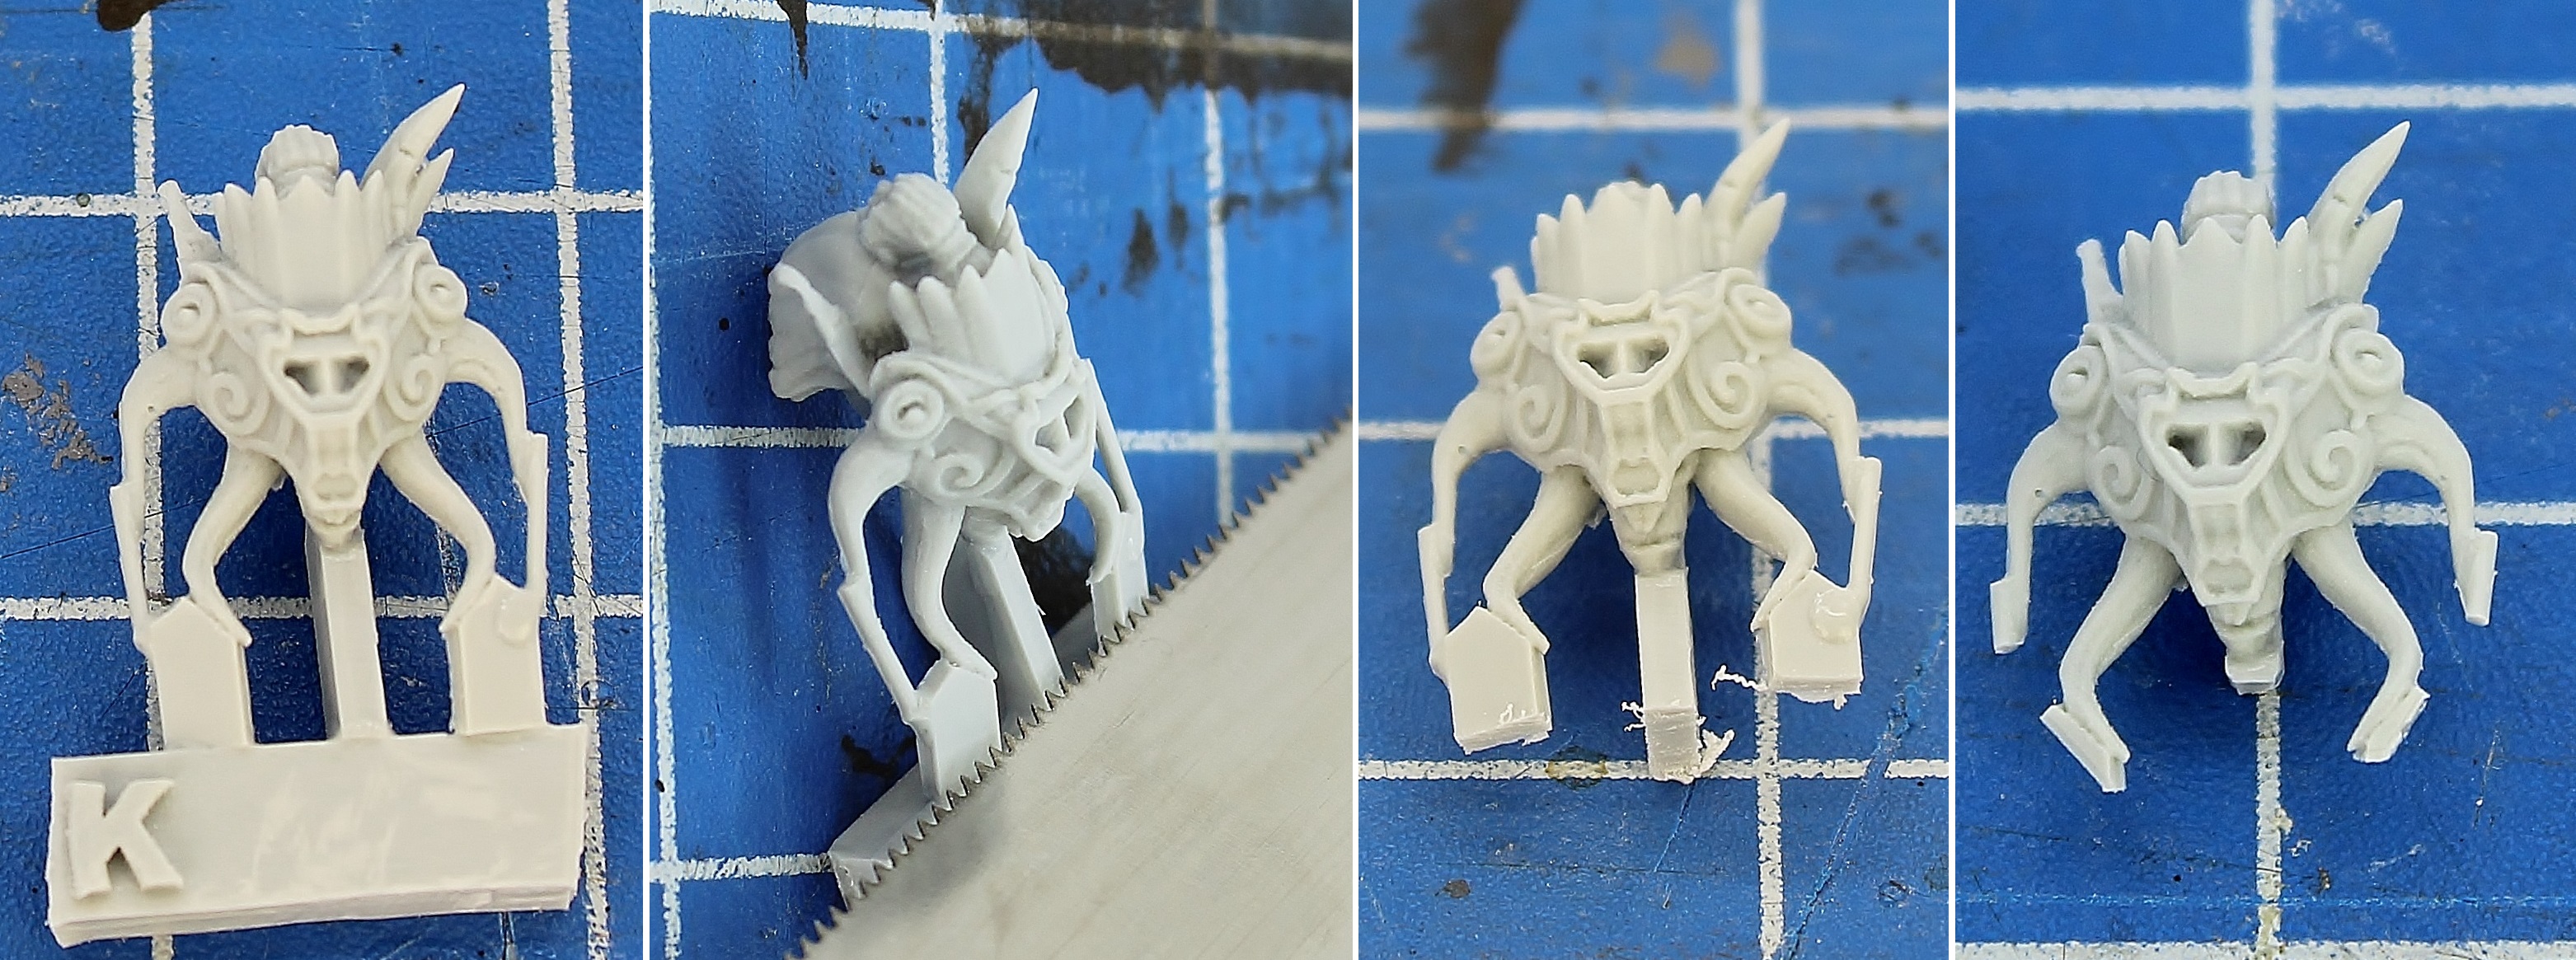
Mask 4 has big ear stretchers sculpted into his lobes. These holes have been kept as thin as possible so you can drill the holes out if you want that extra level of detail. I have used a 1mm drill bit for this.
Construction
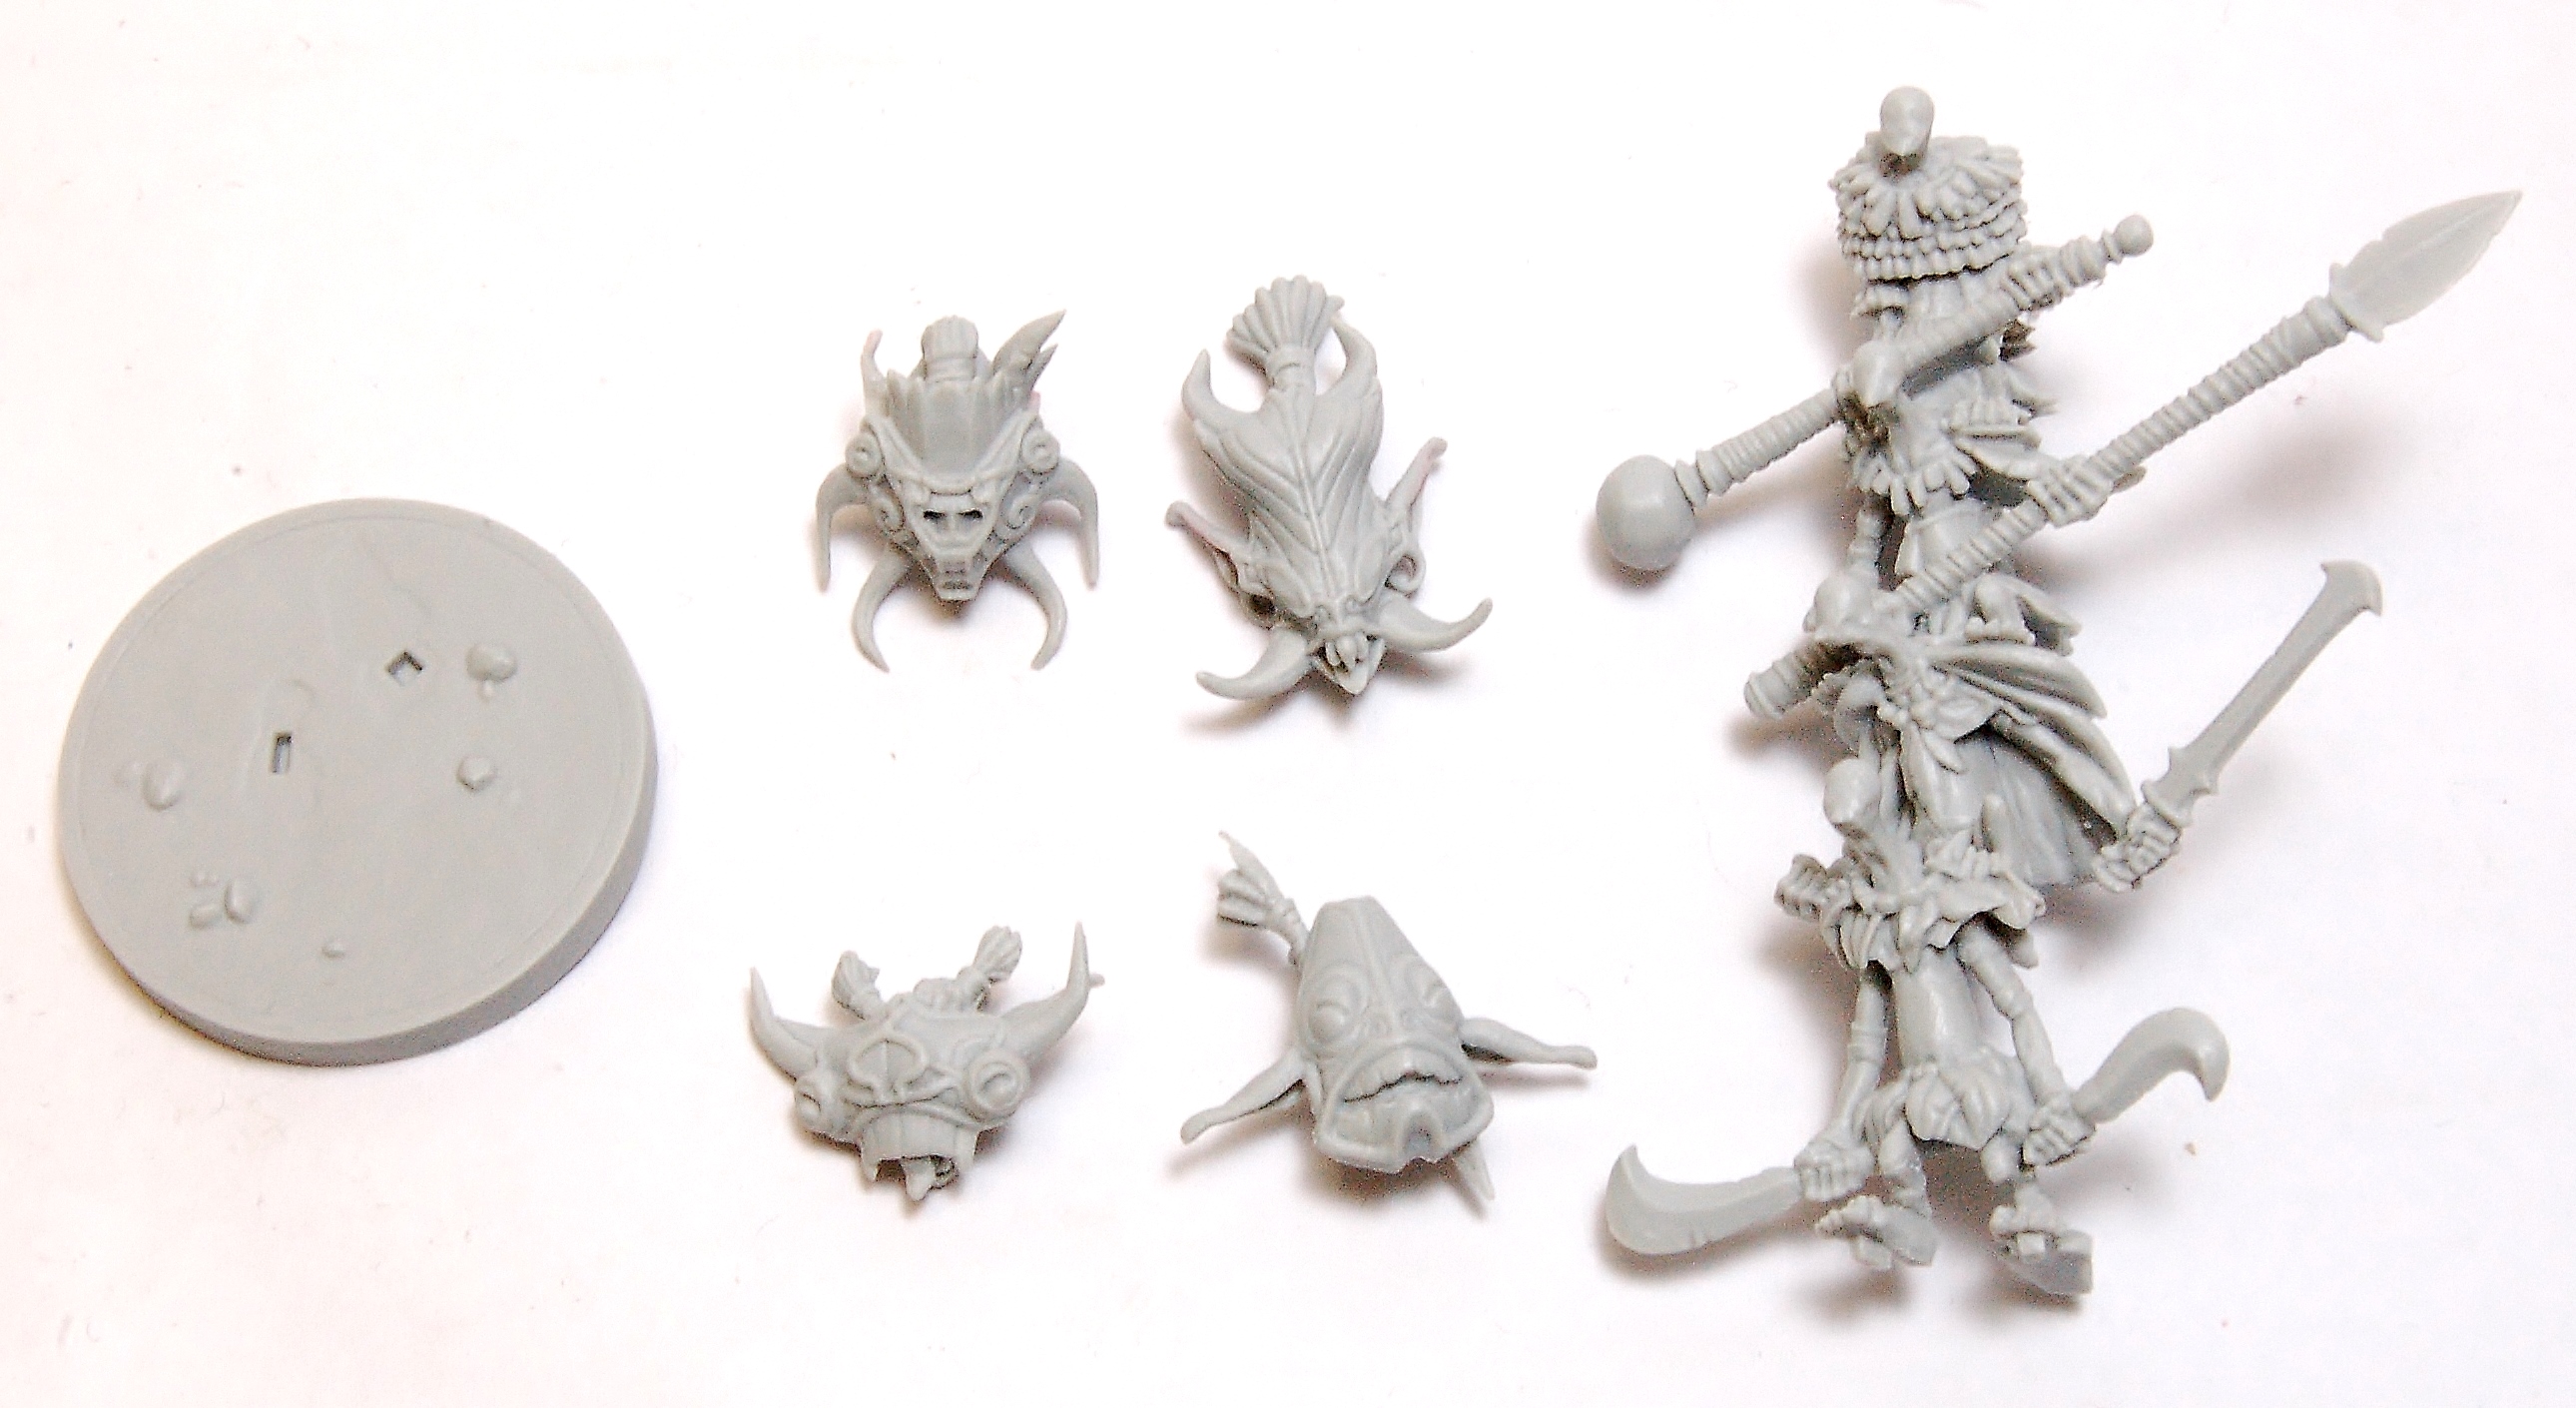
All the parts cleaned up ready for gluing into their sub-assemblies.
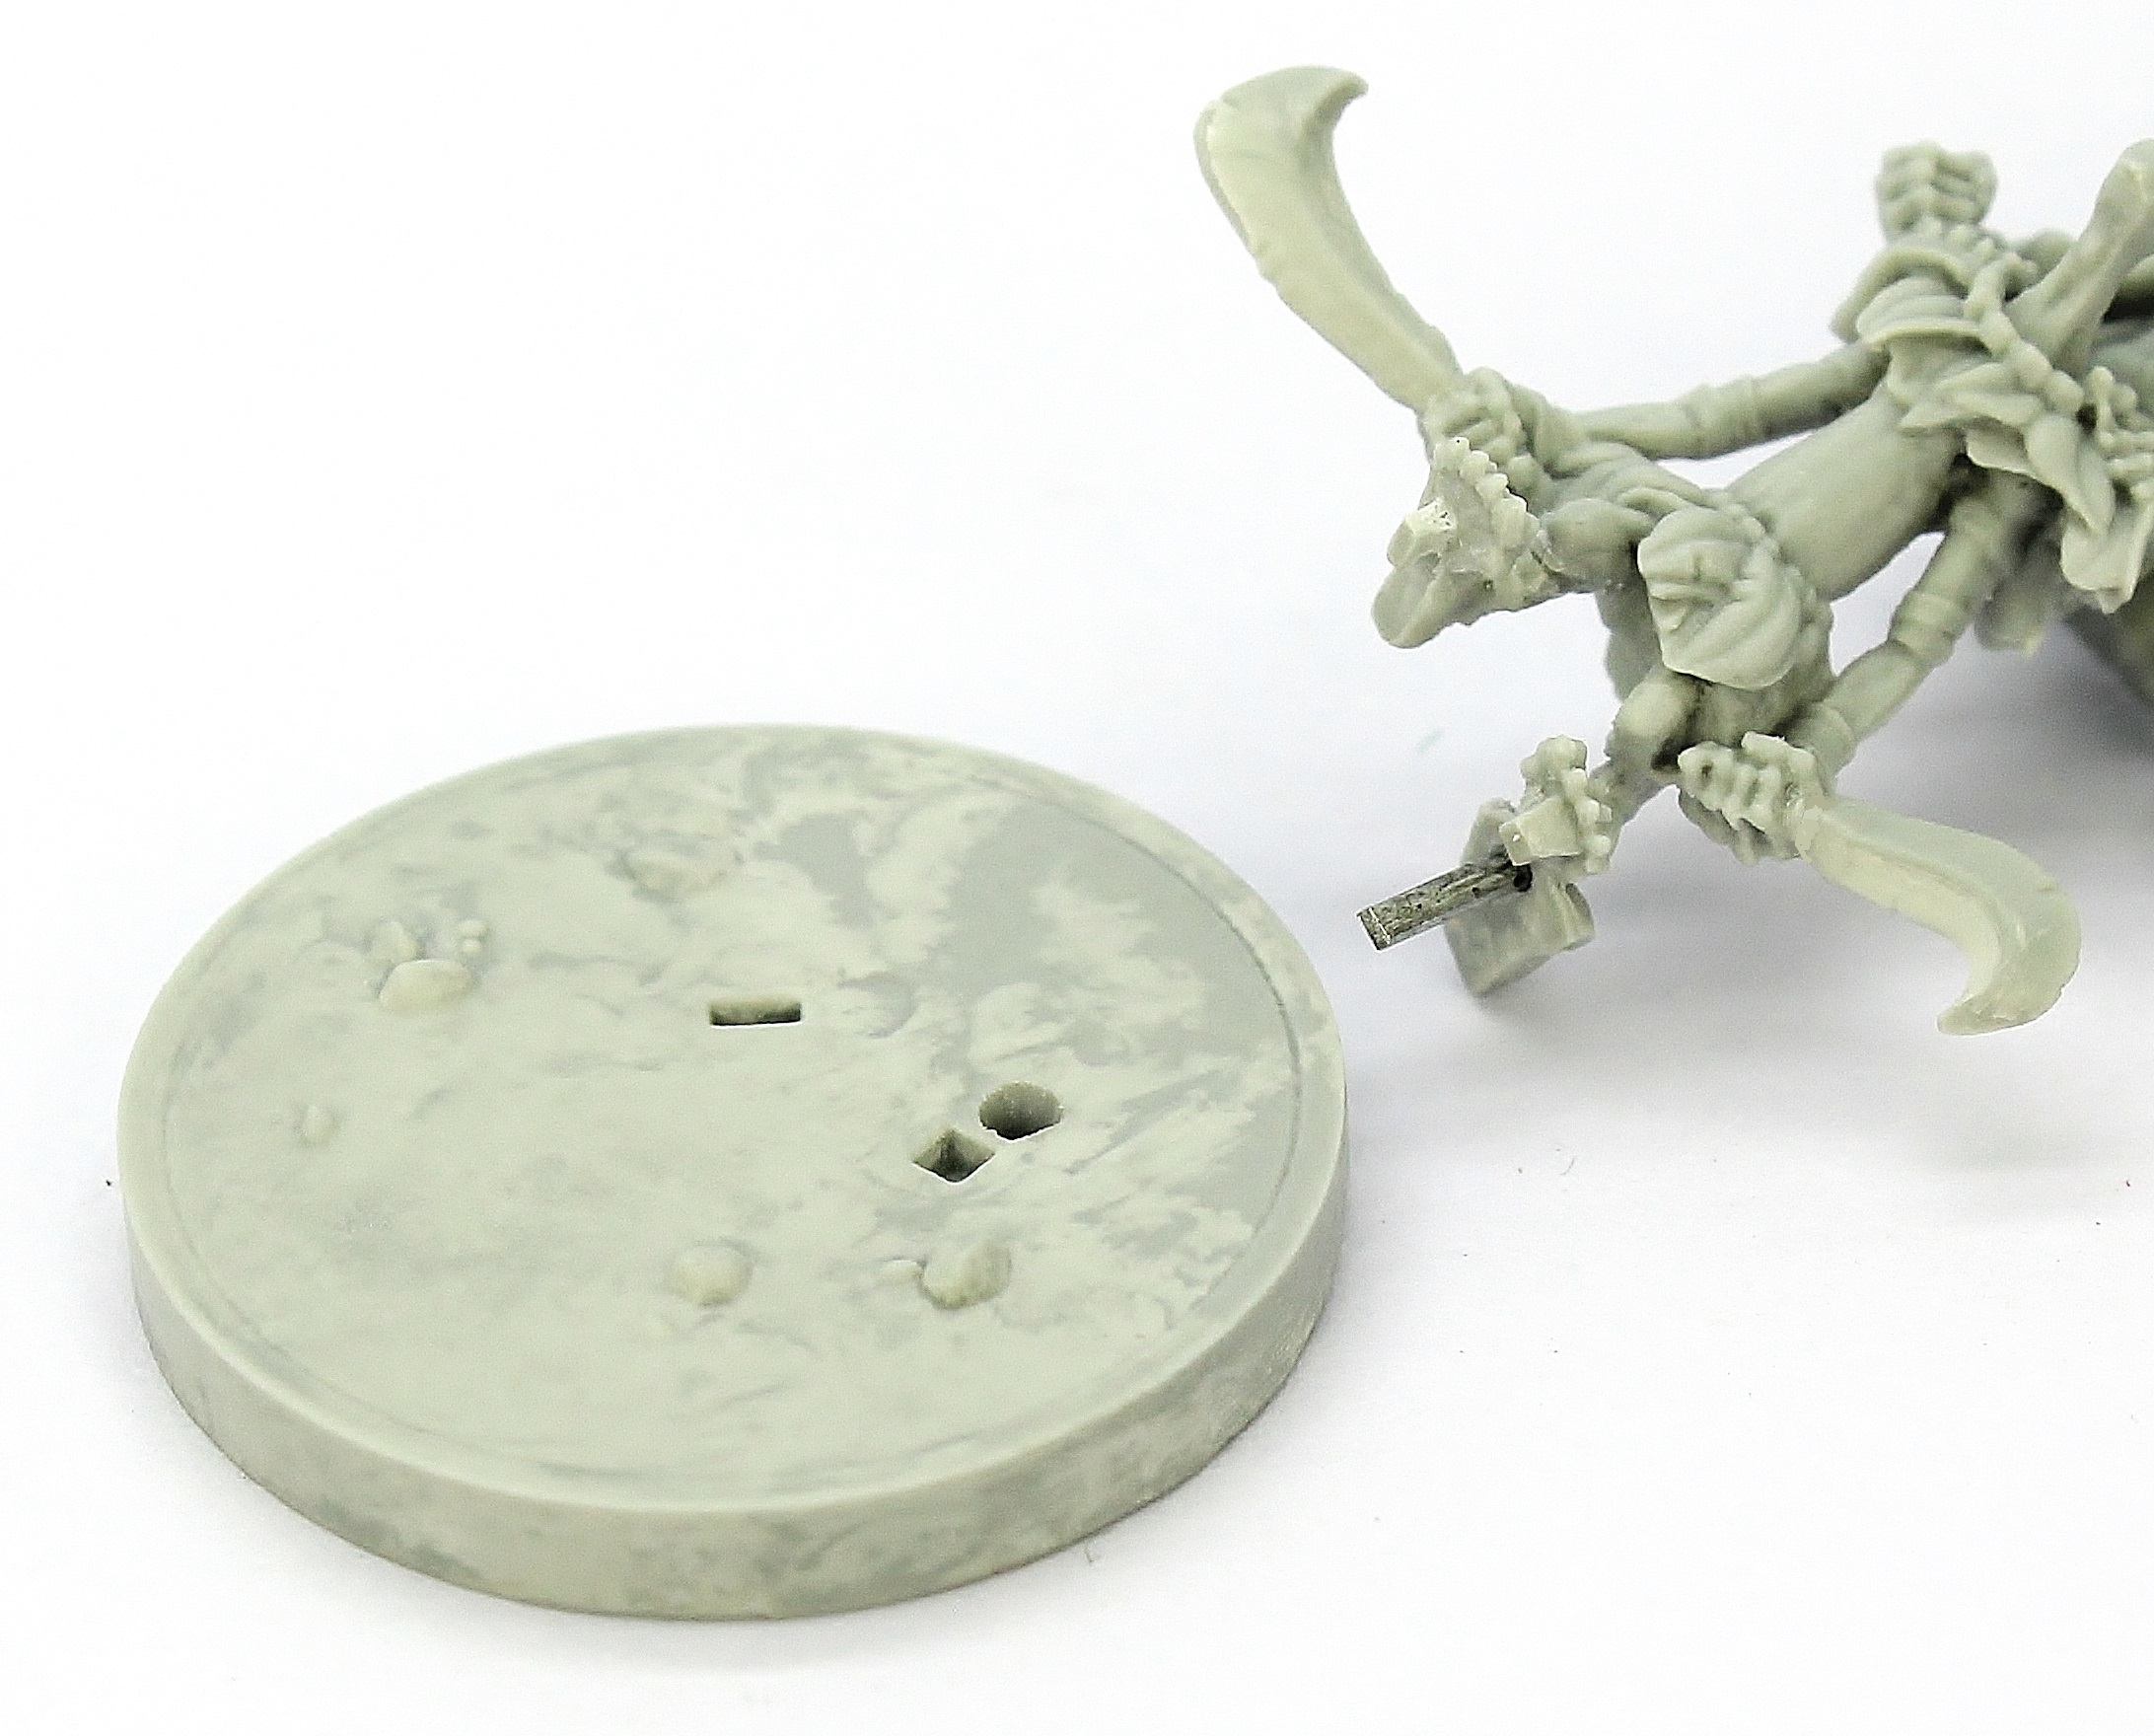
I have pinned the small rock under his foot for extra stability to the base. I have used a larger drill bit (1.5mm) to make a wider hole for the pin to fit in, giving me some flexibility on the foot placement when it comes to attaching it to the base.
Top Tip
If you are not sure of the exact position that the figure will be in and you need some flexibility with the lines aligning correctly, use 1mm wire as usual for the pin and drill a 1.5 / 2mm hole the other end. The joint will still be as strong and you will have some movement to get the final position you require. |
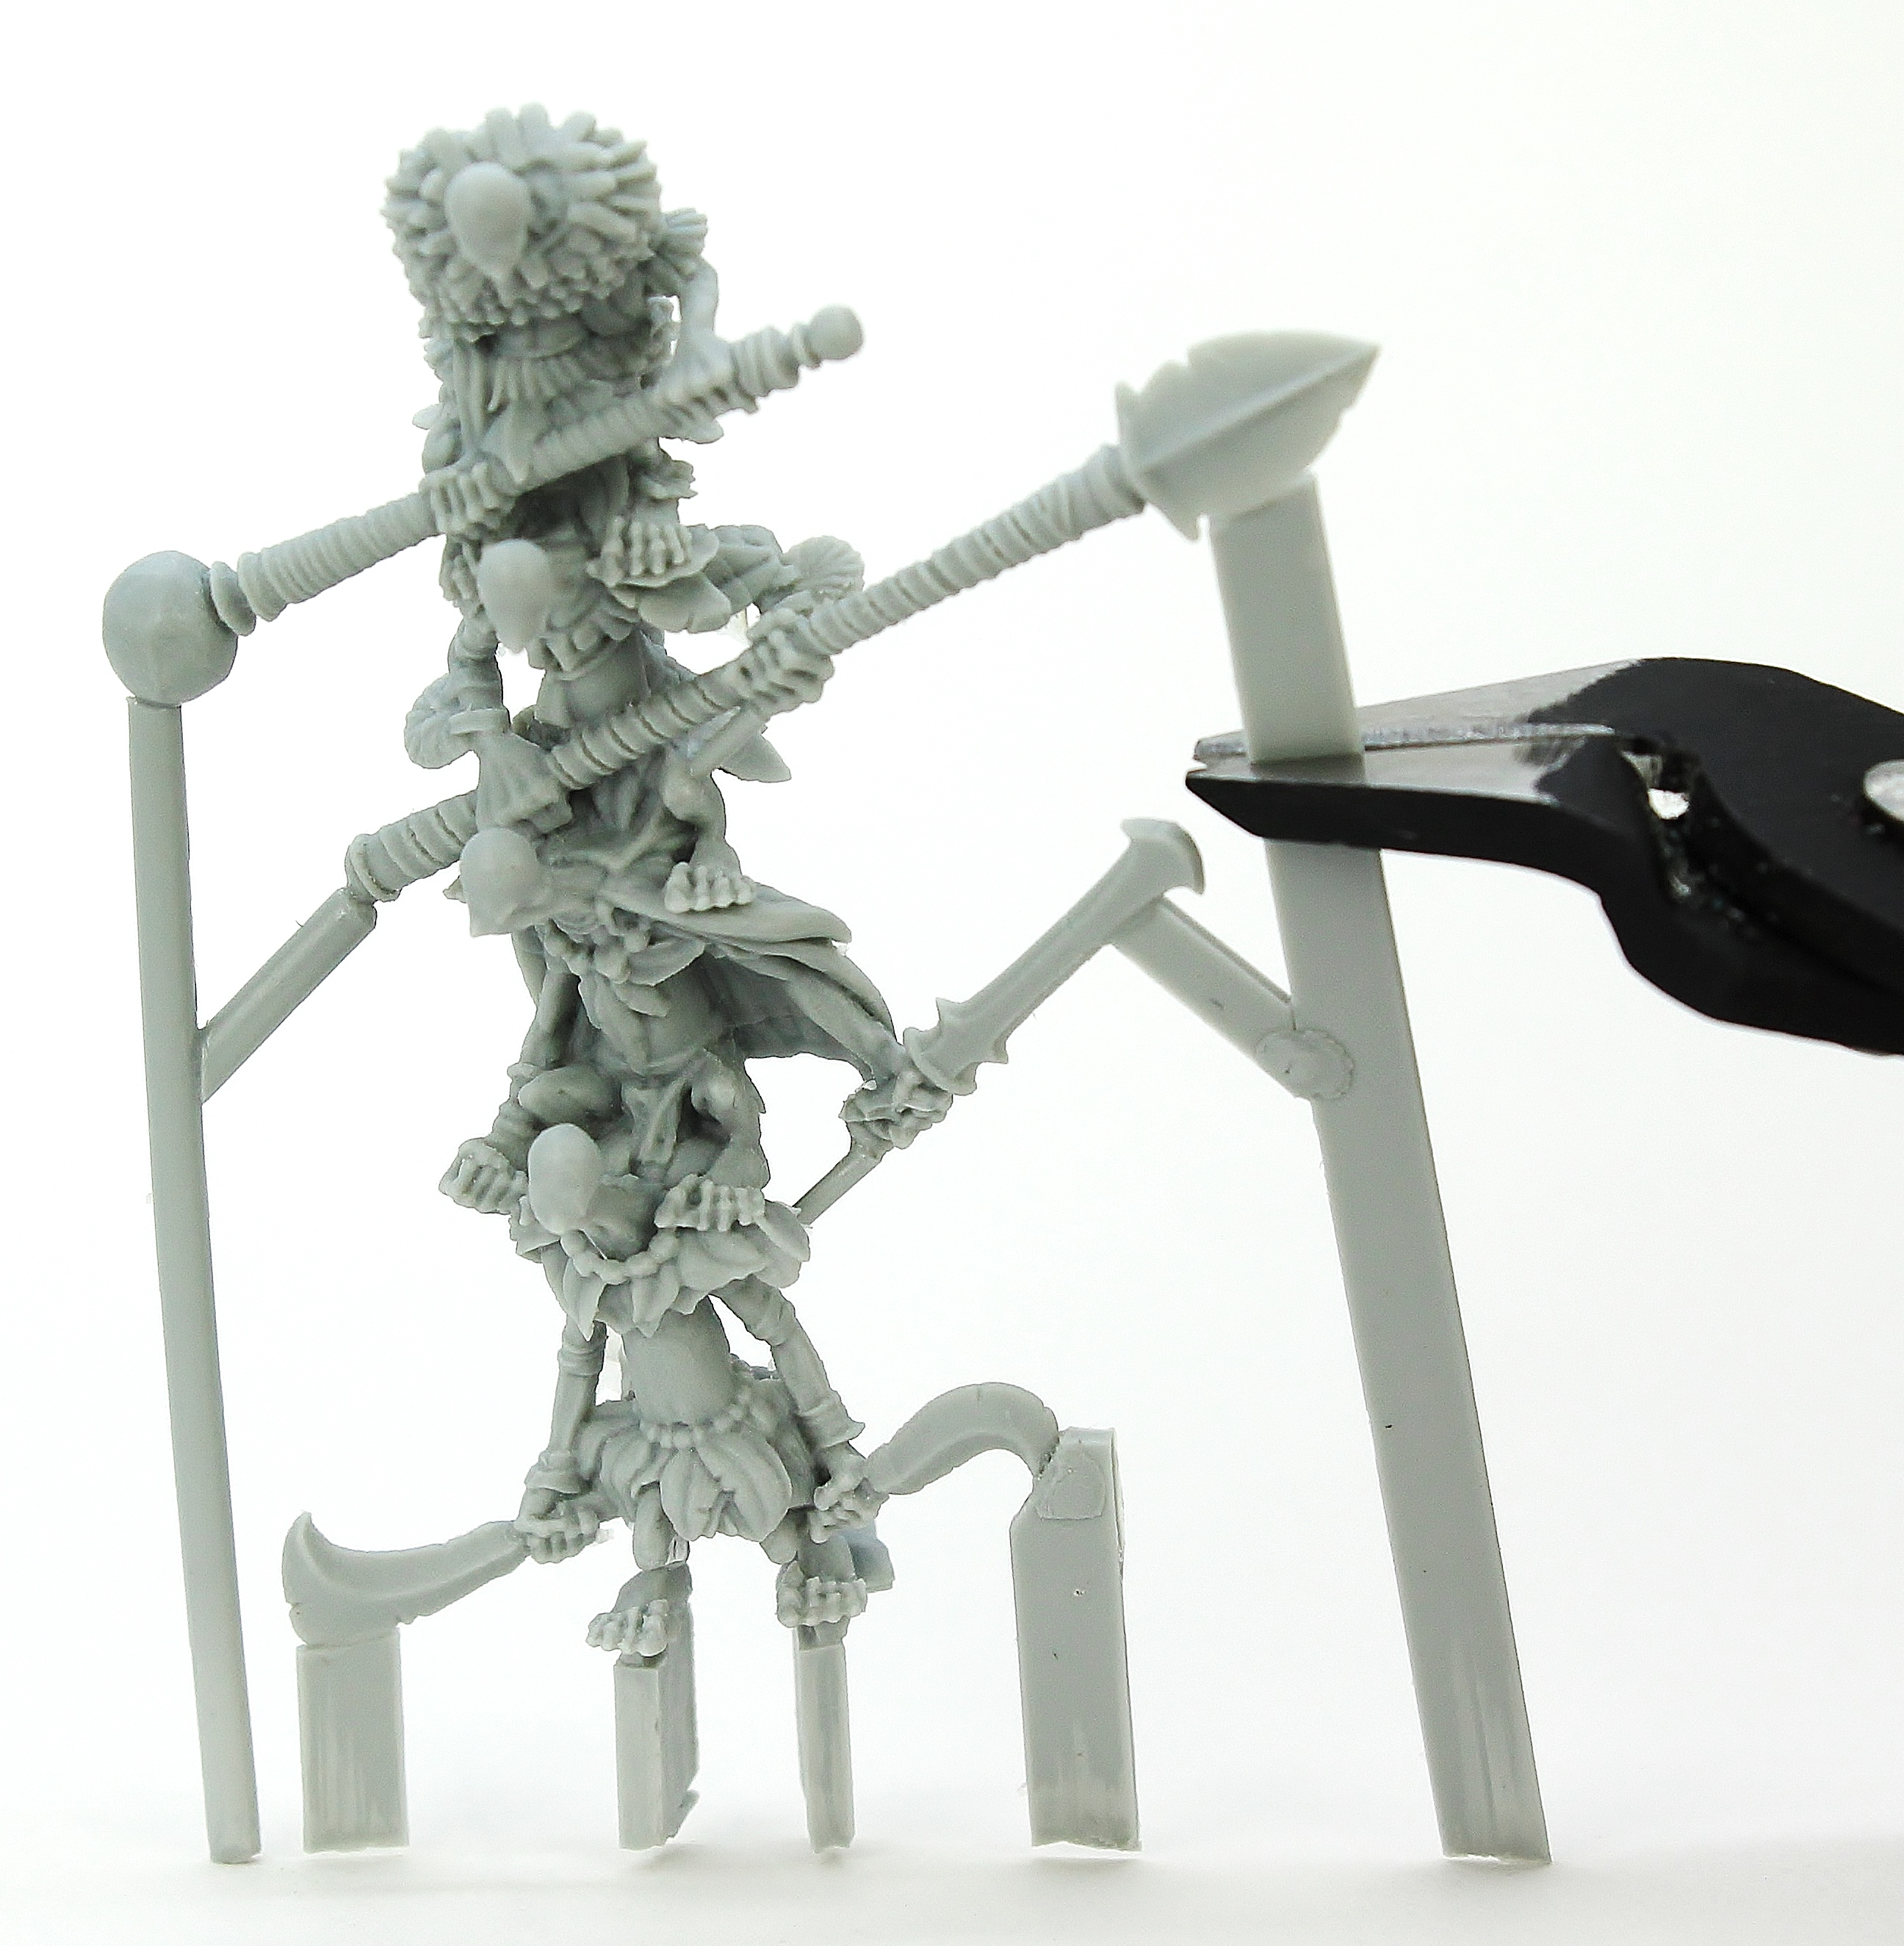
Holding Stand
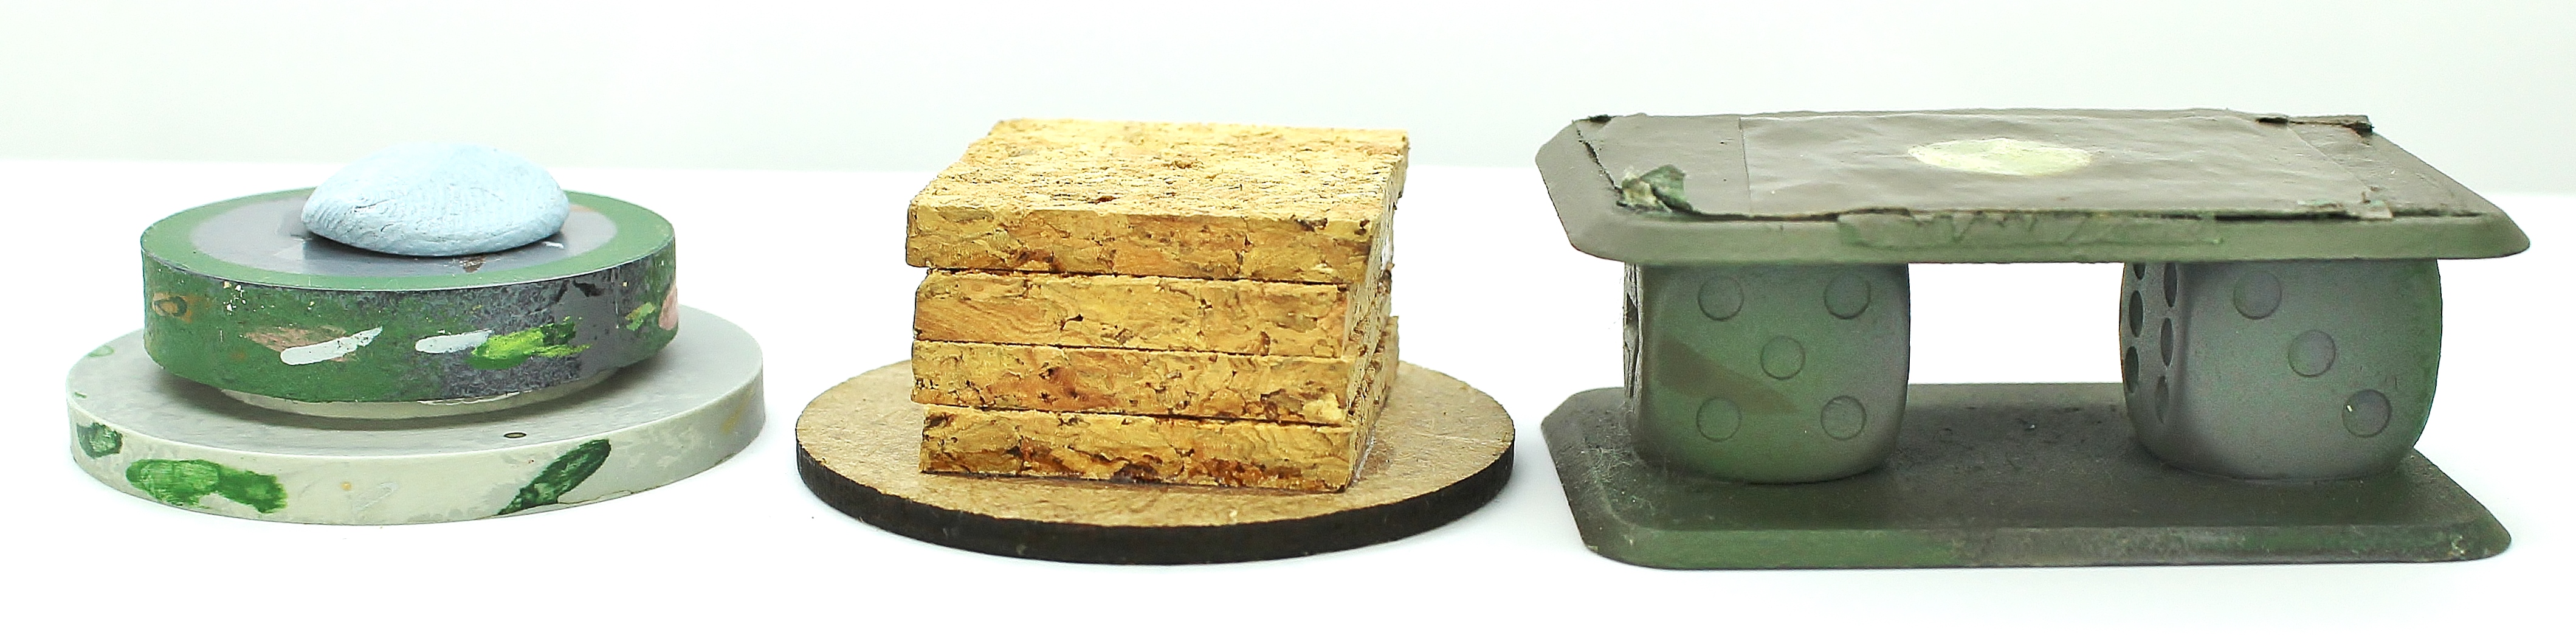
You are going to be holding this model for quite a while without touching it. Use anything that’s comfortable in your hand. I either use Blu-tac or double-sided tape to secure the miniature down.
The masks will need to be painted separately if you want the details behind them to show up. They will need a holding stand so they can be handled carefully without touching the models.
I have drilled holes lower than the main head fittings to avoid the recess filling up with glue, these holes will be hidden once they are attached to the stack.
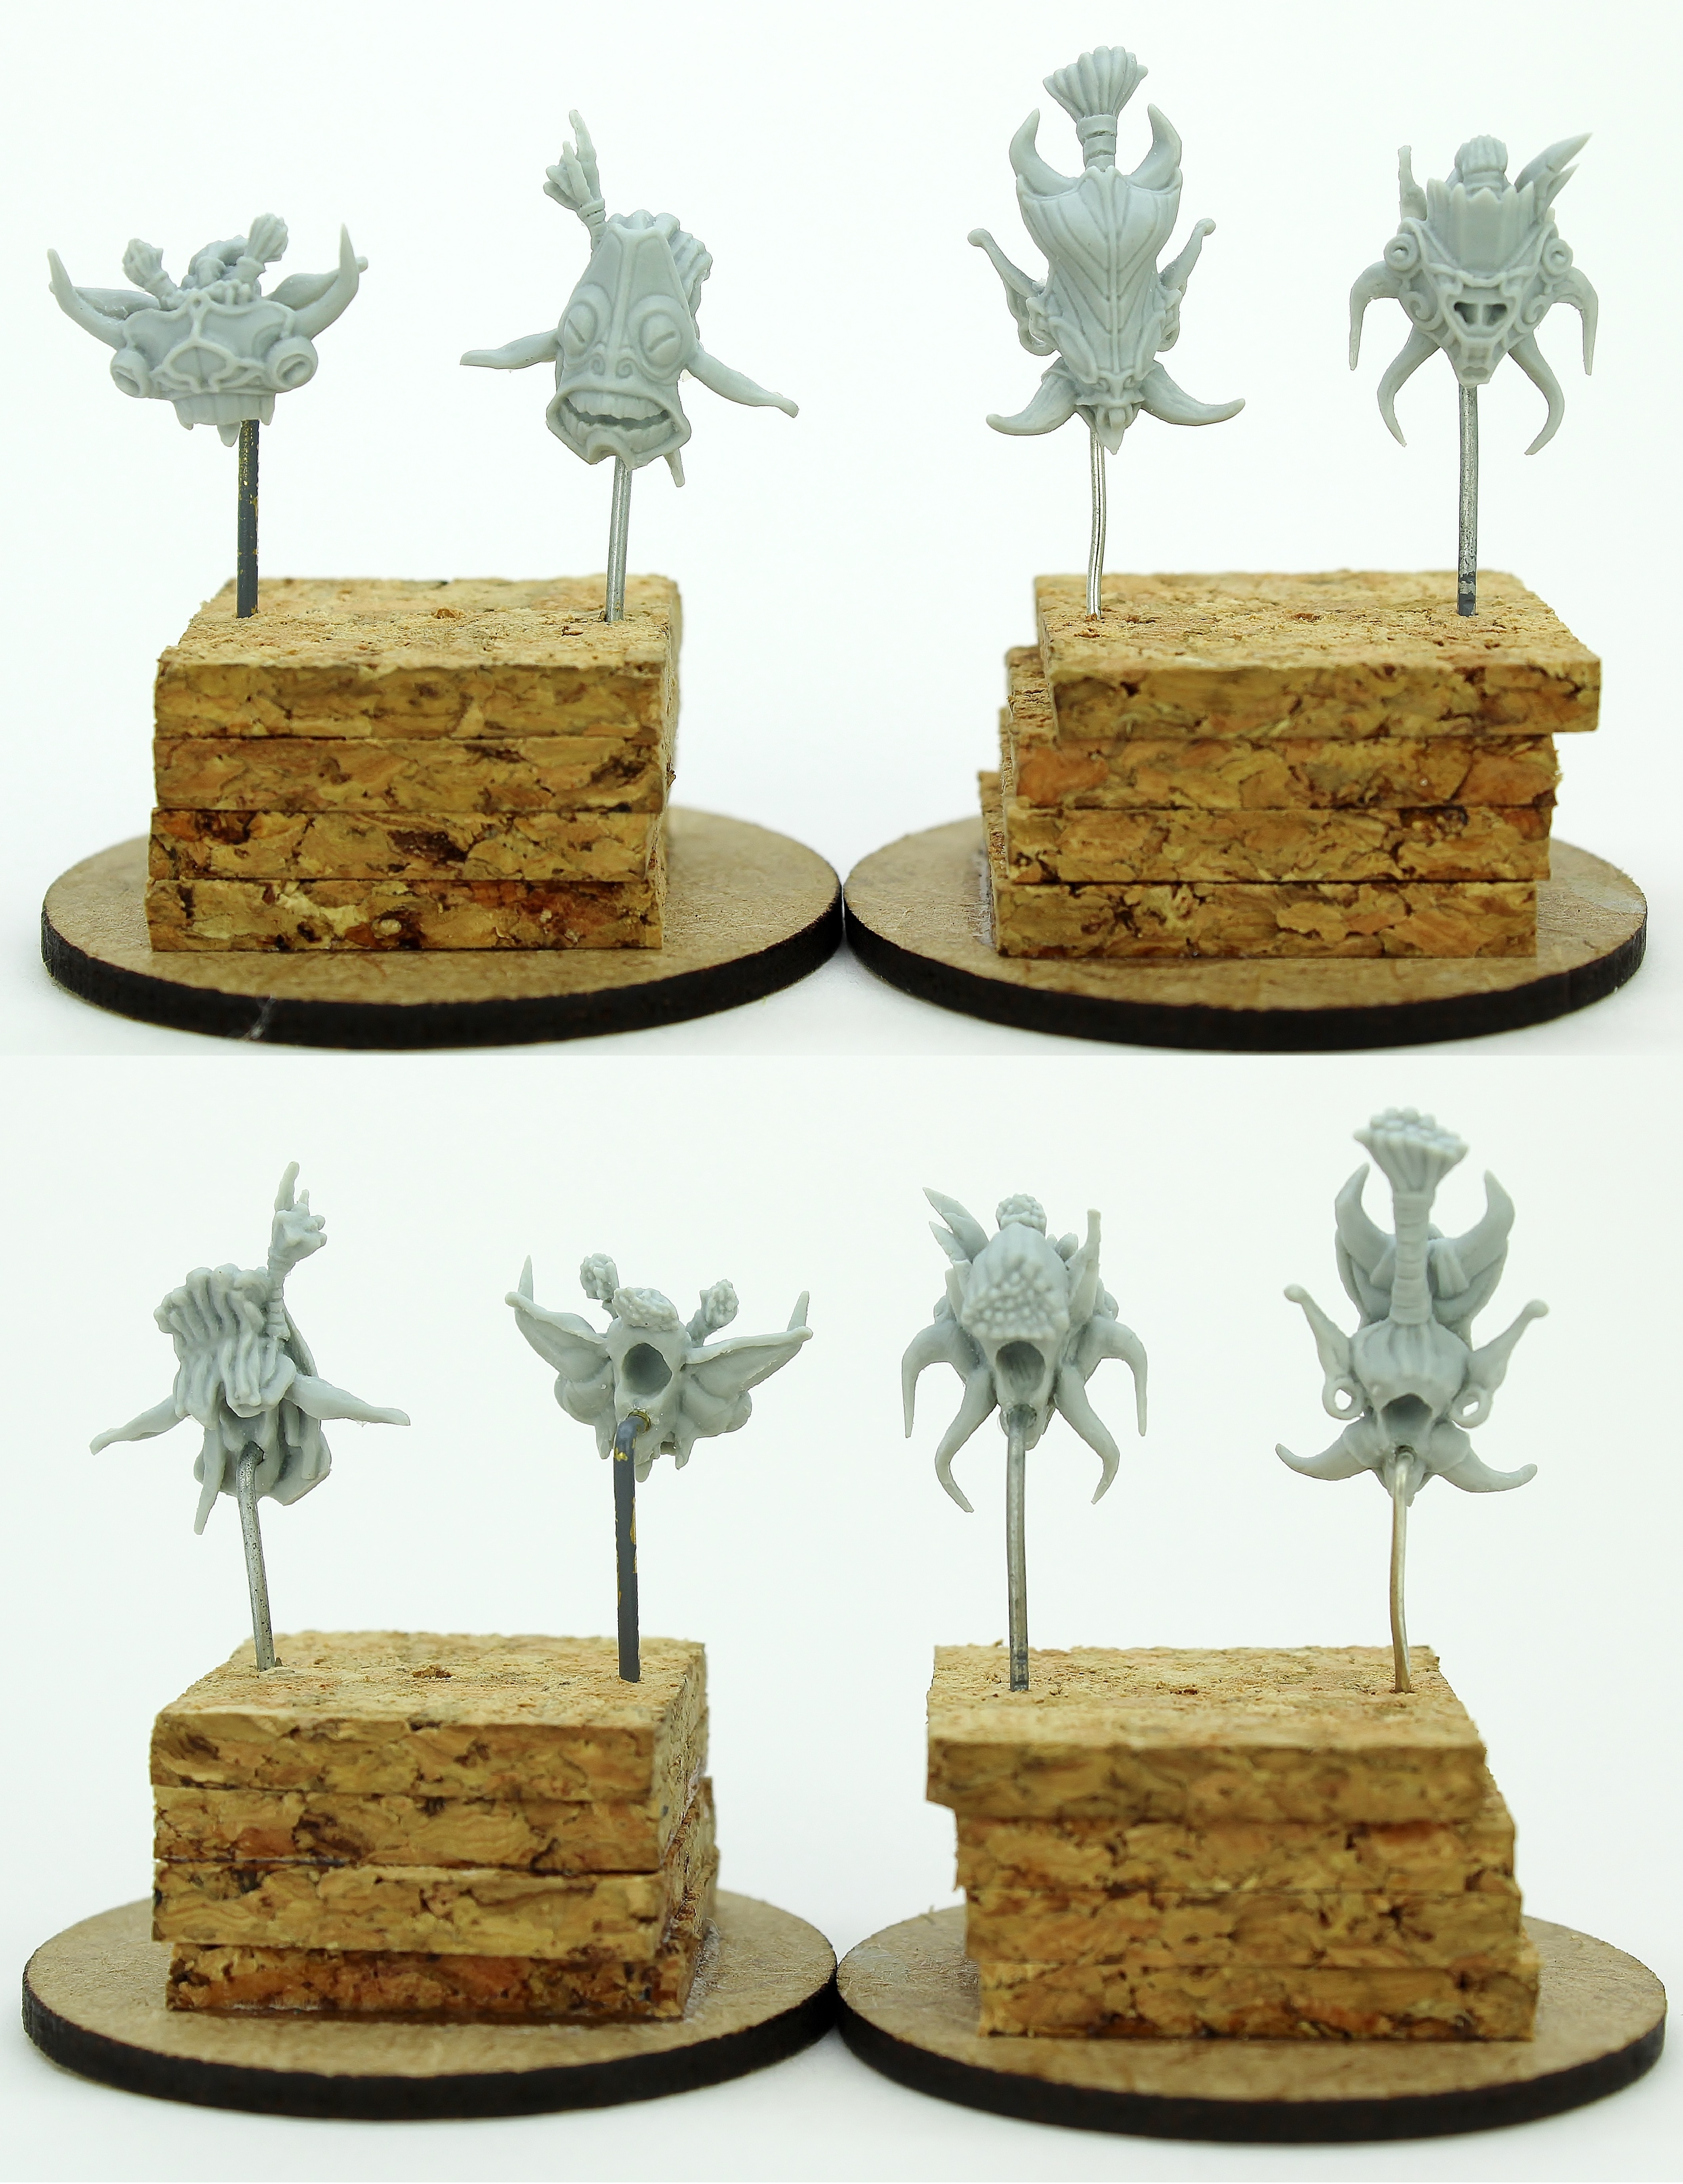
Using some scrap wire as stands, each one bent 90 degrees and glued in place.

All of the parts ready for a coat of primer.