The release of two Baldur’s Gate box sets, it gives me a great opportunity to show you the theory and evolution of creating a box cover backdrop.

Before I can start on the build, there are quite a few factors that need to be considered-
· The floor texture must be flat, as gaps underneath the figure’s base look ugly.
· The whole scene must be flexible and allow different positions for the miniatures to be photographed.
· The backdrop can be converted to suit a specific set of miniatures.
· Quick to build and paint.
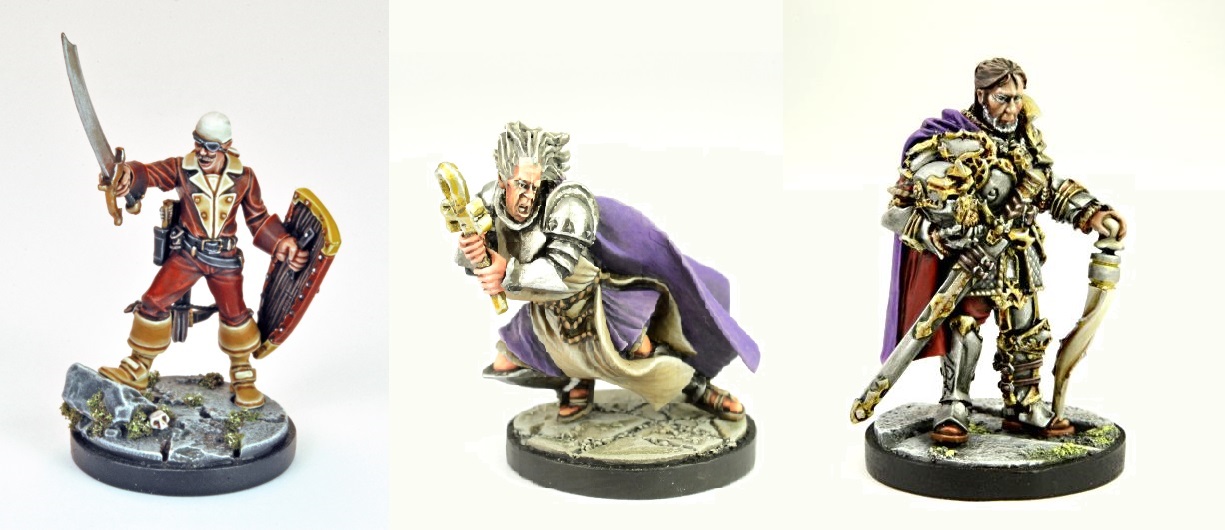
· The backdrop cannot overshadow the miniatures. After all, it’s the figures that are the main event on the front of the box.
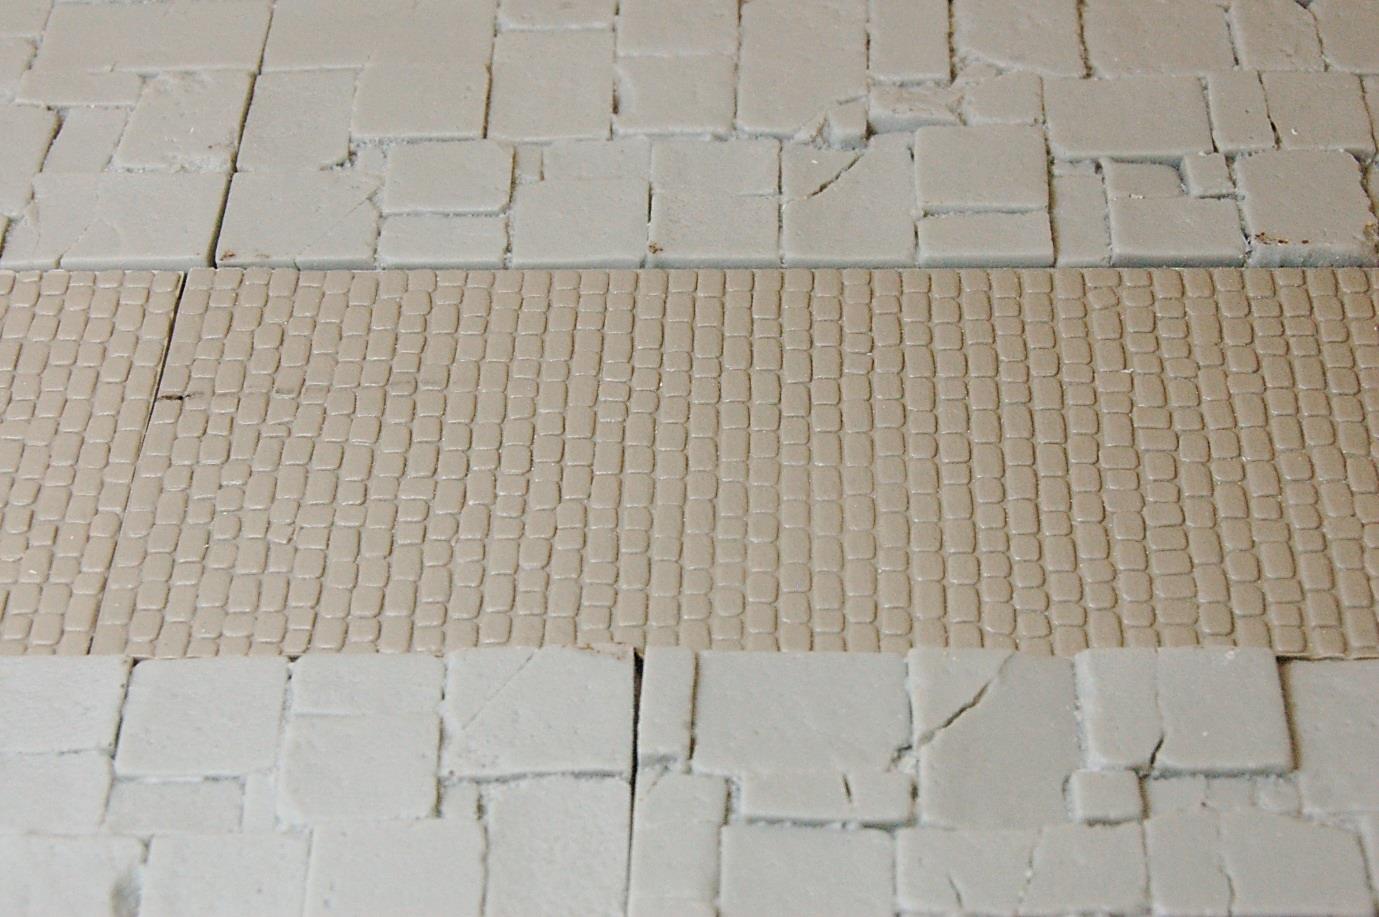
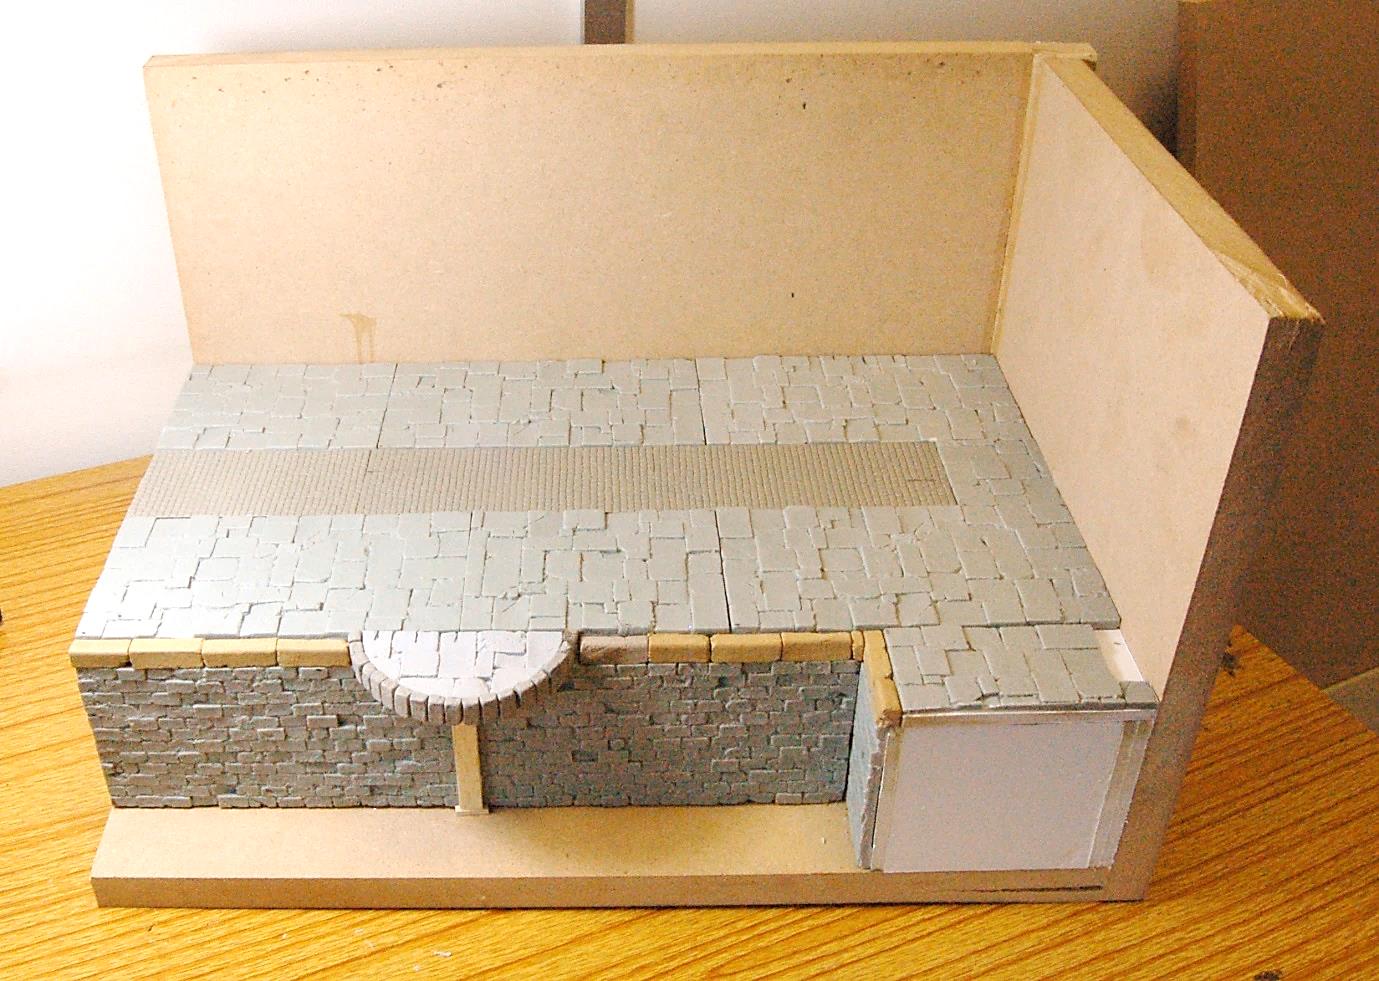
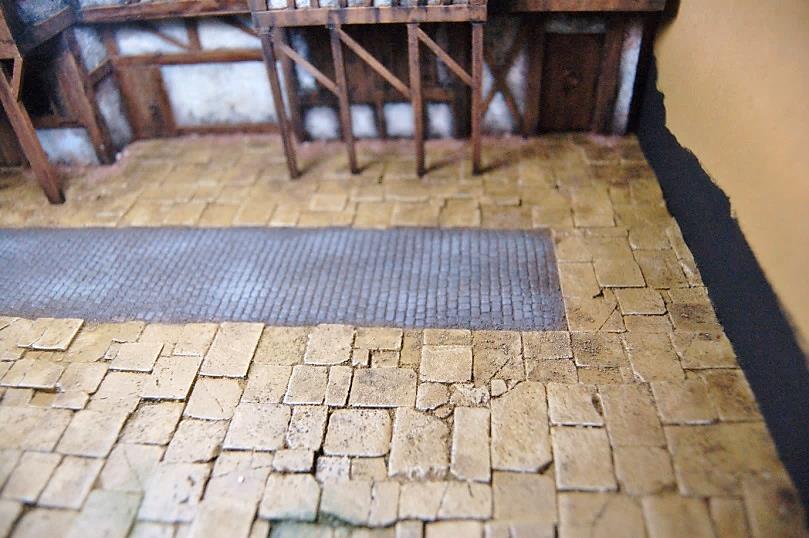
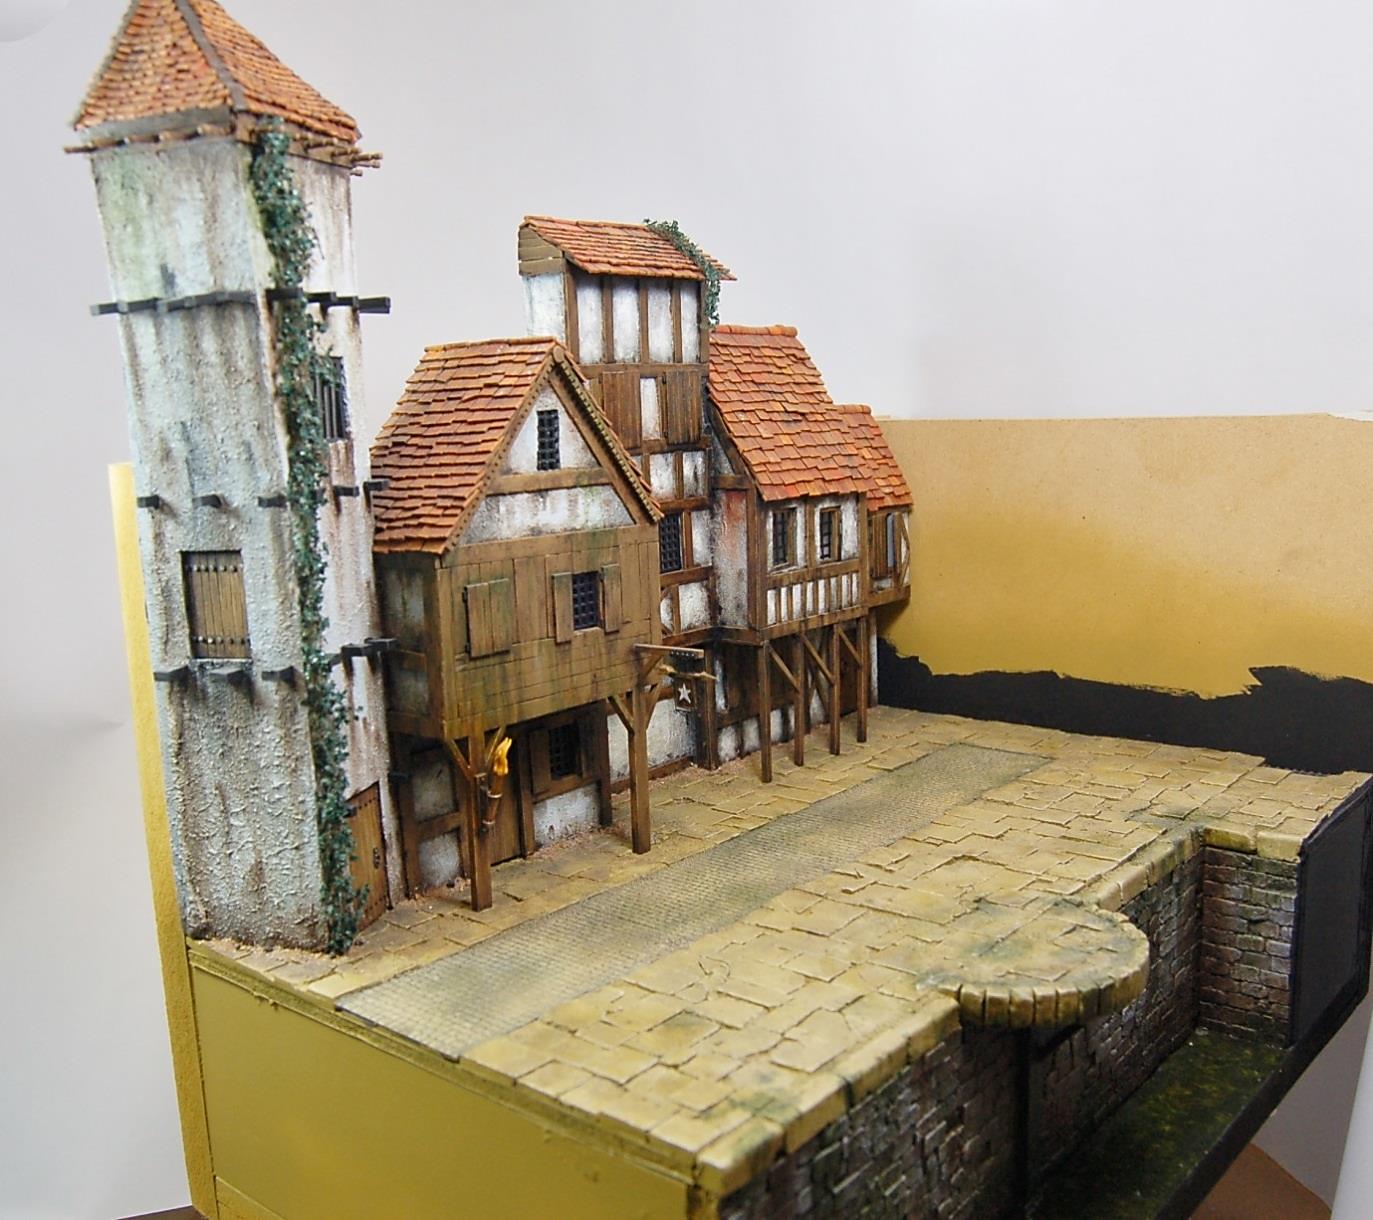
For this city scene I constructed a section of stone flooring, using real miniature clay slabs and cast them in resin sheets, giving a very realistic texture. (There are similar model railway products available) I have made a stone slab floor and a smaller brick wall sheet. With these ‘building blocks’ ready to use, they are a quick way of constructing a textured medieval themed backdrop, this stone texture is cut up and used on multiple D&D releases.
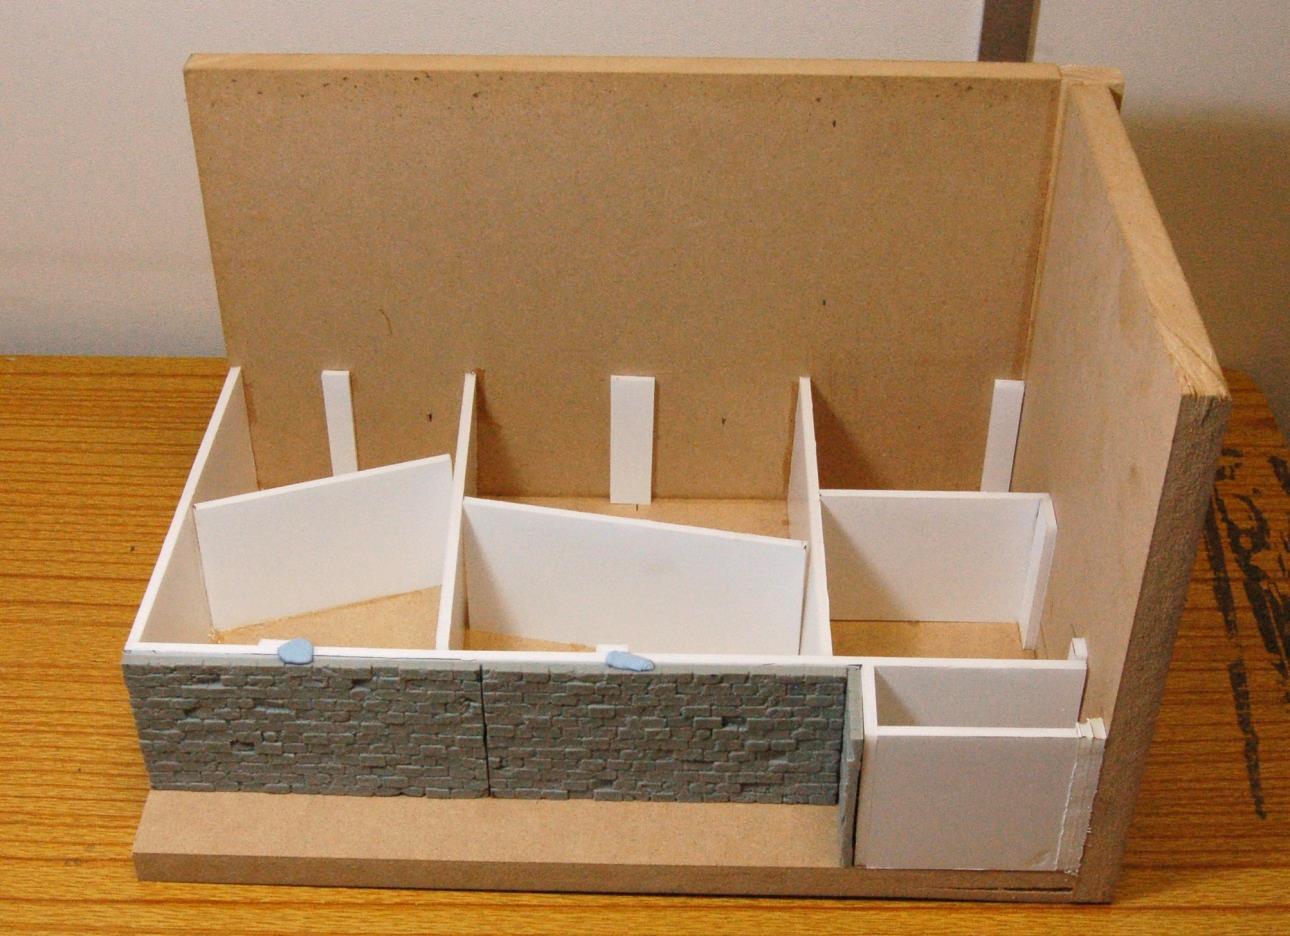
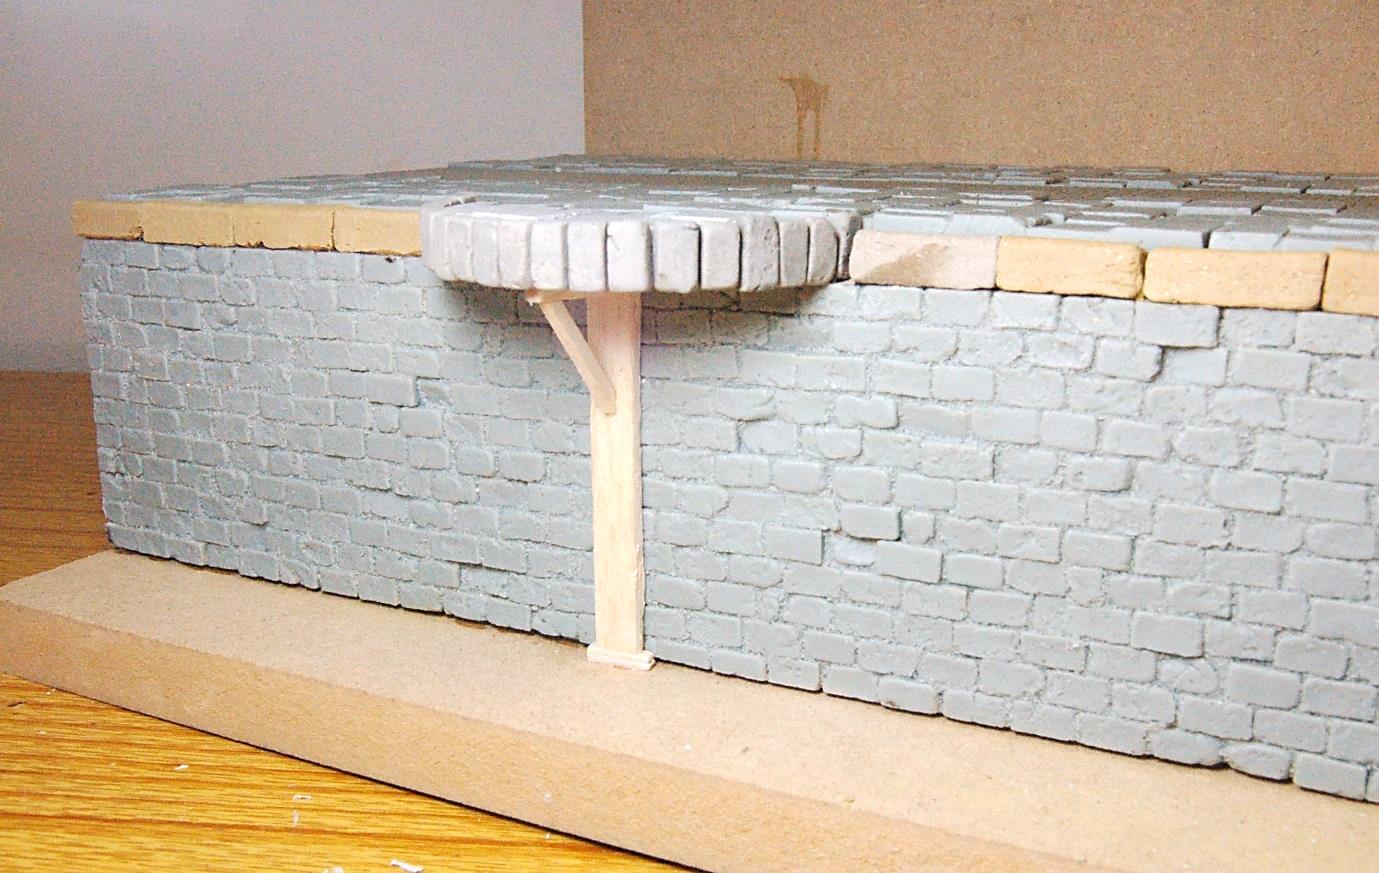
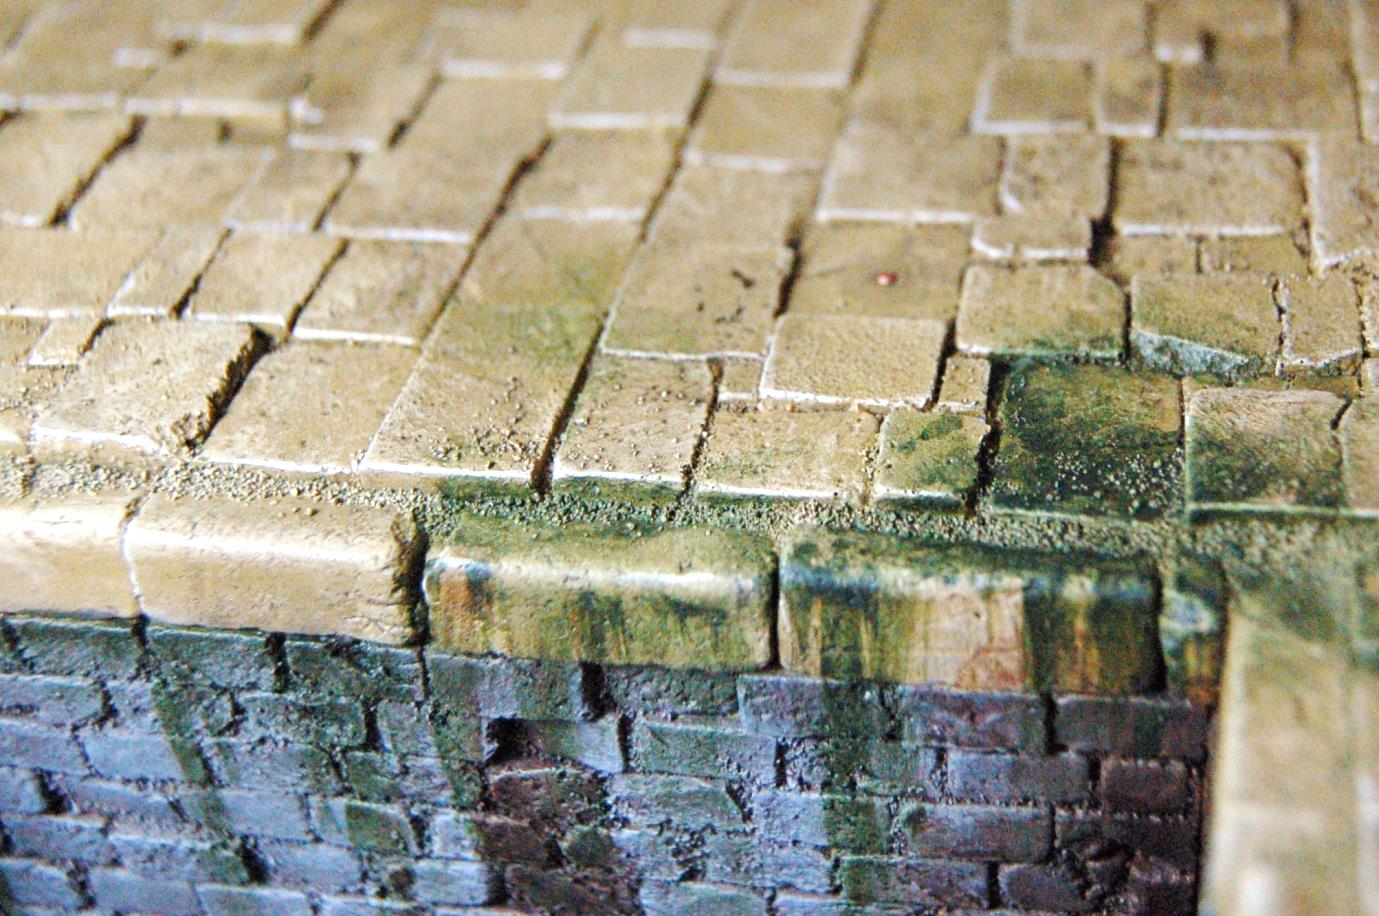
Dock wall detail with stone pier. The wooden beam was added to hide the join where the resin brick sheets meet. The top of the wall was capped with large clay bricks.
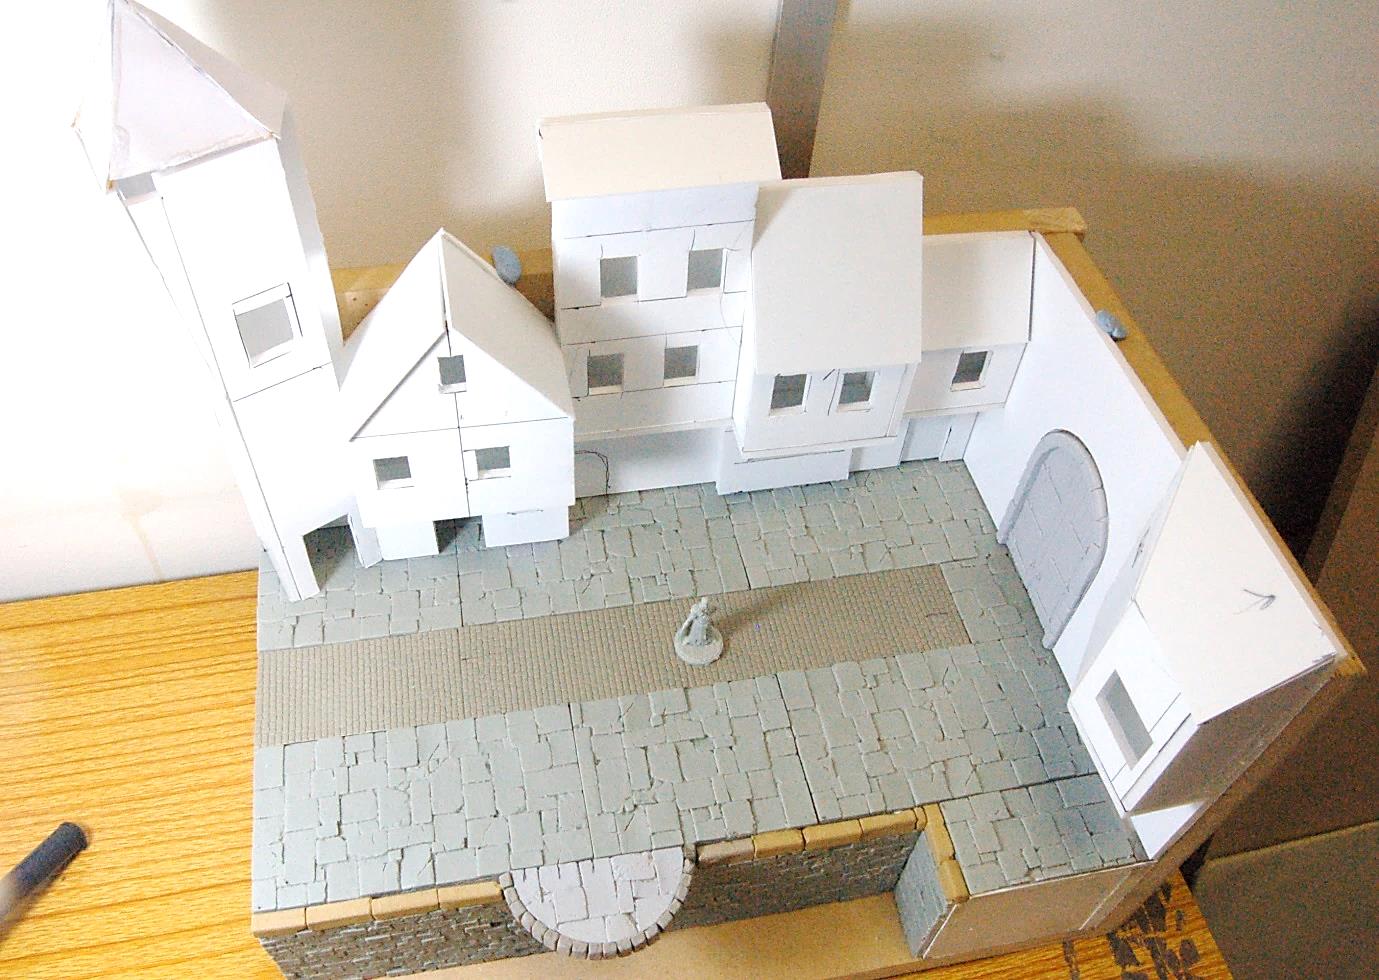
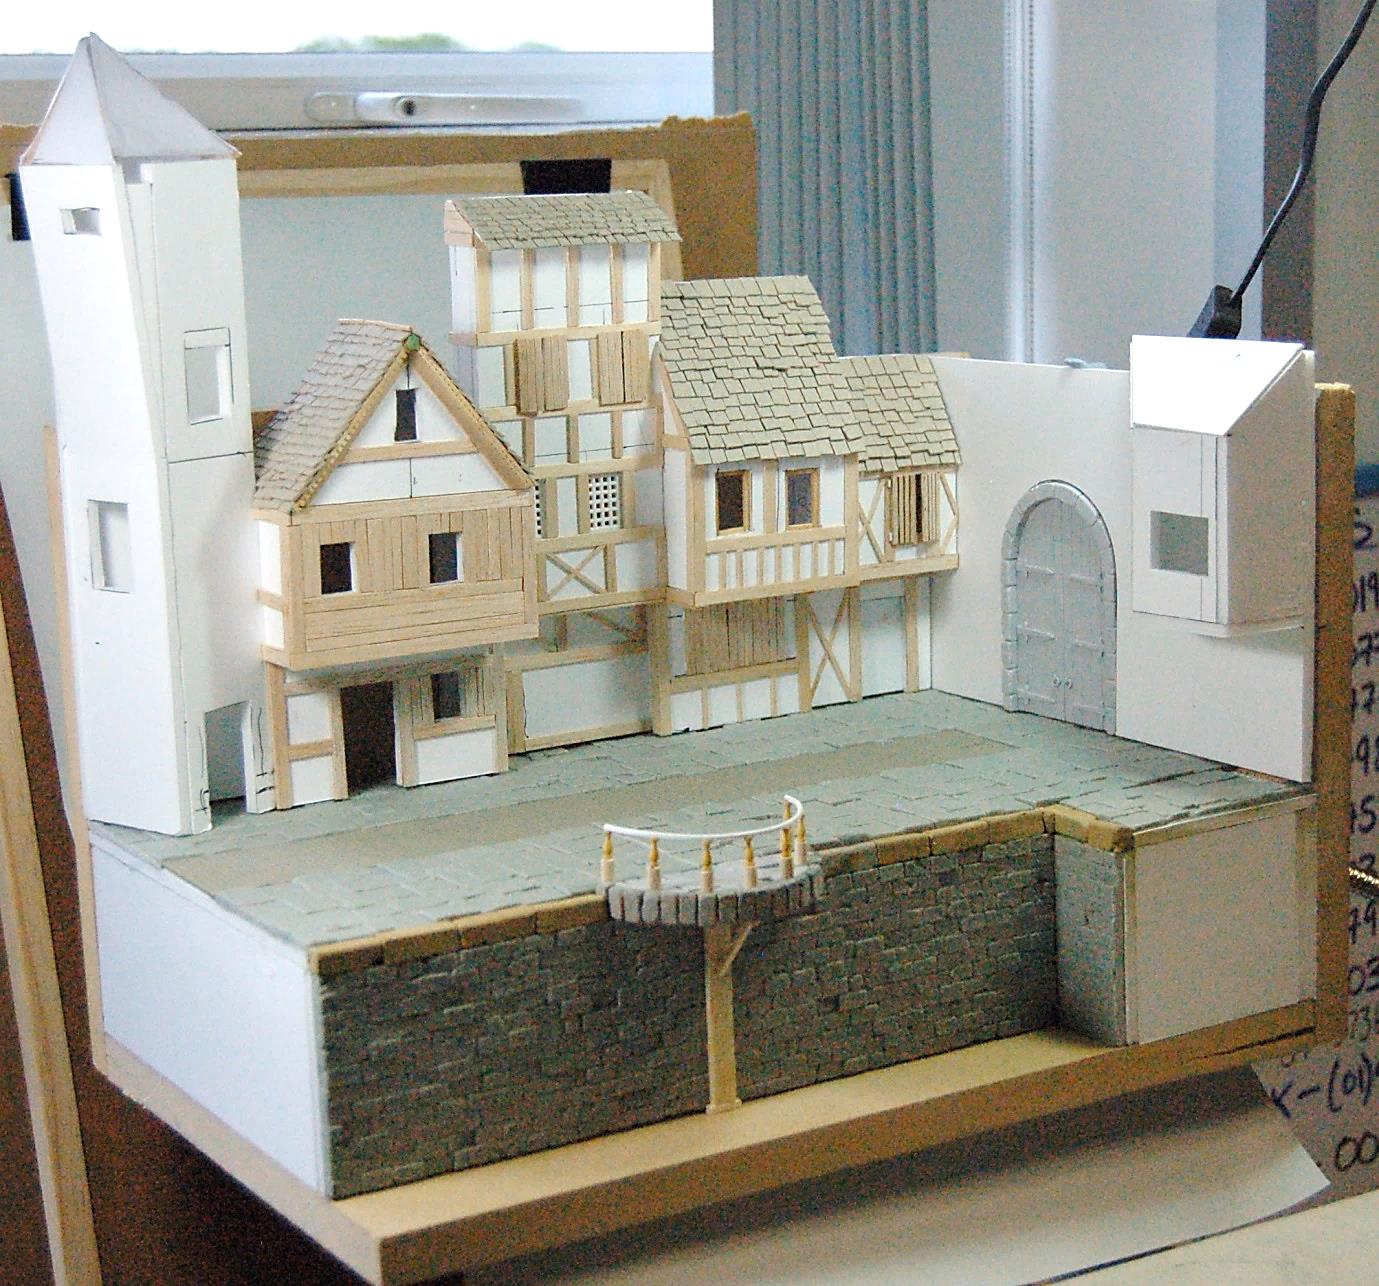
5mm foam card is used for the basic construction. It’s easy to cut and glue together. I have added variety with height and depth without using a lot of the floor space, making the town look more organic and natural. As this is not for gaming purposes, all the doors and windows are in scale with the miniatures. To speed up the construction and painting later, I added balsa shutters to many of the windows and kept the window and door frames a simple design, using matchsticks.
The cladding begins with lolly sticks, balsa wood and cardboard roof tiles. When possible, I do prefer to work with the natural material it is supposed to represent e.g. balsa wood, as a natural texture is very hard to achieve, if using plasticard or another product. With so many roof tiles needed, thick cardboard was the obvious choice as it has a rough texture, soaks up the paint and can be cut with scissors, which is an important factor with so many to make and a difference between an hour and all day.
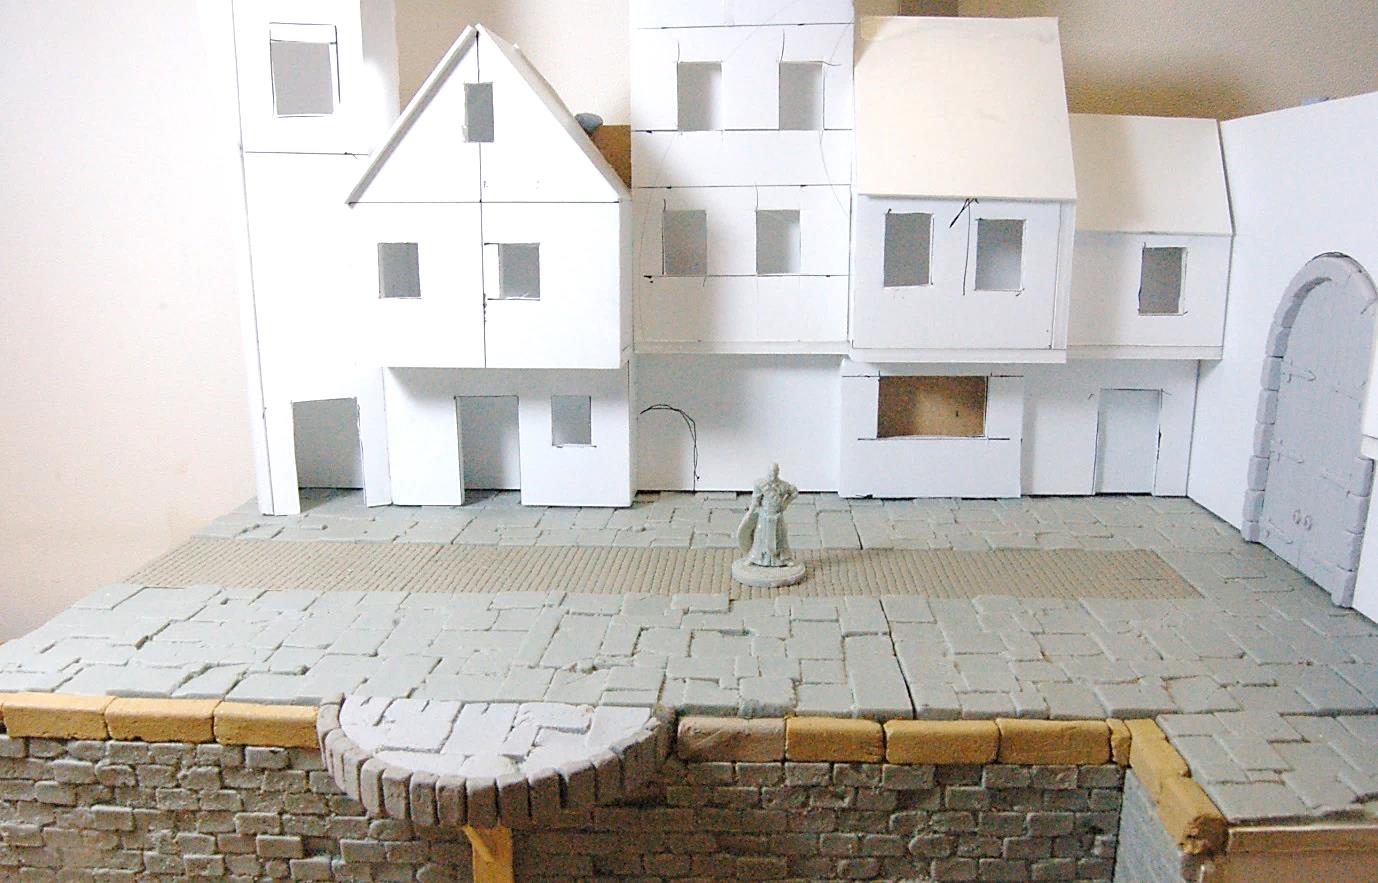
Notice how the right hand side is still plain foam board, I will finish off this section when I need another angle for a new box cover. The railings on the dock were a good idea, but had to be removed as they interfered with possible miniature positions and would be visible in every photograph.
 |
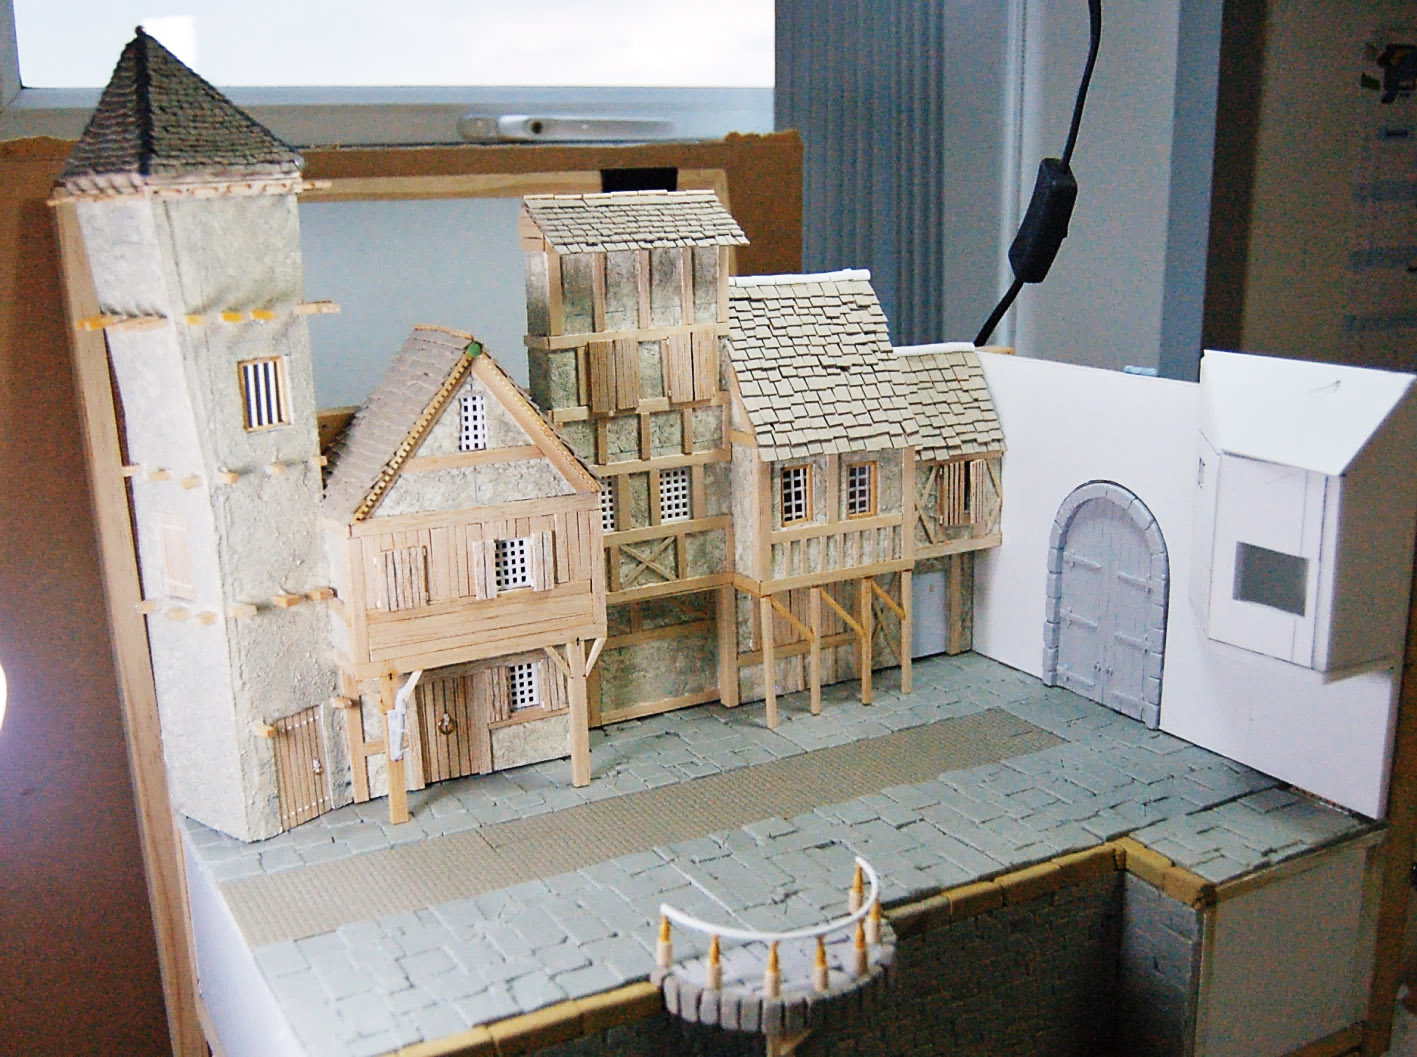
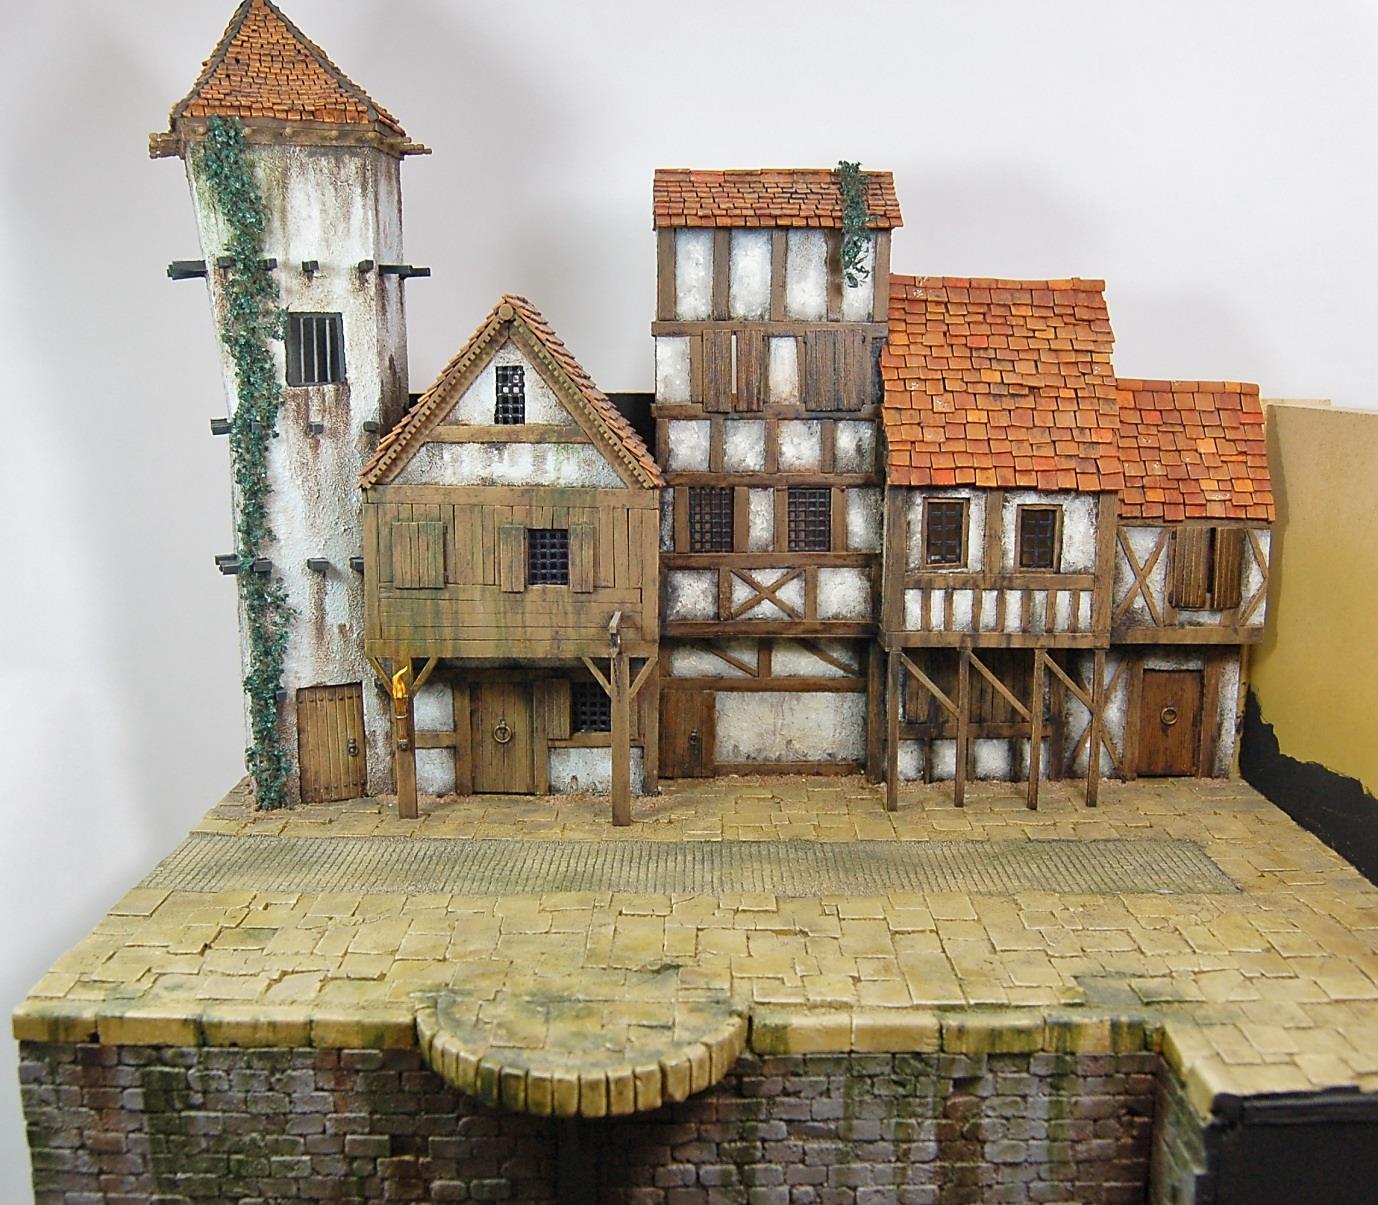
With all the wooden cladding finished, all the bare foam board was rendered with Vallejo thick sandy paste, much like the real thing. This hides all blemishes and construction markings and dries in a couple of hours in a tough coat.
|
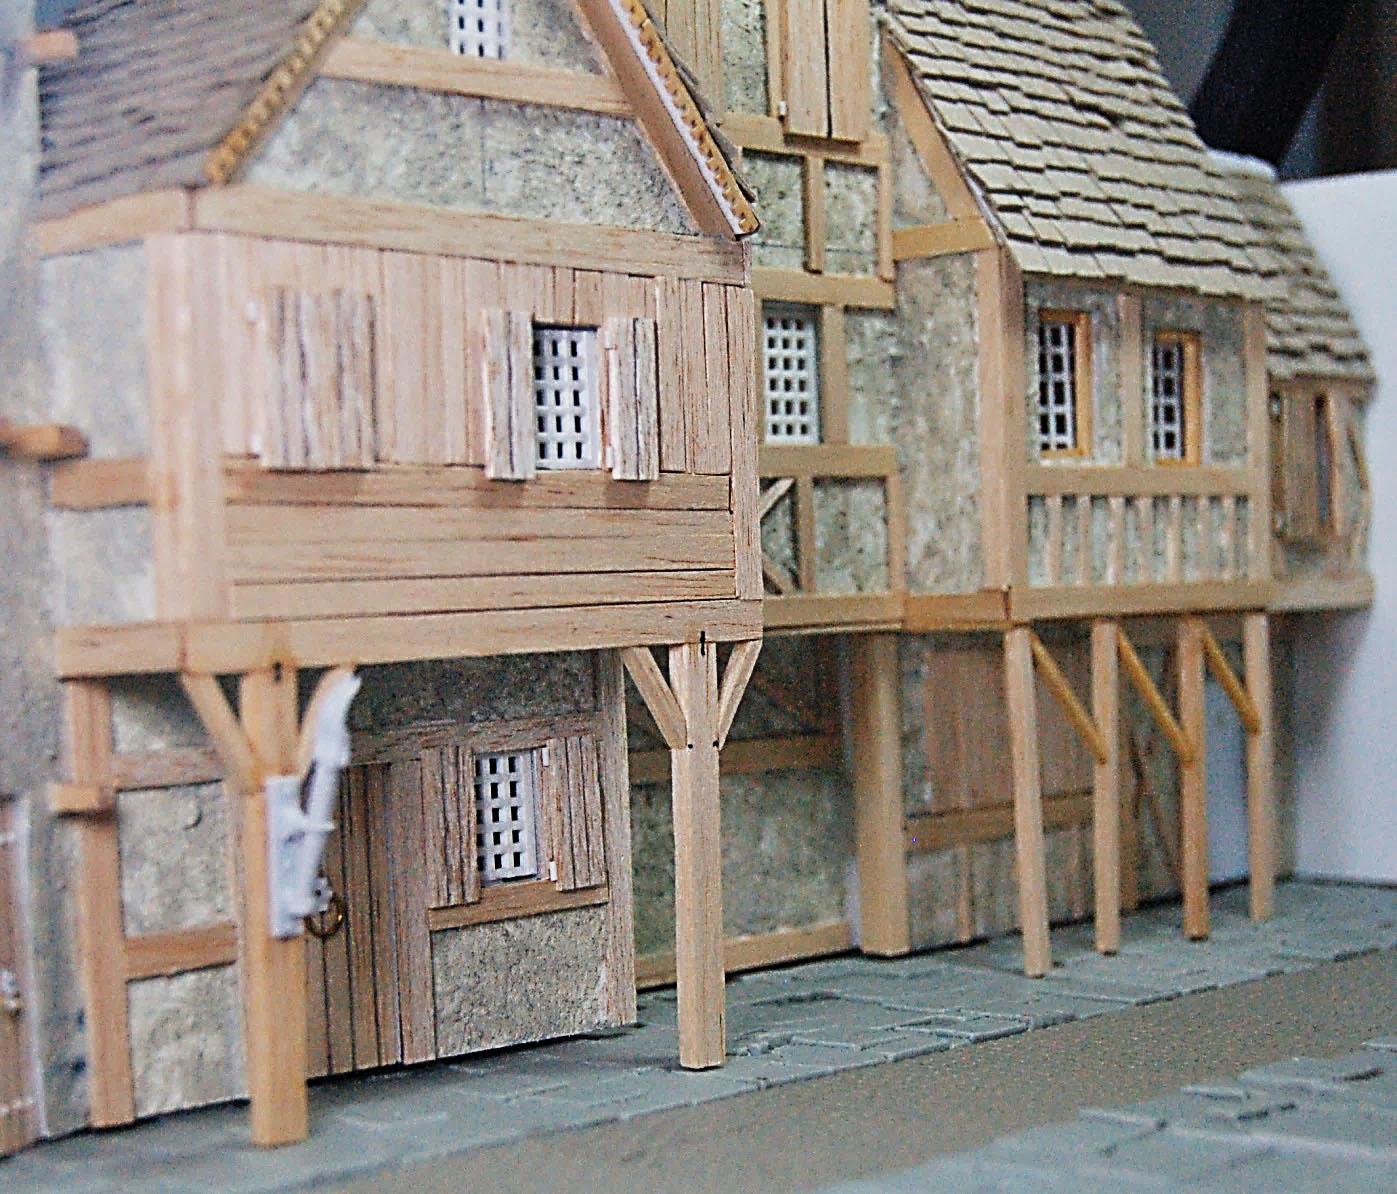
Finished detail image before the ground level of the buildings is filled with sand and painted.
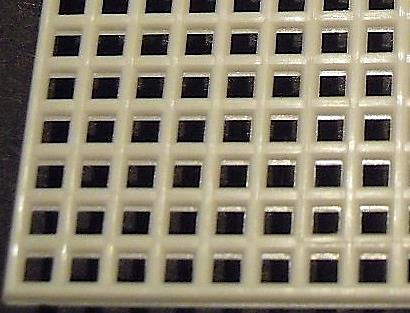
The windows are plastic grid shaped sheets used for model boat building cargo hold covers, which are cut to size and glued behind each opening.
 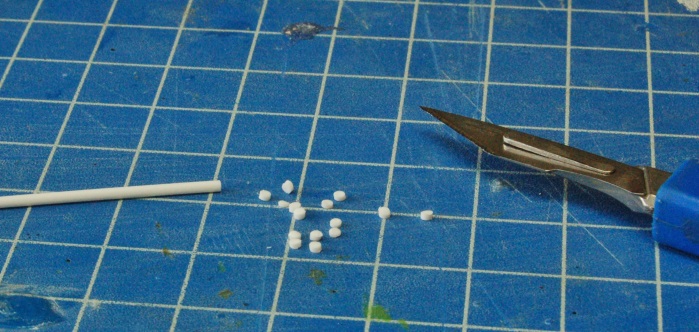
All rivets are cut from a length of plastic rod and then glued on. When cutting plastic rod, there is a tendency for your hand to not cut straight down, but at an angle, leaving unwanted angles. You can avoid this by rolling the scalpel blade around the circumference of the rod before cutting.
Painting buildings or something this large needs a slightly different approach and bigger brushes! I first carefully paint all the basecoats of each part and then use thin washes of brown and black oil paints. These provide a solid tint, and dry very smooth and quickly (1 hour), which allows you to make any corrections with turpentine.
|