 |
Introduction
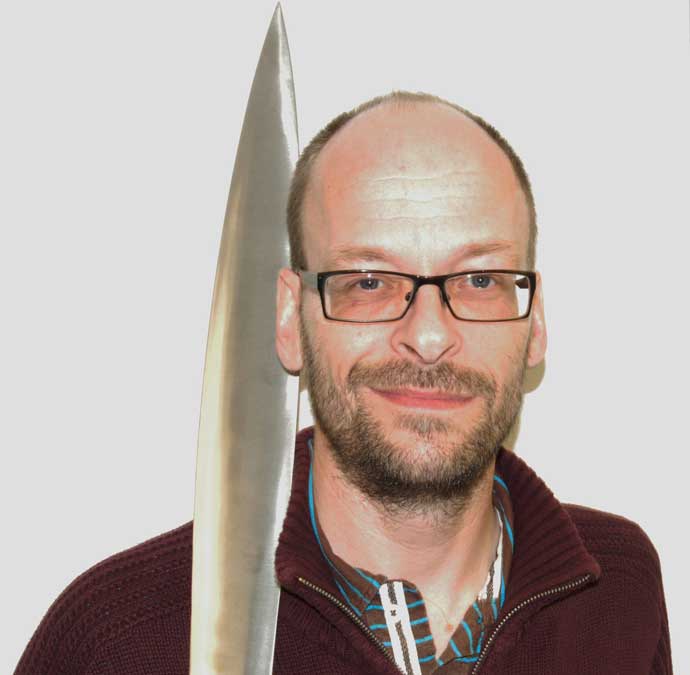
My name is Matt Parkes and I have been a professional figure painter and modeller for nearly 20 years. In this time I have worked for various miniature companies, painting everything from 15mm tanks to massive fantasy armies and everything inbetween. In my spare time I paint vignettes and dioramas for competitions and have been quite successful over the years. I enjoy telling a story, a moment in time, giving the audience a glimpse of my miniature world.
When I’m asked ‘What was the catalyst that started this whole journey off?’ It comes down to an 11 year old boy who was bought the 1981 Dungeons and Dragons starter set for his birthday. Amazed at the sheer enormity and scale of the imaginary worlds that could be created, I started walking down the winding path…
|
…so here I am 30 years later, having travelled full circle. I am privileged to be the creative manager on this licensed project, bringing all my experience and enthusiasm as a small boy to building my childhood fantasies again. Let’s hope that none of us have to grow up too much.
So I invite you the reader, the enthusiast and the gamer to follow me into our laboratory where I can reveal what it takes to produce Dungeons and Dragons miniatures. |
The Team
The Battlefront Dungeons and Dragons in-house team is quite small; I do use freelancer sculptors when needed. My role as the Creative Manager involves writing the sculpting briefs from the reference provided by Wizards of the Coast: commissioning the miniatures to freelancers if required, managing the approval process, painting the models for box covers and writing the support hobby articles for the gf9-dnd.com website and keeping our Gale Force Nine D&D Collectors Series Facebook up to date.
|
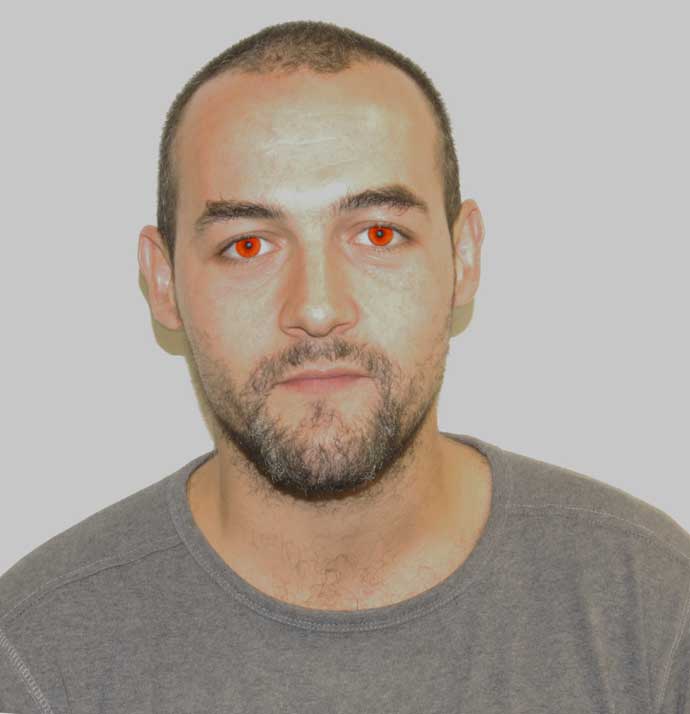
| Giorgio Bassani is our in-house miniature sculptor. He has been a professional sculptor for seven years and mainly works with Fimo clay. He is also a talented figure painter and has contributed to the range with the awesome Ogre Mage, Qesnef and Halfling box set cover. |
|
|
Charles Woods is our go-to guy for anything digitally sculpted. He has a wealth of knowledge from the computer games industry and mainly sculpts our large creatures and monsters.
|

|
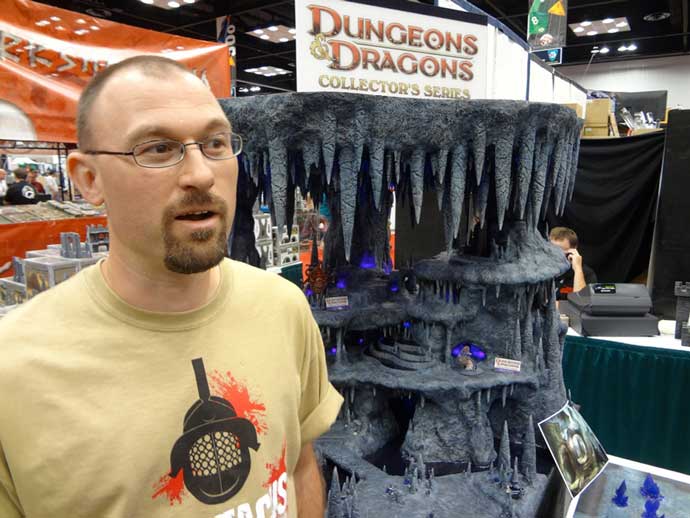 |
Jason Buyaki is the master mould maker for Battlefront. He has a very important job of turning the clay sculpts into resin masters, which can then be used for the main production process of making high quality multiple casts. Jason is also a talented scenery builder and miniature painter.
|
 |
Freelancers
I am lucky to have some great freelance sculptors and painters who work occasionally on the Dungeons & Dragons range. They bring their own expertise and experience to the table.
Roberto Chaudon: Erevis and Vasen Cale, Yeti, the evil Mage Halaster and Anton & Umara.
Matt Bickley: Drow War Party, Tomb of Horrors, The Paladin Isteval and Kessel’s band.
Gregory Clavilier: Knoll, Intellect Devourer, Umber Hulk, Ice Troll, Qesnef the Ogre Mage and Xanathar the Beholder.
Werner Klocke: Farideh and Lorcan
Adrian Walters: has painted Murder at Baldur’s Gate, Farideh and the Behir.
|
Workspace
When doing any sort of modelling and painting hobby, you will need a few tools and equipment to get you started.
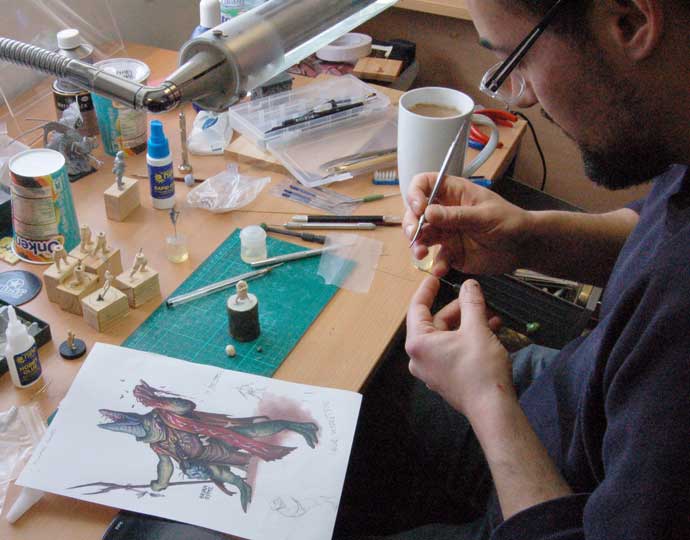
Whether you have a dedicated room or you are a kitchen table evening painter, you need to get comfortable. Painting figures does require many hours of sitting in the same position, so make sure your chair and table are the right height for you.
|
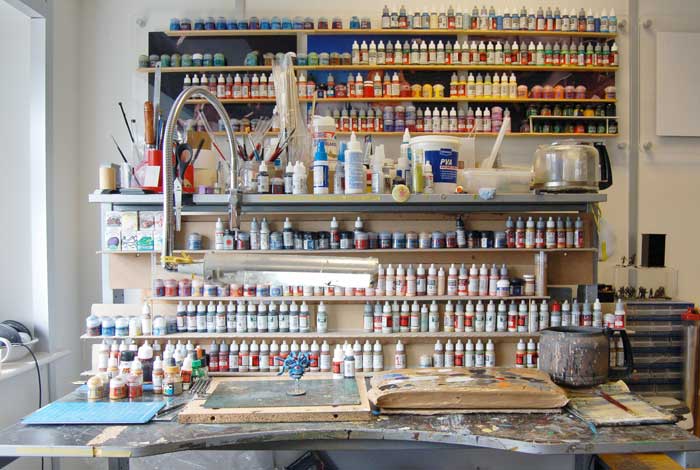 |
| As you can see, my workspace is situated next to a window for daylight and ventilation. I keep my area clean, so I don’t have to tidy up before I start. |
Lighting
Your light is the most important item on your desk. It is the first thing you switch on before you start. I recommend that you do not use a normal tungsten bulb as they cast a yellow light, but use a blue daylight hobby bulb. This gives a consistent bright colour balance over the whole table.
Tools
When working with resin miniatures, there are a few essential tools you will need:
Hobby knife
Cutting mat (No-one needs knife marks on the kitchen table.)
|
 |
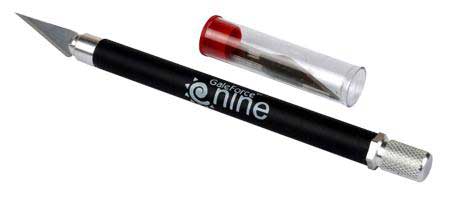 |
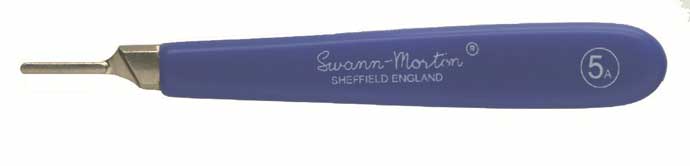
This is the most important tool on your desk. You’ll need a knife with interchangeable blades as they dull quickly. My workhorse is the Swann & Morton scalpel with an extra wide handle. Another useful knife is an X-acto style, with interchangeable blades.
|
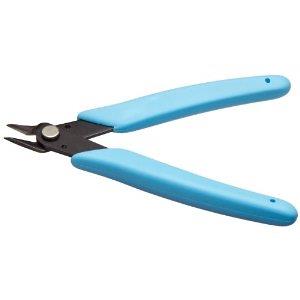
Side cutters
What you are looking for, are the outside edge of the blades to be flush, producing a cleaner cut. These are great for snipping off unwanted resin.
|
|
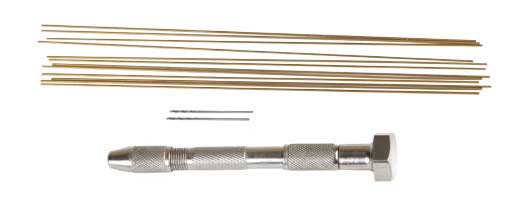 |
Pin vice, drill bits and wire
Using a wire pin in a possible weak point of the model is the best way to strengthen the resin part. I use a 1mm drill bit with 0.9mm brass wire, which is available from any good hobby outlet. I will talk about this in more detail at a later date. |
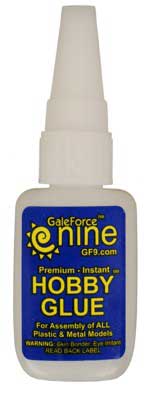
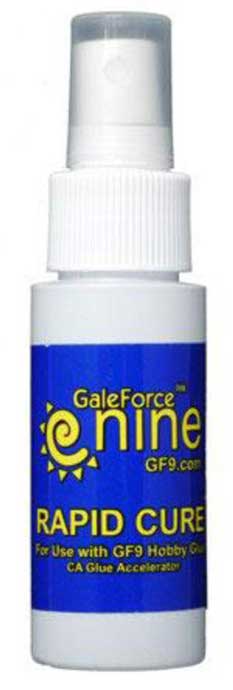
Superglue/ Crazy glue
This is really the best way to glue multi-part models together, combined with flash-tac/ rapid cure accelerator, which cures in seconds and delivers a fast and strong bond. |
 |
 |
|
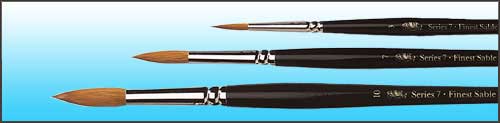
Brushes
I cannot stress enough about buying high quality brushes for the bulk of your painting, preferably Kolinsky sable. My favourite are Windsor & Newton series 7 in sizes ‘00’ ‘0’ and ‘1’.
|
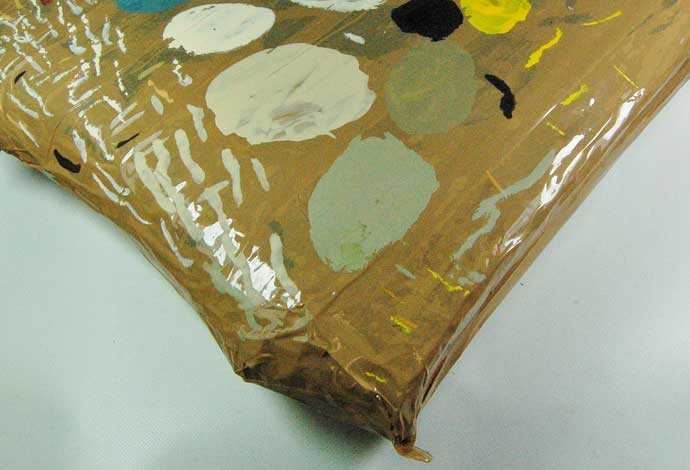
Palette
There are many available on the market, but I keep coming back to the cheapest and re-useable; a rectangle of cardboard wrapped in ordinary brown tape. (They grow over time!) Acrylic paint does not like new over old, as it re-hydrates and breaks apart, leaving fragments in your mix. Brown tape avoids all that. |
 |
Preparing miniatures for painting
As part of the production process, the silicon mould which the resin is poured into has release agents in it, which are sometimes transferred onto the miniature. It is recommended that you wash the miniatures in warm, soapy water and make sure they are completely dry, before any cleaning up or spraying with primer.
|
|
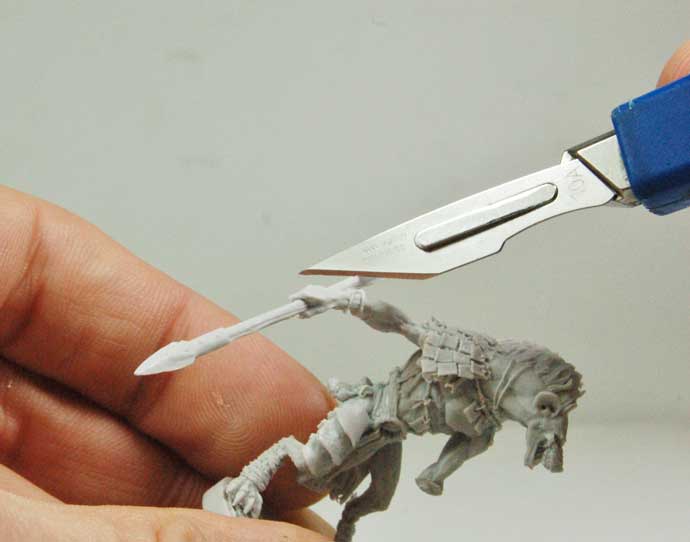
Cleaning the miniature
Unfortunately, split-lines and feeds on the model are also part of the moulding process. They will normally follow the direction of the labelled ‘runner’ under the miniature’s feet and around the miniature. I scrape this excess off with a scalpel and finish with a fine grade file.
If there are any parts that are warped e.g. a spear shaft, gently heating with a hairdryer will cause the resin to move back to its original shape. Leave it to cool.
|
Primer
Aerosol primer is the best way to give the miniature a good surface to paint over. It has the benefit of showing you any bits of cleaning up that you have missed. I use three main colours, depending on the figure’s colour scheme; black, grey or white. Unless it is raining, I always do this outside.
Hold the miniature about 15 cm away from the can and spray in long even strokes. If it is cold outside, a good tip is to gently heat up the spraycan in warm water. This helps with the flow of paint, for an even coat. I then give the figure a blast with the hairdryer. This ensures that the primer is dry and it also bakes the primer, making it tougher and less prone to scratches or rubbing off.
|
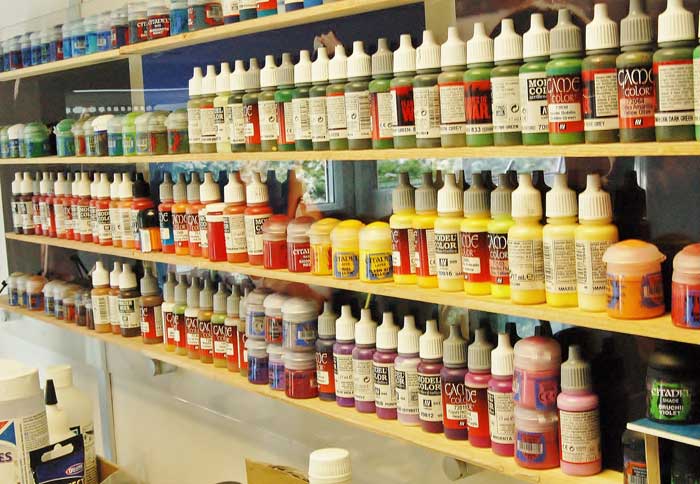 |
Paint
I get asked this question a lot ‘What is your favourite paint range?’ The answer is, I use all three Vallejo ranges; Model Colour, Panzer Aces, Game Colour as my ‘go to’ paints, with their massive range of consistent colours, they take some beating. As with everything with a range this big, there are always some colours that I don’t like. There is no point listing them, as you might think they are really good. At the end of the day it is down to personal choice.I do cherry pick from other ranges; Games Workshop’s Mephiston Red (one of the best red pigments I have found) and Averland Sunset (a mid-yellow with fantastic coverage), Foundry’s Rawhide and Terracotta (I find the 3 pot system very easy to use. This was my main range of paints for many years, but has a limited range), Scale 75’s matt finish is excellent and Battlefront Miniatures’ range of paints, produced by the excellent Army Painter, have a smooth finish, really strong pigment and when thinned with water they behave like water colours, which is perfect for blending. (I helped formulate the colours, lots more different tones will be added to the range, at the end of the year.)
|
Possibly related posts:
- Behind the Scenes- City backdrop part 2With the brand new Dungeons & Dragons ‘The Tyranny of Dragons’ module out now, we have made two exciting box sets to coincide with this release: four Dragon Cultists; and Sandesyl Morgia, a half elf vampire and Pharblex Spattergoo, a...
- Behind The Scenes - Town Backdrop (part 1)The release of two Baldur’s Gate box sets, it gives me a great opportunity to show you the theory and evolution of creating a box cover backdrop.
...
Comments are closed for this post, but if you have spotted an error or have additional info that you think should be in this post, feel free to contact us.
Loading, please wait.