|
Painting a lightsource on a miniature can really add character and visual interest, whether it is from a flaming torch or a magical lighting effect. In this stage-by-stage example, I have used a wall section, mainly because it’s a large area so you can see what is going on. These techniques are easily transferable to any miniature.
|
|
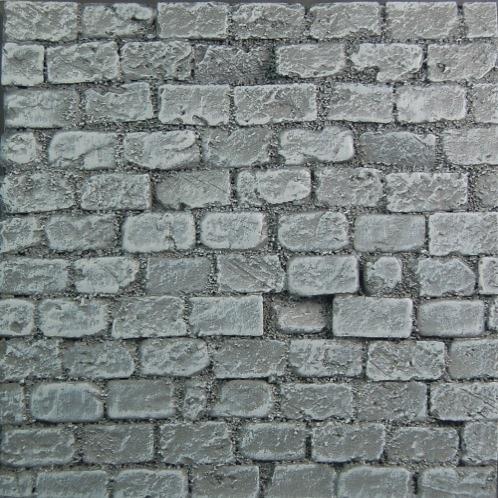
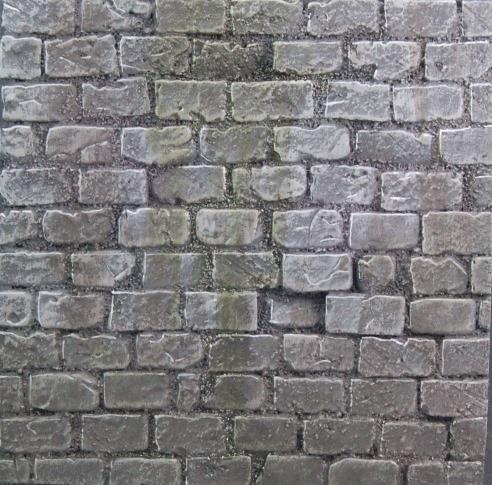
Stage 1
This stage is a drybrush of a mid-grey (German Tankcrew 333)
With any large area I paint, there is a balance between looking good and the time taken. Over the years I have developed a quick and realistic technique using oil paint washes. I use all three Vallejo paint ranges (Model Colour, Panzer Aces and Game Colour) in most cases and I will list the code number in the text. If there is another brand or product, I will mention it when used.
|
|
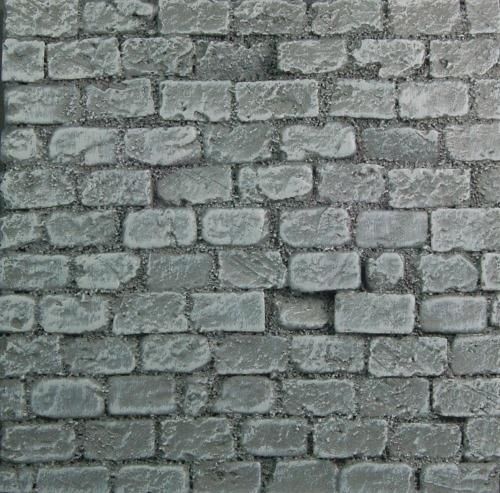
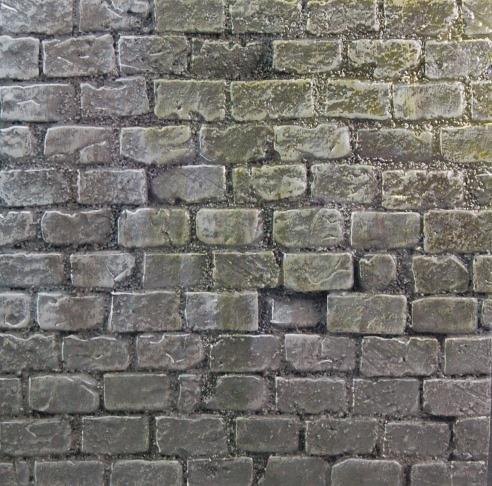
Stage 2
This Stage is a drybrush of a lighter tone of Grey (Dark rubber 306).
With this slow build-up of colour, it gradually brings out the details.
|
|
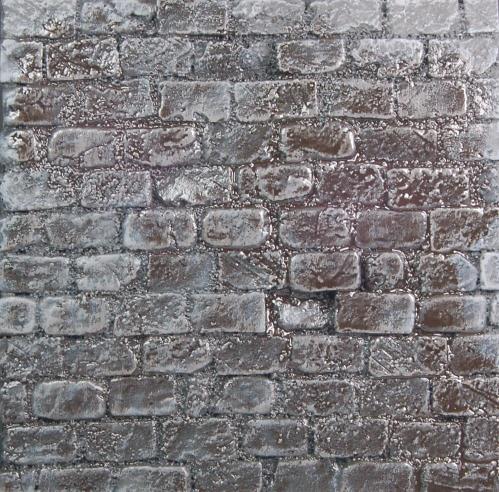
Stage 3
This Stage is the initial wash with a dark brown oil wash, sometimes called a filter.
I have use MIG dark wash for this. The benefit of filters is that they take an hour to dry, giving you time to blend the shade back into the grey bricks with turpentine or thinners. They also dry in a smooth, even finish, unlike inks. As you can see, the finish is quite gloss, so a good quality spray matt varnish is essential. I recommend Army Painter or the king of varnish, Testors Dull Cote spray.
|

|
Stage 4
The excess oil paint has been wiped off with a soft cloth (another benefit with filters) and a layer of matt varnish applied to seal the work so far. The shade is far less pronounced when dry, giving you a subtle finish.>
|
|
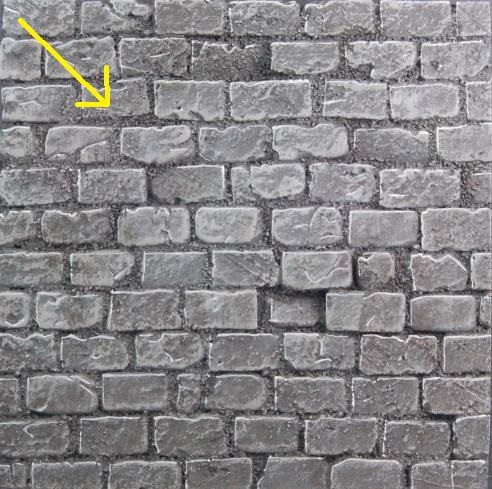
Stage 5
The brick highlights are painted with a mid-grey (neutral grey 992), following the direction of the arrow.
>All the scuffs and scratches are painted in at this stage. As you can see, each individual brick has a border making it more 3D.
|
|
Stage 6
Just to add some variety and to make this wall more natural, I have brushed in vertical streaks, a dark green filter and earth effects from AK interactive. (Another fine company with the painter in mind)
That is the wall painted. It seems like a lot of steps, but it is actually a quick method to use.
|
|
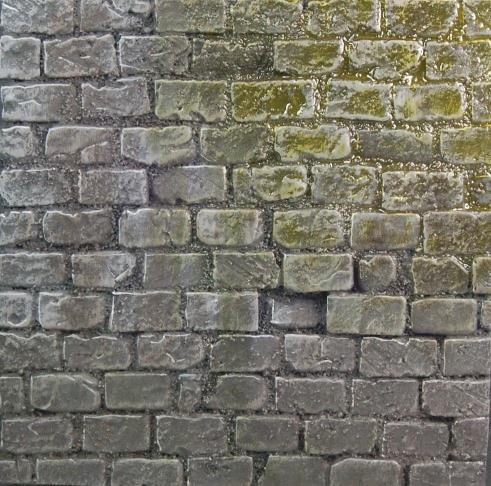
Stage 7
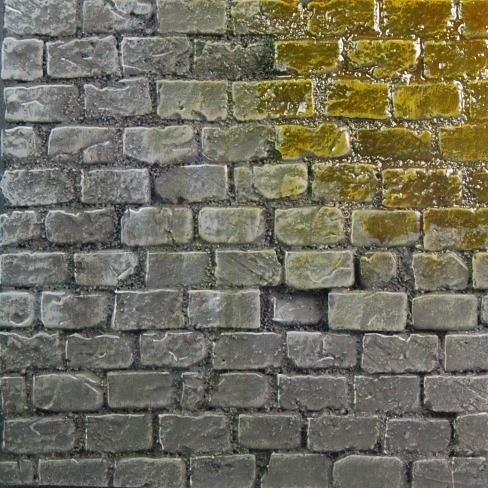
The light sourcing begins with Tamiya clear yellow (X-24) mixed with Tamiya X-20A thinner, in a very thin wash.
The theory behind this is to build up the more intense colour layers nearer the source, which is the top right corner. These layers gradually change the wall colour from grey to yellow in a smooth transition,
|
|
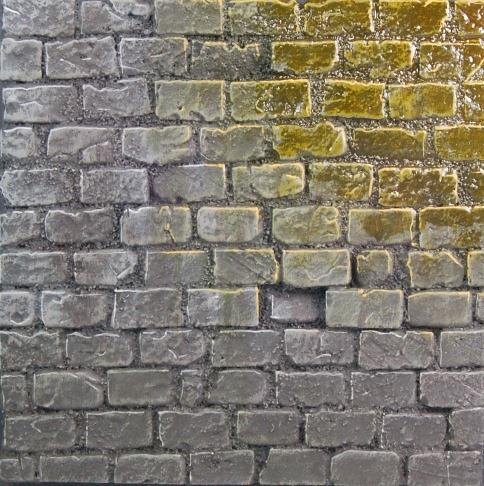
Stage 8
I have added more clear yellow to the paint mix and painted it inside the existing weak yellow tone. |
|
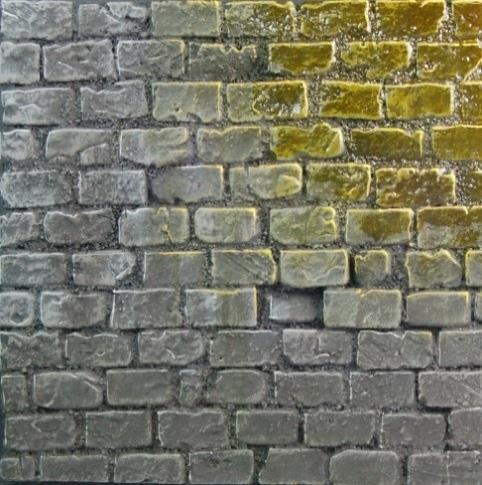
Stage 9
The yellow tone is starting to build up to a substantial yellow color.
|
|
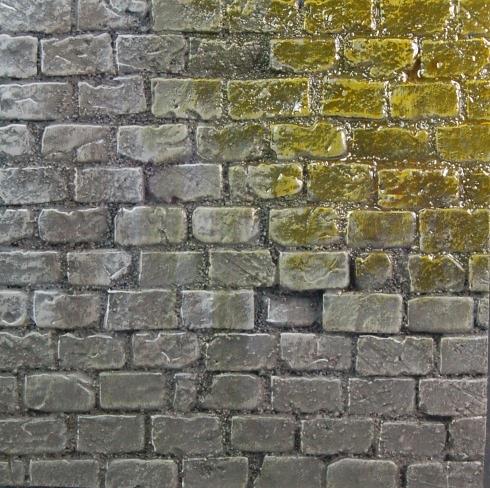
Stage 10
This final layer of clear yellow is straight from the pot, without any thinner added, for a concentrated color.
|
|
Stage 11
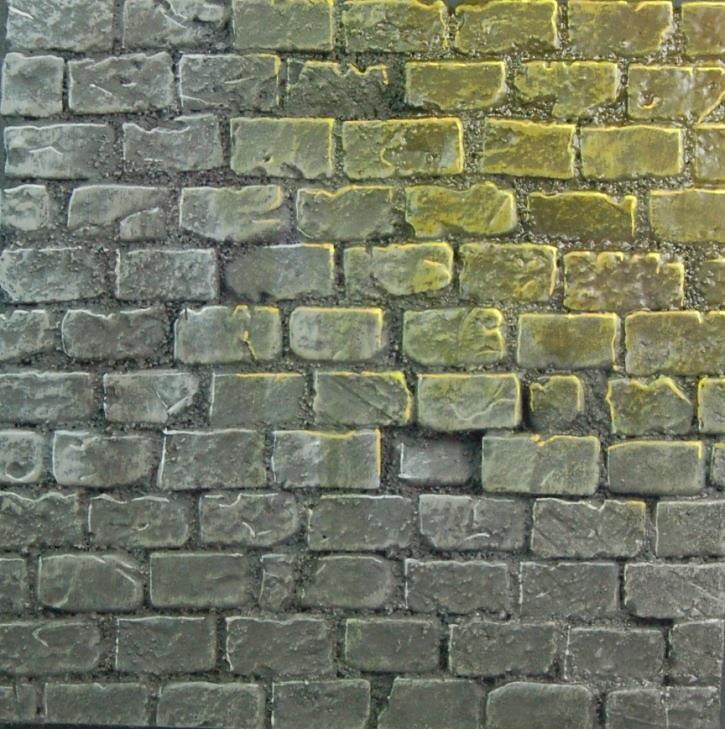
The first stage of the light source highlights are applied using a mid-tone yellow (Gold Yellow 007), following the direction of the arrow.
Highlights are also painted further out than the clear yellow paint, giving a subtle effect on the top of the bricks.
|
|
Stage 12
The edges of the bricks are now highlighted with a bright yellow (Moon yellow 005), concentrating on the top right corner of the brick.
|
|
Stage 13
The final dot highlight is applied in the top right of each brick. The whole wall is then varnished; notice how the whole effect is slightly toned down.
|
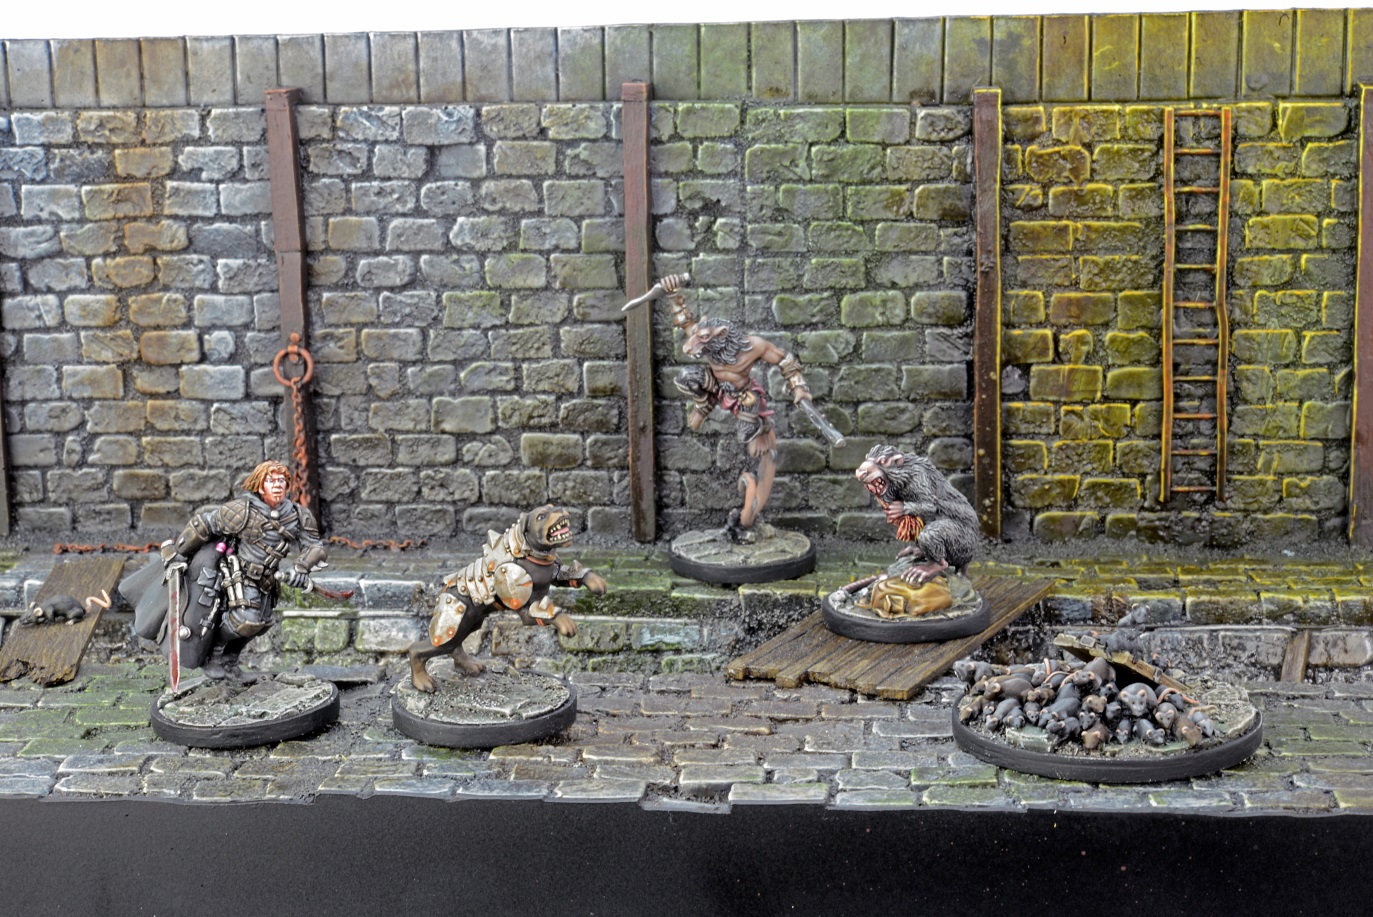
The sewer backdrop is very heavily weathered with oils and left as a gloss finish.
|
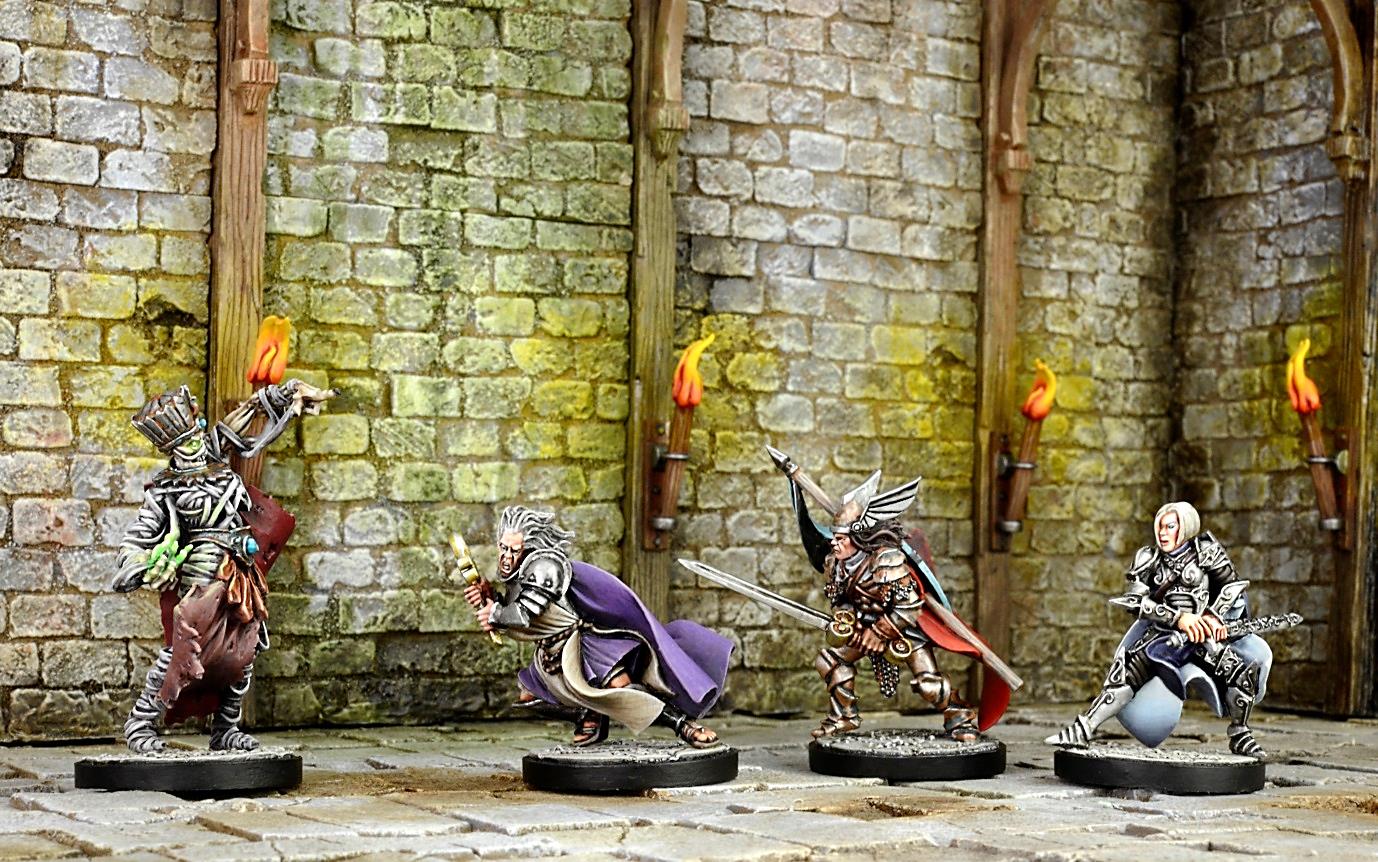
The Tomb of Horrors backdrop with multiple light sources adds warmth to an otherwise very drab (and cold) dungeon, as above.
|
|
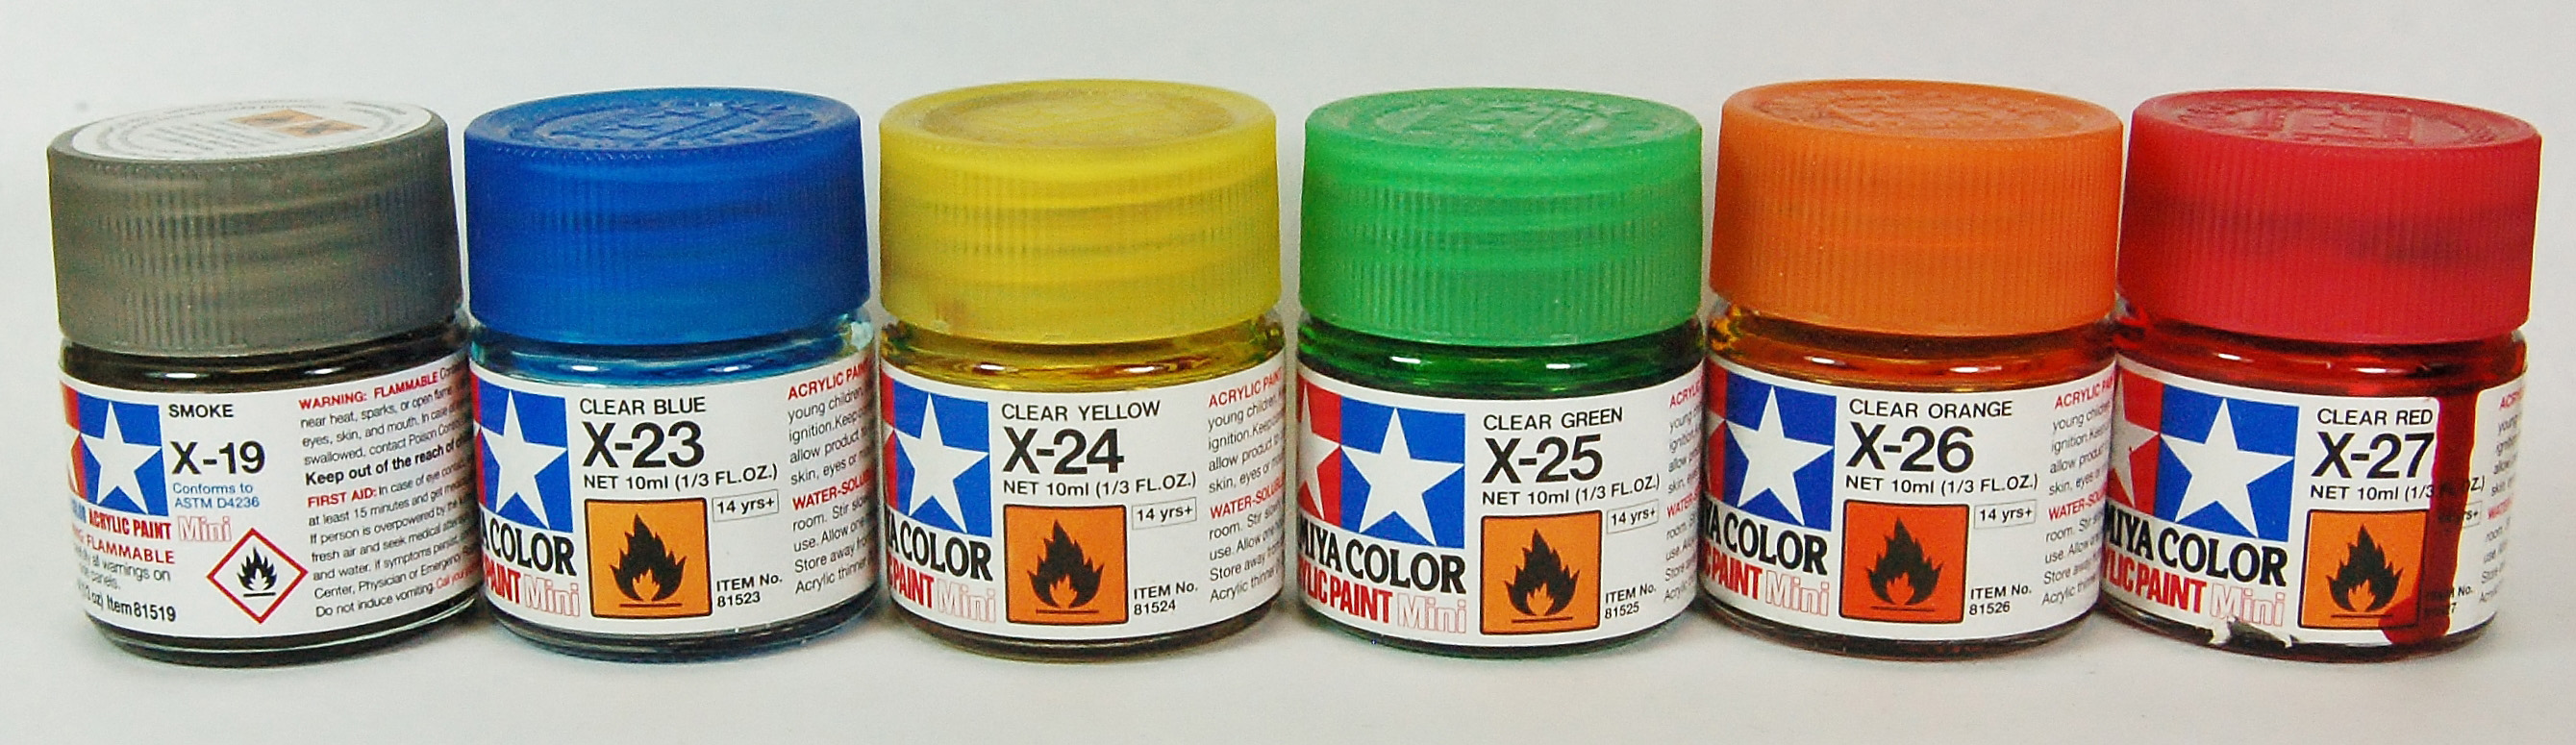
Light sourcing magic
The same principles are used for magical effects, just with different colours. Tamiya also have a small range of transparent / clear paints ideal for these effects. As described in stage 7, weak washes are initially painted on, building up to a stronger pigment where the light is at its most intense.
|

The base was painted first as a standard wooden floor and then the washes of red, orange and yellow were applied around the rings. I have followed the direction of the wood texture with the highlight paint colours to accentuate the wood grain.
|
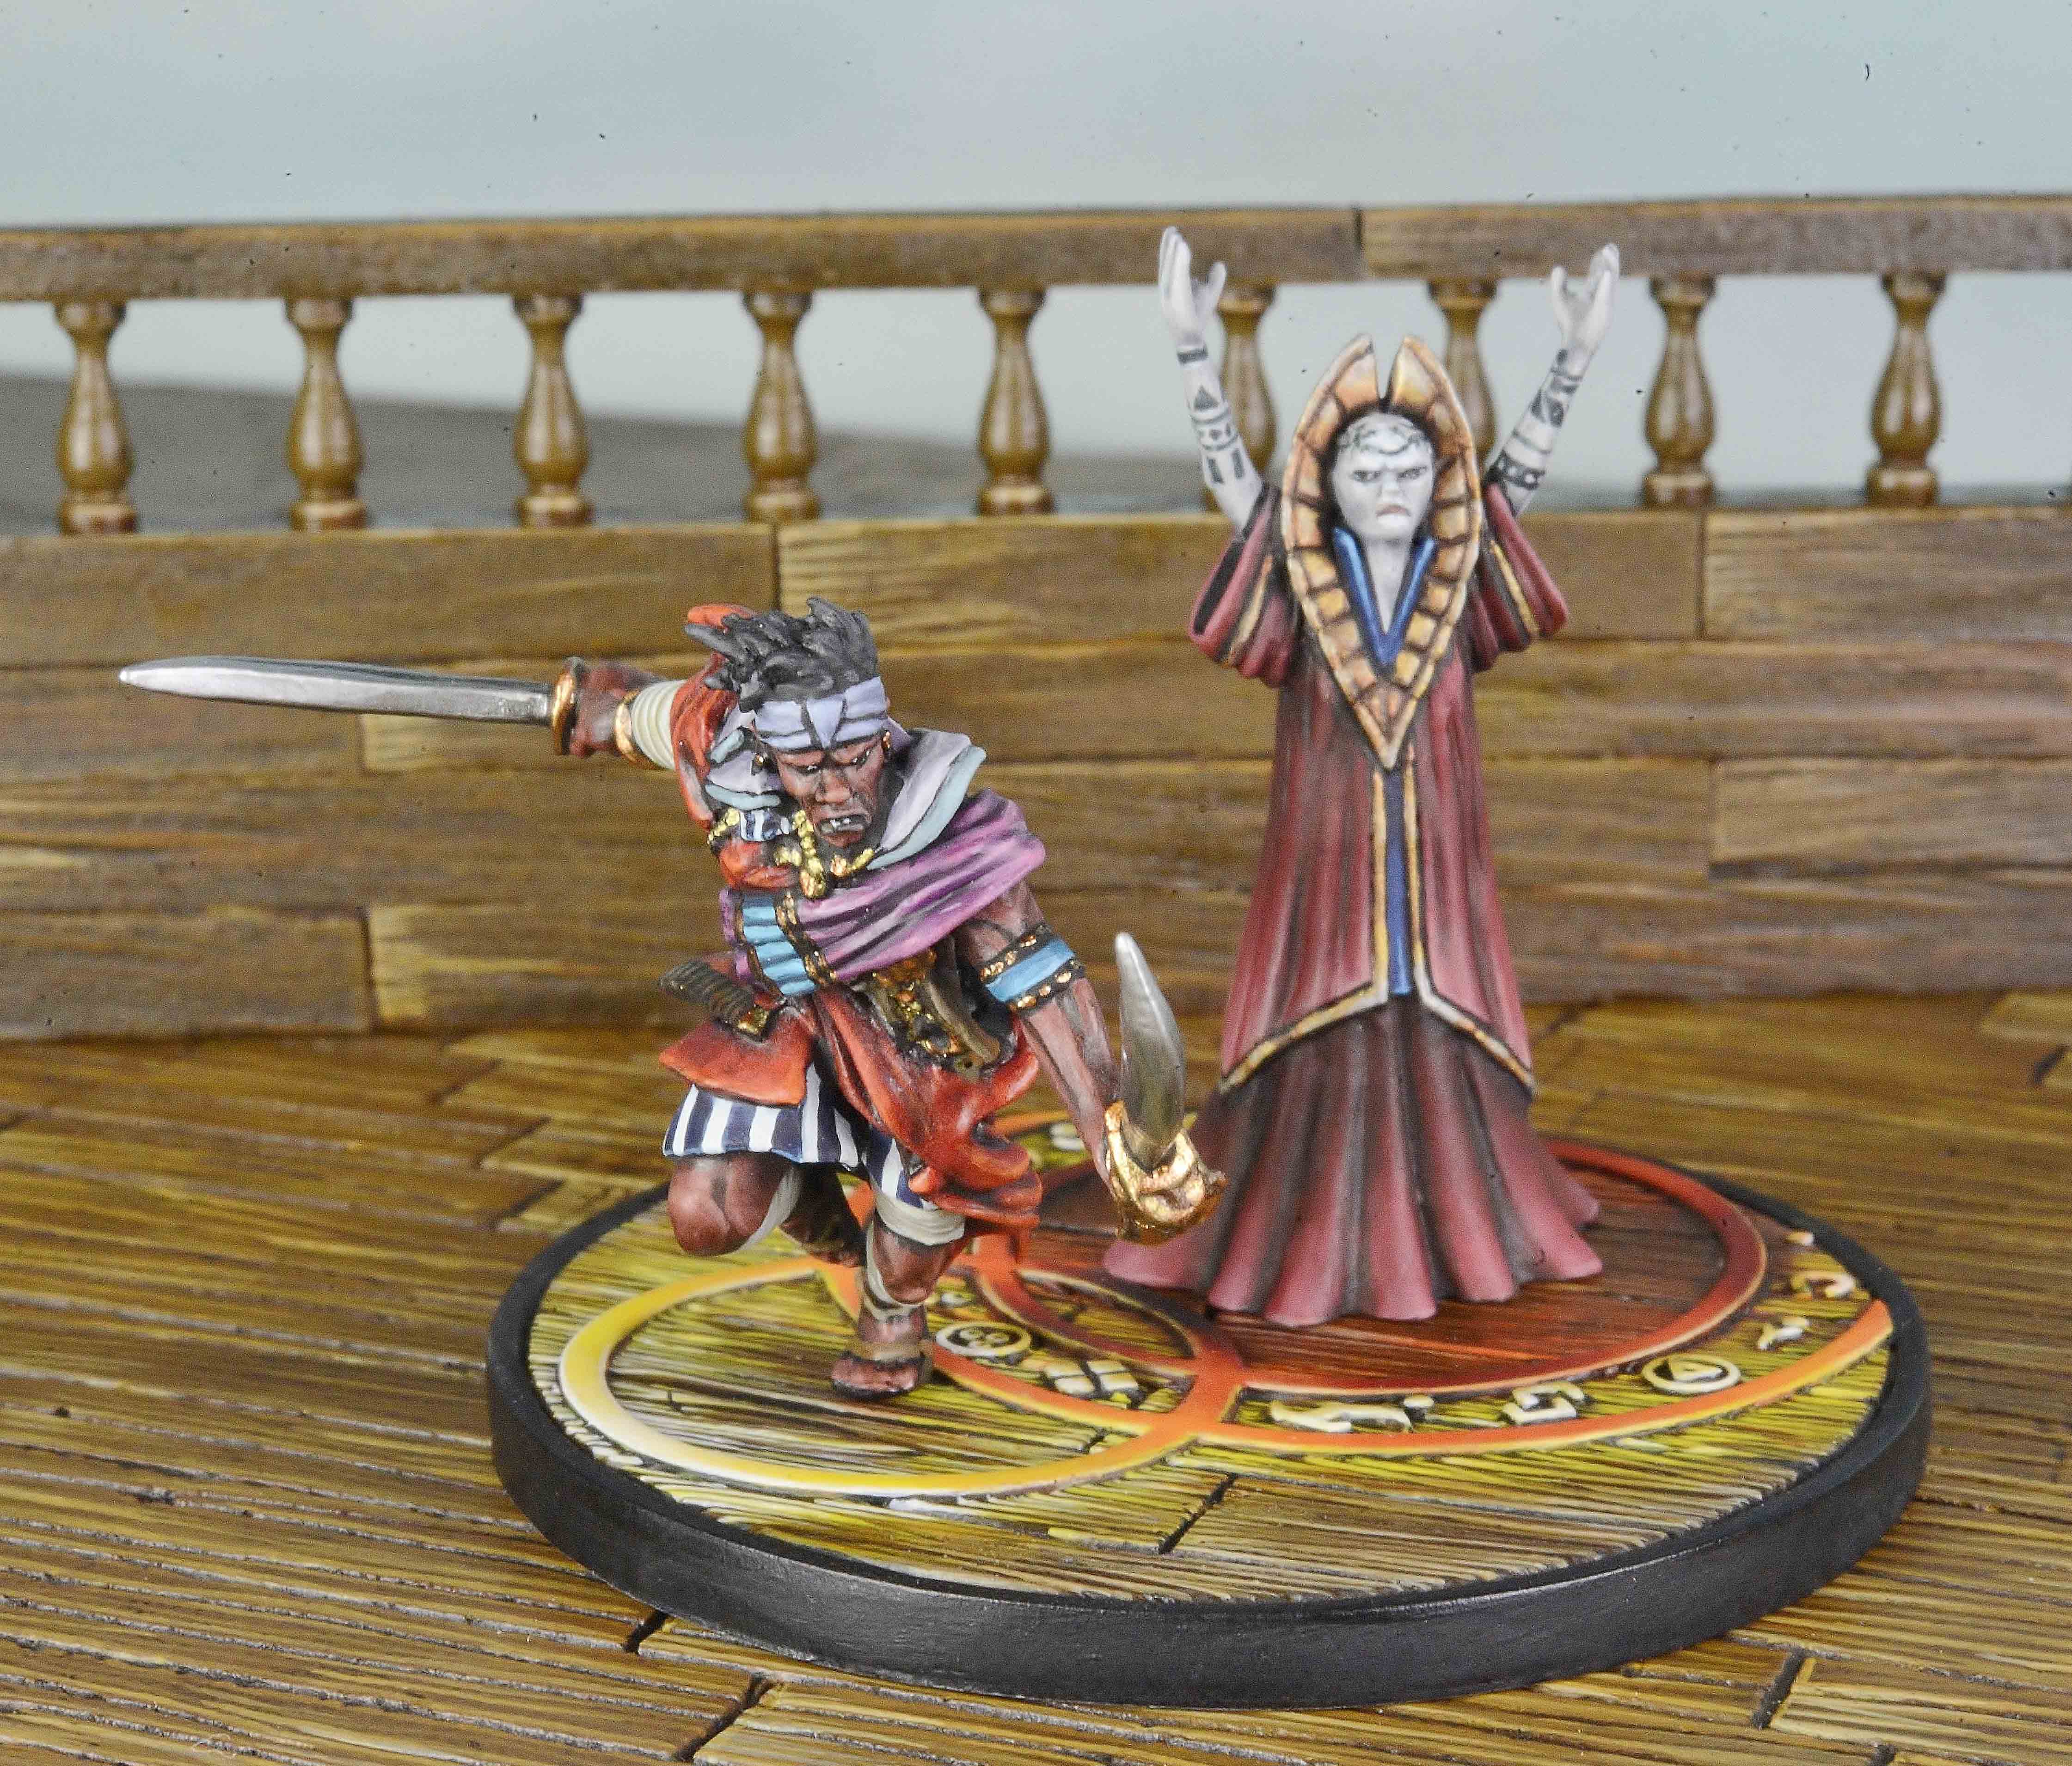
The final Anton & Umara- Sundering book 4 box cover.
|
|
The lava field base
The same techniques are used here, just on a larger scale. The sides of the rock closest to the hot lava were initially drybrushed with a mid-tone yellow and then washed with a thinned down Tamiya clear yellow paint, to add richness and slightly darken the colour so the final highlight on the extreme edges, with Vallejo Flat yellow 953 will really stand out.
|
|
Applying this to miniatures
With the same techniques used as above I have lightsourced Lorcan, a Cambion character taken from the Sundering books.
With the palette of this figure being limited to only red, black and silver, adding a light source from his flaming sword, is a good way of introducing another colour.
I have used the natural seam-line of the leg armour plates as a hard edge highlight and a focus for the paint to follow.
|
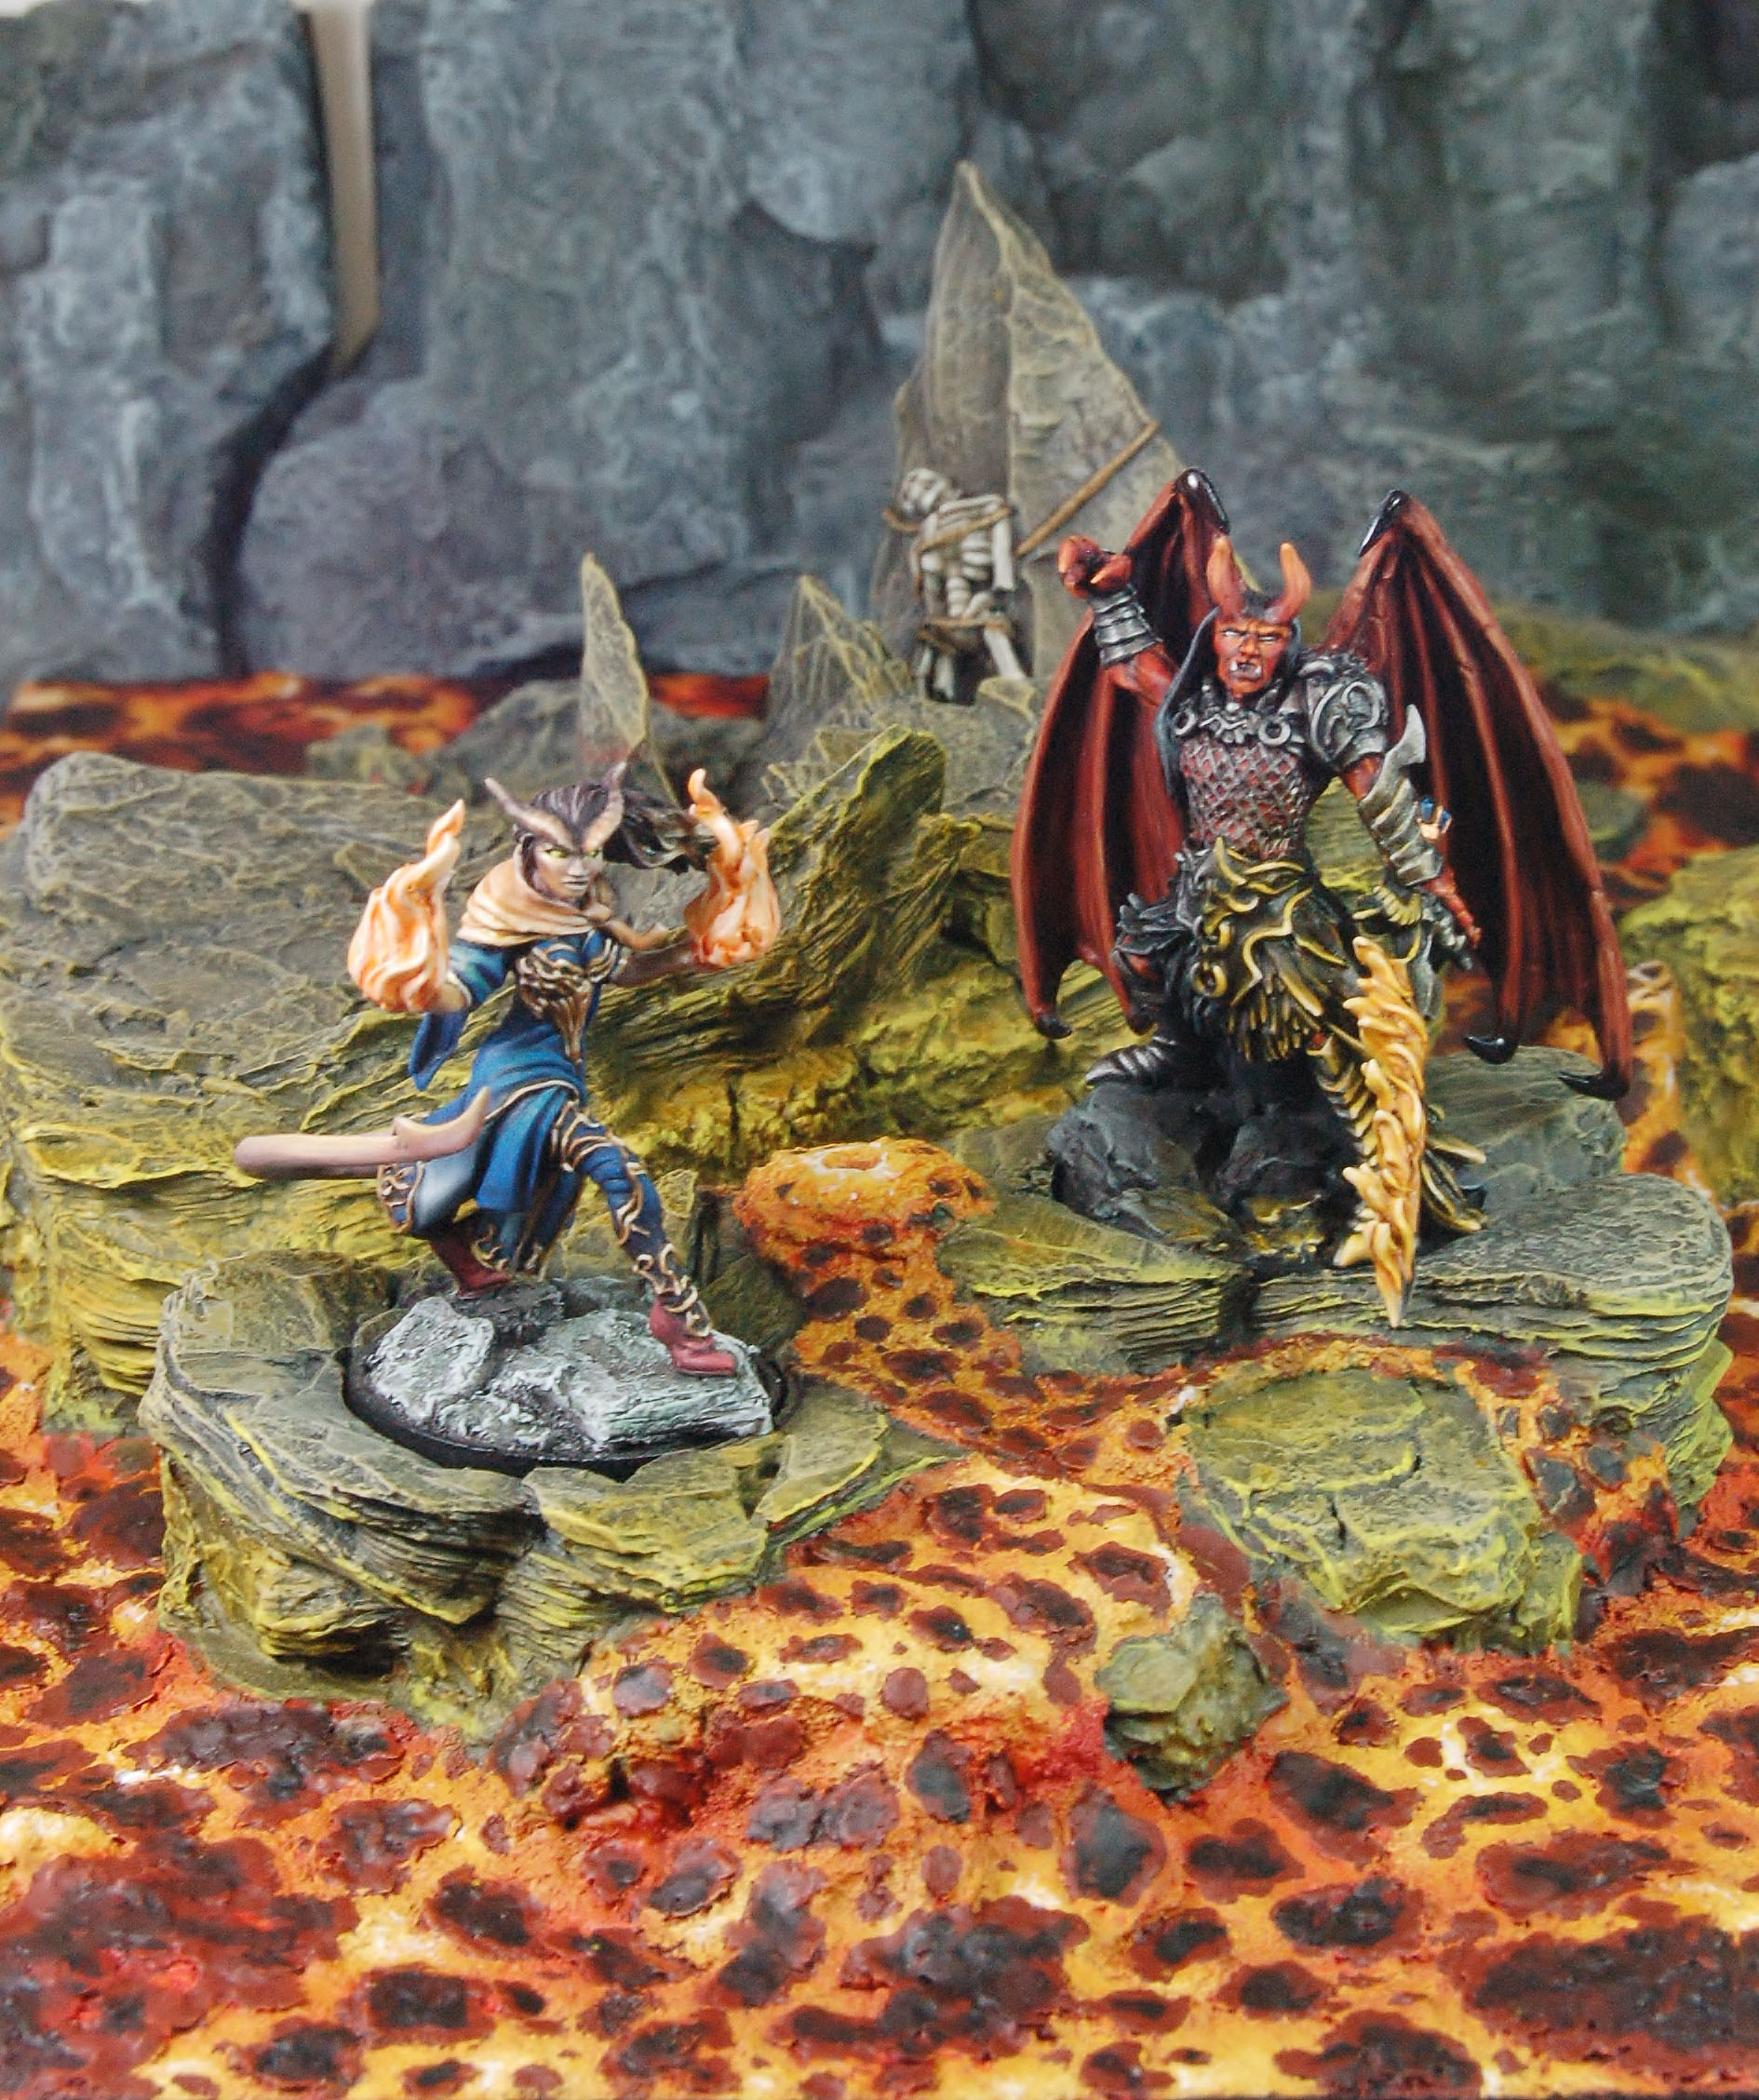
Farideh & Lorcan – The Sundering book 3 box cover.
|
Possibly related posts:
- Dracolich Painting GuidePainting equipment
Brushes
I cannot stress enough about buying high quality brushes for the bulk of your painting, preferably Kolinsky sable. My favourite are Windsor & Newton series 7 in sizes ‘00’ ‘0’ and ‘1&rsquo...
- Behir Painting Guide
To buy the models featured in this article click here...
When doing any sort of painting, you will need a few tools and equipment to get you started.
Work space
Whether you have a dedicated room or you are a kitchen...
- Demogorgon Painting Guide
View the Demogorgon spotlight here...
Check out the Demogorgon assembly here...
You can find Demogorgon in our online store here...
As described in the assembly guide, I recommend you paint the main body and the base as separate parts...
- Adding Texture to Large Creatures
To buy the models featured in this article click here...
When sculpting large creatures, there is always a balance to find...
- Lolth, Demon Queen of Spiders Painting Guide Haven't bought your Loth yet? Click here to find her in our store...
Painting the Spider Lolth: advanced painting guide
To start with the spider was...
Comments are closed for this post, but if you have spotted an error or have additional info that you think should be in this post, feel free to contact us.
Loading, please wait.